• Home
  • About Us
  • Happy Juice – your new fav wellness tool
  • Project Gallery
  • Buy One Of Our Homes
  • Contact
    • Amazon
    • Email
    • Facebook
    • Instagram
    • Pinterest
    • RSS
    • Twitter

Dream Book Design

DIY Built Ins Series – How to Build Your Own Base Cabinets

Ok here we go. I will start off with the statement that we are not true carpenters and that the steps we are going to layout totally worked for us. However, a word of caution – if you do not possess the basic first aid skills, it is best that you learn them before you go on to carpentry and building things inside your house. No one would want an inopportune event happening now, would they?
However, coming back to our original topic, it is true that carpenters and cabinet makers have better tools like the best brad nailers and techniques and will probably be able to make better cabinets that us…..but for those of you who don’t want cheap cabinets and don’t have the budget or tools for “proper” techniques give this a try for DIY Built Ins cabinets. I’ve always wanted some Oak Mirrored Wall Hung Cabinets but I decided to DIY some new cabinets, since we’re a bit tight on money at the minute. I’m really pleased with the finished product considering I made them myself!
To start we scoured the interweb on instructions to build your own cabinets and found a lot of helpful info, especially sites like Ana White. But we did not stumble on one that we were looking for, so we figured we would just write our own. This is going to end up being a series of posts since there are lots of photos and instructions.
Building your own cabinets may seem like it’s difficult and overwhelming, but in all honestly it comes down to a few steps, that are mainly just building squares:
1. Build a base
2. Build the cabinet boxes
3. Attach the cabinets to each other, base and wall
4. Build and attach the cabinet face (Steps 3 and 4 can be alternated depending on your cabinets/layout)
5. Install doors and drawers (we will have a separate post for this)
Build the Base
Here is the wall we started with:
The base serves a couple purposes; (1) gives a level platform for the cabinets to sit on, (2) provides a toe-kick so to accommodate your feet when standing in front of the cabinets {also a place for Bray to kick all.the.time.}
The base we made was merely just 2x4s that were screwed together. We made the base in two equal rectangular sections. The wall was approximately 16 ft long and the cabinets were going to be 22″ deep. So we built 2 rectangular bases that had outside measurements of 8 ft wide by 18″ deep (allowing for a 3″ toe-kick). We added a support that spans the depth of the cabinet. We were going to use Copper Nails but in the end we used 2.5″ wood screws. Unfortunately we don’t have a clear picture of the base, but you can see it in the photo below.
We used shims to level out the base. If the base is level and the cabinet boxes are square, then your cabinets should be level once installed.
We used L brackets to attach the base to the floor. Once we were level, we also attached 1×6’s against the wall right above the base and one where the cabinets tops would be. This allowed us to screw the 1×6 into studs and then be able to secure the cabinets to the 1×6.
Build the Cabinet Box
First we had to measure and cut the plywood. We used 3/4 inch oak for this project.
For our built-ins we needed to build 3 base cabinets. Two of them are the same size with outside dimensions at 48″ wide, 35″ tall, and 22″ deep. The cabinets have 2 doors and 2 false drawers. The middle cabinet is approximately 79″ wide and the same height and depth as the others. The middle cabinet is going to be open shelving.
You will want to make sure you have your measurements all mapped out prior to cutting your sheets of plywood. Since the cabinets will have faces that overhang you will need to compensate for that with your cuts.
We will walk through the calculations for the measurements for one of the 48″ cabinets:
We used 1×2’s for the face of our cabinets. 1x2s are actually 1.5″ wide so when these are centered on the 3/4 in plywood, there will be approximately 3/8 left on each side of the cabinet. Therefore since the face of the cabinet is 48″ wide the outside dimensions of the cabinet itself is only 47.25″ (48 – 2×3/8).
We needed to compensate for the face on the depth cut as well. Since the cabinets are 22″ deep we needed to cut our plywood at 21.25″ to accomodate the 1×2 face. For the height of the cabinet we took the overall height of 39″, reduced it by the height of the base 3.5″, reduced it by height of the top and bottom piece of plywood 2x.75″ = 1.5″, and came to a height of 34″.
Have I completely lost you? Too many numbers?! I know, its crazy- thats why J is the mastermind behind this. I am more of a 2+2=4, while he is more 15684.56+93485.edm=x.
So the plywood cuts that we needed for 1 of the 48″ boxes are as follows:
(2) 47.25″ x 21.25″
(2) 34″ x 21.25″
We took these dimensions to Home Depot and had them cut on their large saw. Sometimes you have to be kind of anal during this to make sure the employee cutting is making accurate cuts. A couple of the cuts were slightly off which affected our squares, but we were able to correct the cuts with our circular saw. So just make sure you double check their cuts.
Now it is time to assemble the plywood. Since we dont have a good workshop or a large level surface to use J used our campaigner dresser to help make sure the cabinets had solid 90 degree angles. Once we had the boards in place and the angle was square, J used wood glue, finish nails and 2″ wood screws to attach them. First he applied wood glue, then used a couple finish nails to hold the board in place and then drilled pilot holes and used the screws. For the box J made two L sections (like the photo below) and then attached the L sections to each other.

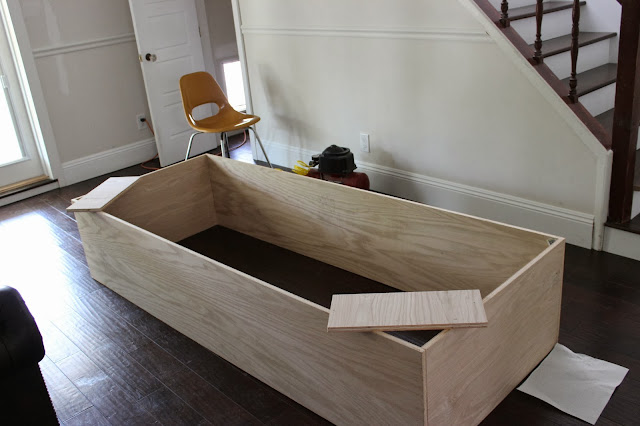
Once the L sections were lined up correctly and square J attached them to each other. To ensure the cabinet stayed square, J used a couple pieces of scrap plywood and used finish nails and braced the corners (these will be removed later).

The next step was to add supports that ran in the back of the cabinets. They fit inside the cabinets and provide support to keep the cabinet sturdy and square. Again we used wood glue and 2″ screws.

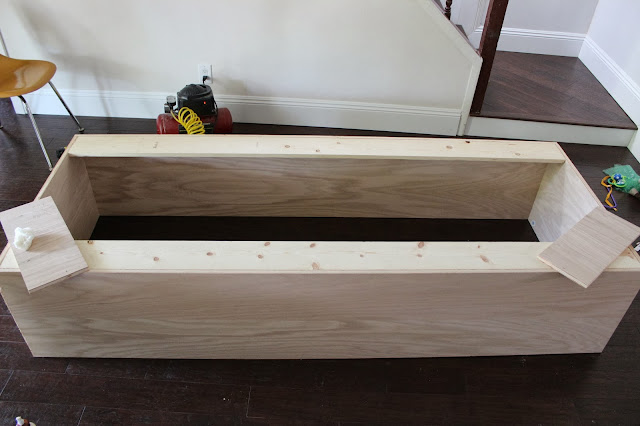
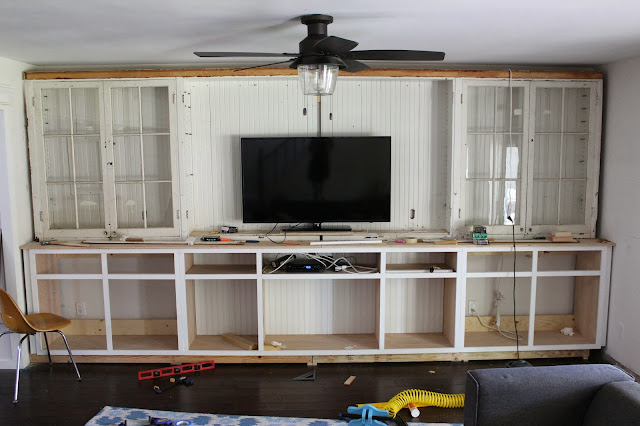
The corner blocks were removed after the back supports were installed. Next we lined all the cabinets up and put them in place.

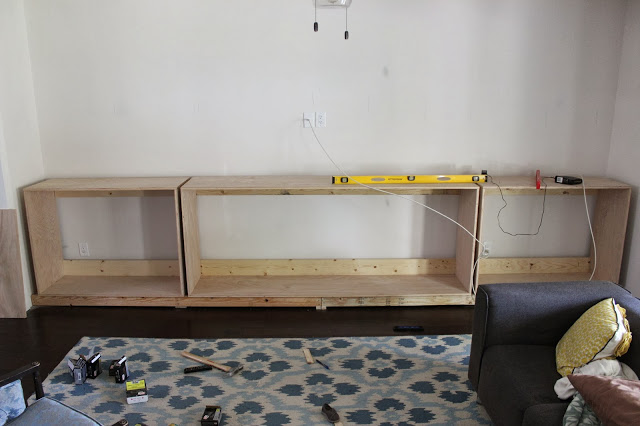
The gap in between the boxes was on purpose so that they would line up correctly with uppers. We will have more on that in later posts. We added some bead board to the back of the open shelving section to match the uppers. Since the cabinets at the ends have doors we didn’t add a back.

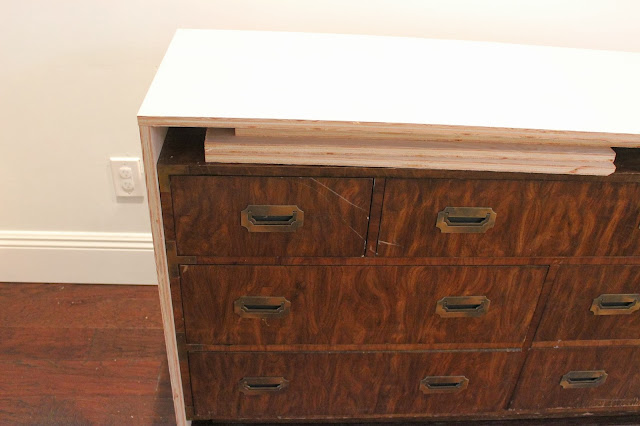
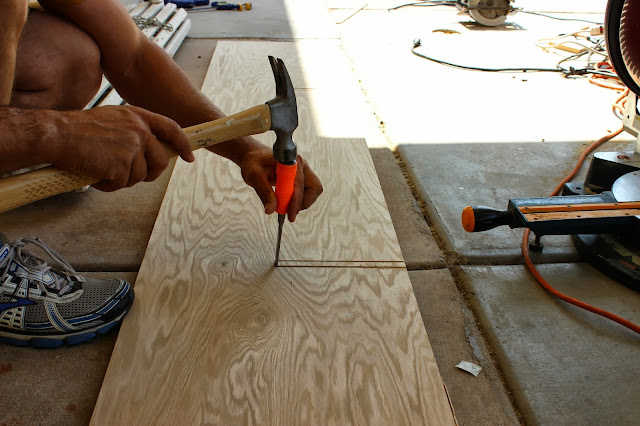
Next it was time to add the open shelving. This was actually fairly simple. We decided that we wanted 6 sections which meant we needed two vertical boards and one horizontal. Once we decided on the size of the openings we took a couple pieces of the plywood and cut them to size. Next on the vertical boards we notched out a 3/4″ sliver to accommodate the horizontal board. The sliver runs from the side that is against the wall to the center of the plywood for both vertical cuts. The horizontal ply had two cuts that ran from the front of the plywood to the center. This allowed for the boards to slide in together and then we could use screws and attache the outer cabinet to the shelves.

We used a chop saw and chisel to notch out the section
Attach the Cabinets to Each Other, Base and Wall

We lined the cabinets up in position and attached the cabinets to the base and the wall using wood screws. Once the cabinet is on the base you will notice the toe kick (overhang).

Attach the cabinets to the wall by securing the back supports to the 1x6s we attached earlier. If we were able we used a couple longer screws to go through the 1×6 into a stud. We spaced the cabinets with a 1×2 into between them This was so that the trim and dimensions would line up with the uppers. We used finish nails/screws to attach the cabinets to the 1×2 and each other.

Build and Attach the Cabinet Faces

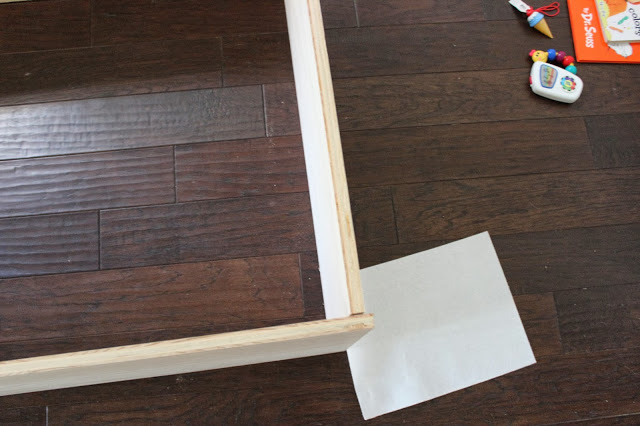
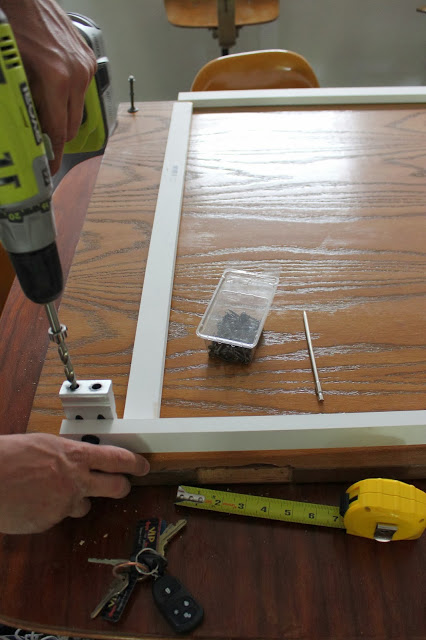
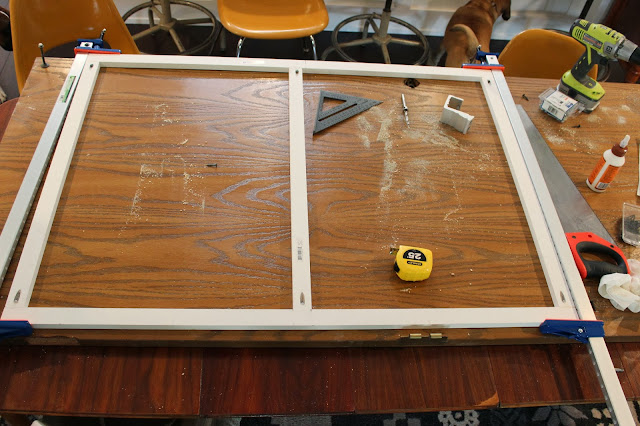
Here is the where the cabinets really take form. Adding the faces is merely just building some rectangles and attaching them to the cabinet with some finish nails. We used pocket screws and a jig to attach the 1x2s to each other. Again using the measurements above we made 2 – 48″ faces for the end caps. The outside measurements were 48″ wide by 35 7/8″ tall. The top of the face will be level with the top of the cabinet but the bottom will face will overhang on the bottom just slightly.

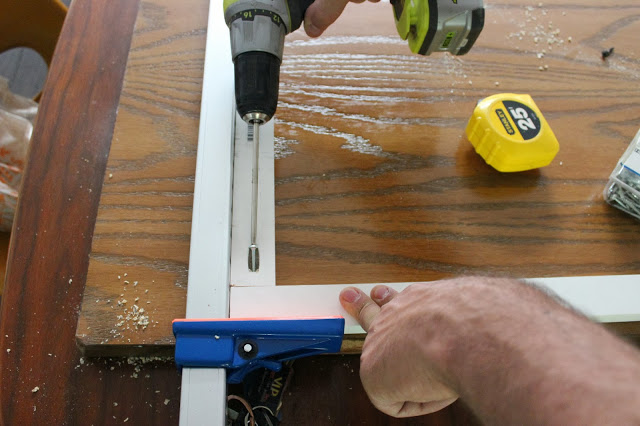
We picked up a couple 5 ft clamps at Harbor Freight (great place for cheap tools, although they are not very good quality) The clamps helped us ensure the corners were square while we used the pocket screws and glue. Make sure all the pocket holes are on the same side (we may have made a couple mistakes that aren’t pictured :))

For the cabinets with doors we added a vertical face piece in the middle.

We then installed the face to the cabinet. To finish off the cabinet we added a horizontal trim strip for the drawers. We did this by installing a level piece of 1×2 behind the face that spanned the entire distance of the inside of the cabinet. We used finish nails to secure this piece to the back of the face. Once that was installed we cut a couple 1x2s and attached them to the horizontal piece so that they were flush with the face.

For the open shelving we did the same but instead of having to install an extra horizontal piece we just attached the face to the plywood shelves.

Once the faces were on we added trim to the sides and in between the cabinets so that it matched the uppers.
Once the faces were on we installed the counter top. This is fairly straight forward just place the plywood on top of the cabinet with a 1″ to 1 1/2″ overhang and glue and finish nails. We used screws that would be under the uppers to secure it as well.
Ok, I’m tired just writing that- so you must be exhausted reading and trying to comprehend it. That is if you even made it all the way down here;)
We will have a couple more posts about how to install the doors and drawers, and the steps we took to alter the top piece and make it look like one uniform piece. In the mean time, its Friday- lets celebrate!

Share this:

  • Google
  • Pinterest
  • Facebook
  • Twitter

Filed Under: House Projects, New House Family Room, Tutorials

« How to build cabinets…..delayed
Design Inspiration Monday »

Comments

  1. Sherri says

    October 5, 2013 at 5:04 am

    I just looked through the last couple posts and saw the absolutely stunning built-ins. OMG! Those are the most amazing I have seen. Jay is certainly a master at this. What a talent. The glass doors make such a difference. You guys always seem to find the “perfect” things. Like the chandy for your dining room that put the exclamation point on the room. That campaign dresser behind the sofa’s not too shabby either! Love how your home is progressing.


Hi there. We are a married couple with three sweet kiddos. On this blog we document our DIY home projects, design inspiration, and our parenting life along the way. More >

Instagram @Dreambookdesign

Categories

Archives

  • Email
  • Instagram
  • Pinterest
  • RSS
  • Twitter

Copyright © 2025 · Blog Design by Sweet Theory Designs · Blog Set-Up By Blogelina