
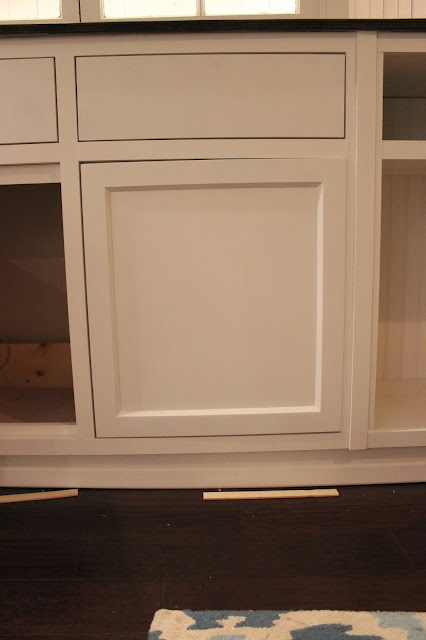
One of the aspects of our built-ins that we just love are the fact that we were able to install inset cabinet doors. We feel that this adds to the character of the cabinets and makes it look like the cabinets are original.
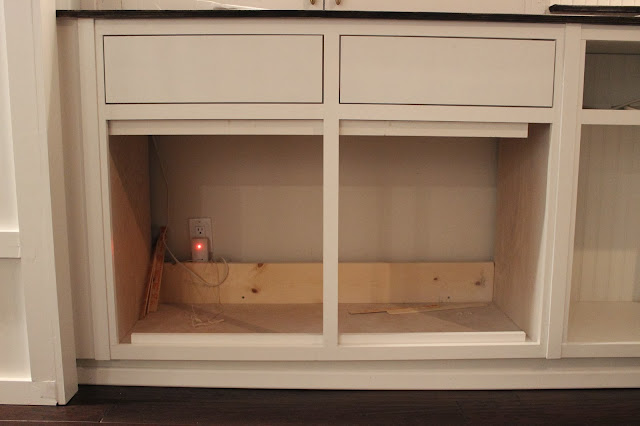
Our first step was to add strips of wood on the inside of the cabinet at the top and bottom to act as bumpers to stop the doors from swinging in. We simply used some glue and finish nails.
 |
| Forgive the terrible lighting in these photos..projects these days are after Bray is in bed! |
For our doors we decided to order them from Cabinetnow. We could have spent the time to make our own but we felt that just ordering these was well worth the extra money. We got all the doors and drawer fronts for $230 {instead of DIYing them for probably around $90}, which isn’t nothing but probably saved J two days of work, so totally worth it.

Door fronts: here
Drawer fronts: here
On their website is a guide to measuring for your doors, but basically you just measure the height and width of the opening and subtract 3/32″ from both. This will allow the door to fit inside the opening. J made a mistake here. He actually ordered the doors 1/8″ smaller since we were painting the doors. We figured that the paint would add just a fraction to the doors and he did not want to have to cut the doors down at all. This was not needed and actually left a slightly large gap than we wanted (although not that noticeable). So from this we learned that the 3/32″ deduction would be plenty even after the doors/drawers are painted.
Hardware:
Originally we wanted to use hinges that mounted to the front of the doors so we could add some more brass to the cabinets. J searched and searched but he could not find ones that worked. So after some debate we settled on using these european hinges:
We used the frameless inset hinges. We also used these mounting plates and screws:
Installation:
If we had known that we were going to use these hinges prior to ordering the doors we would have had Cabinetnow bore the holes for the hinges for us, but since we didn’t we just did it ourselves. It was very easy and probably saved a few dollars, so that is nice as well.
To bore the hinge hole we purchased this kit from Home Depot and followed the directions on the package. Just mark and drill. Easy and quick, but a little messy.


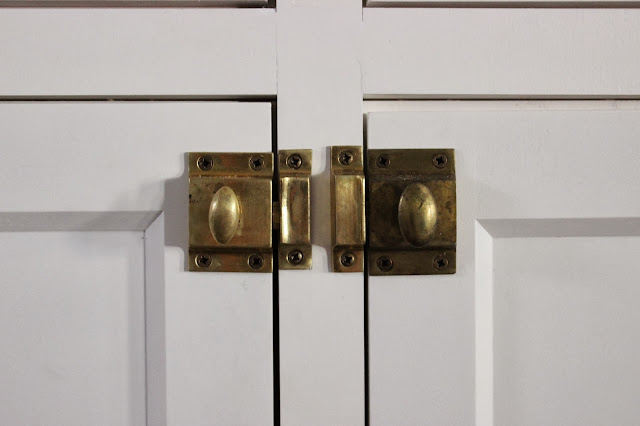
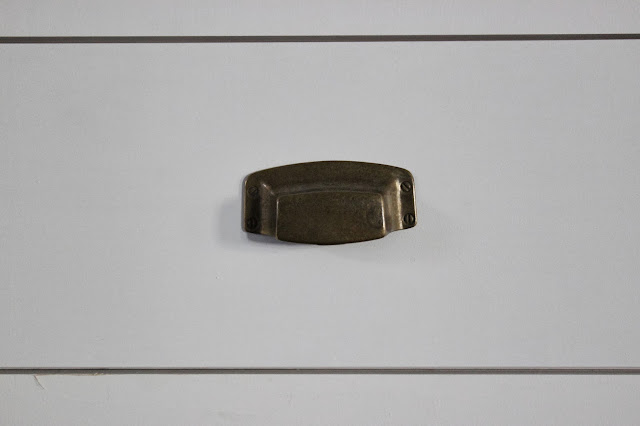
We installed the cabinet pulls just like we did in our kitchen (here). We got the pulls from amazon and the cabinet latches from ebay.


I think they look absolutely beautiful! I am staring at my end family room and hoping they materialize there (only with the center portion a desk) but no luck yet! May I ask why the fake-o drawer fronts rather than, um, drawers?
Looks gorgeous! I have some built in bookshelves that I’ve been wanted to add doors to the bottom. This would be an excellent solution!
Wow. This turned out so great. What a big undertaking. I love the old mixed with the new. Great job!
Wow, you guys did an amazing job! Your home is definitely a labour of love.
I love what you did to your cabinets! The fruit of your own labor is remarkable. Thumbs up!
–http://quikdrawers.com/
Finding a place for installing the right cabinet remains a tough proposition for most people. Cabinet installer
It’s actually a great and useful piece of info. I am satisfied that you shared this helpful
info with us. Please stay us informed like this.
Thank you for sharing.
I’ve been browsing online more than 4 hours today, yet I never
found any interesting article like yours. It is pretty
worth enough for me. Personally, if all webmasters and bloggers made good
content as you did, the web will be much more useful than
ever before.
Howdy! Do you know if they make any plugins to safeguard against hackers?
I’m kinda paranoid about losing everything I’ve worked hard on.
Any recommendations?
Please do yourselves a favor, don’t use end grain blocks of wood to hold the screws.