This is a Sponsored post written by me on behalf of Elmer’s ProBond Advanced for SocialSpark. All opinions are 100% mine.
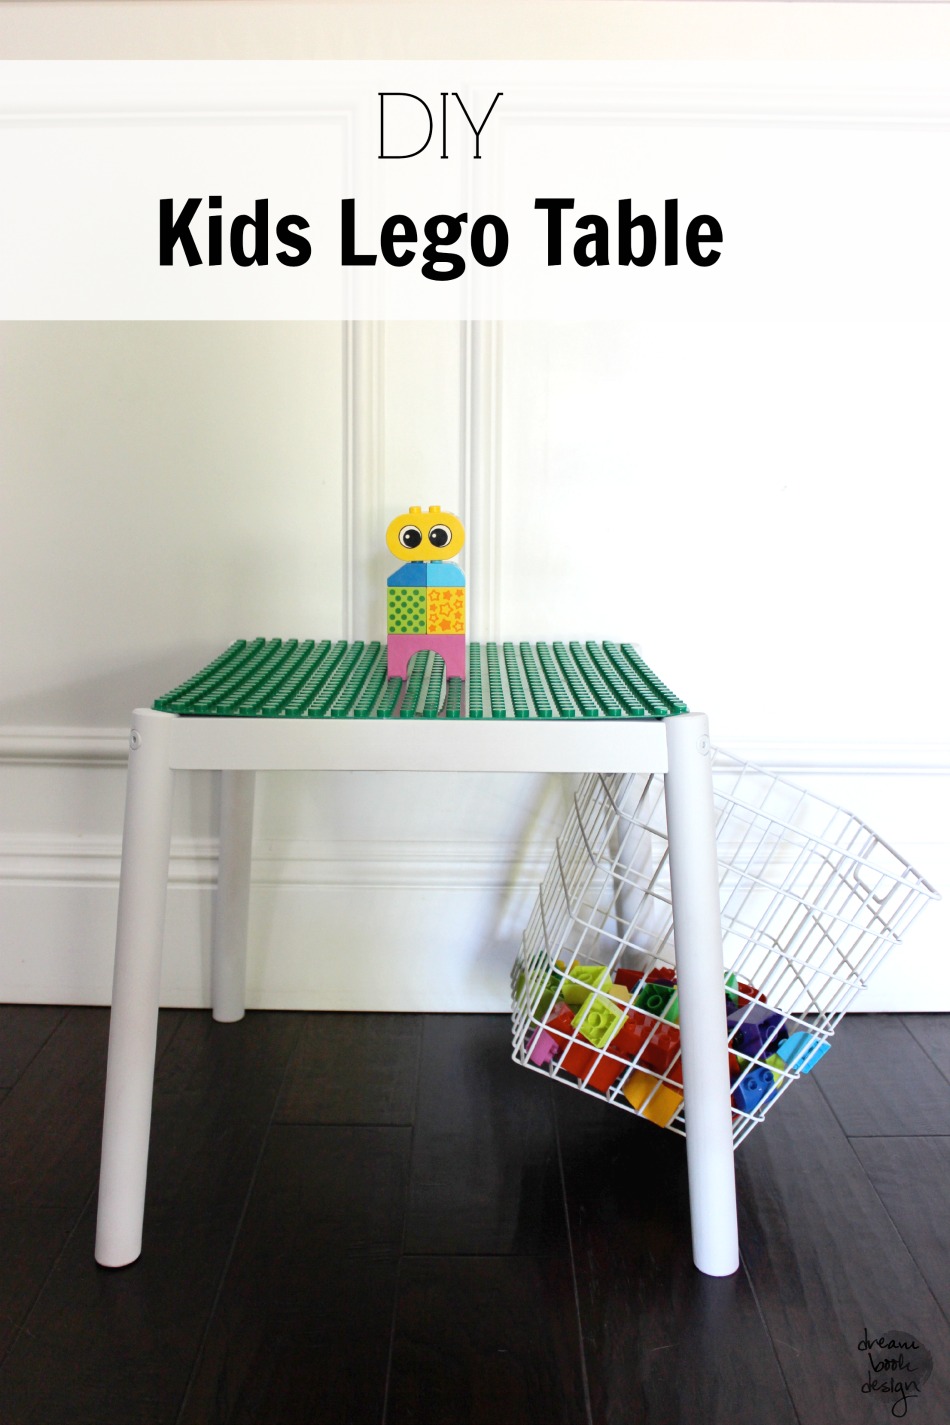 I don’t know about the kids in your life, but my little man is absolutely obsessed with Legos. It doesn’t matter if they are duplos, really tiny legos, or medium- he loves them all! I love the fine motor skills it trains him with, and I love watching his imagination run wild with them. What do I not love though? Having them all over the floor at all times. And having the lego board also be on the floor, being stepped on and almost broken constantly. I knew we needed a solution, so in came the idea to make a DIY Lego Table.
My girlfriend had given me this little wooden table awhile back for Brays room {I think she got it at Ikea, but not sure} and it just so happen to be the perfect size for the lego board we already owned! My only problem was I didn’t know the best way to attach it, and I didn’t know what I wanted to do with all the Legos floating around. Then I remembered hearing about the new Elmers product, ProBond Advanced. This stuff is crazy! It bonds the most impossible Mixed Materials together- wood to metal, ceramic to drywall, etc- all without leaving a sick and messy foam residue! I knew that could get the Lego board on securely, and even help get the basket I wanted attached, on.
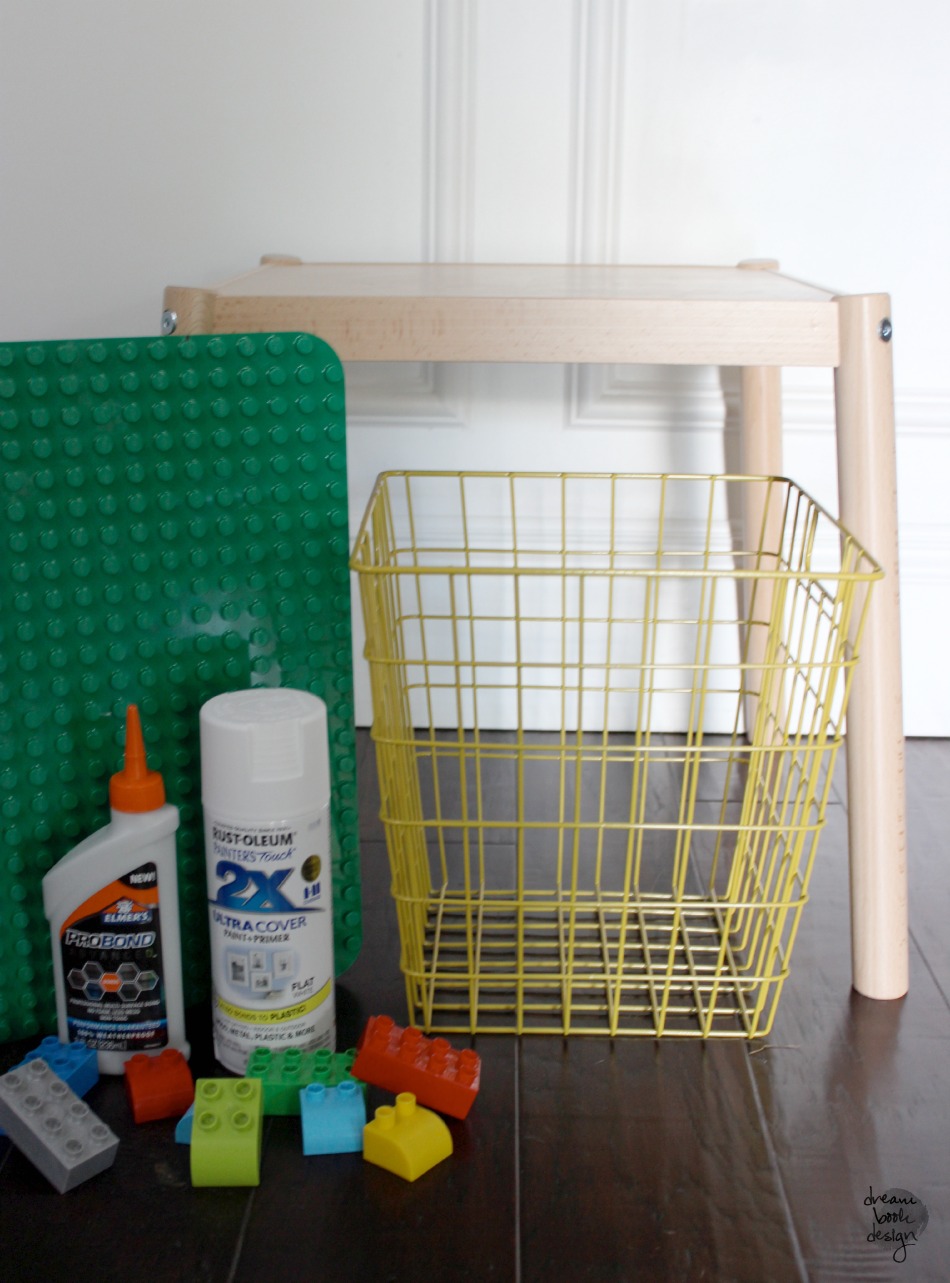 I knew I wanted the table and basket to be white, so first thing I did was spray paint it. It has been SO humid and rainy here in Phoenix, and the mosquitos have been swarming. They love me, and I hate them! Within minutes of being outside painting, I was covered in bites. The things we do for our kids;)
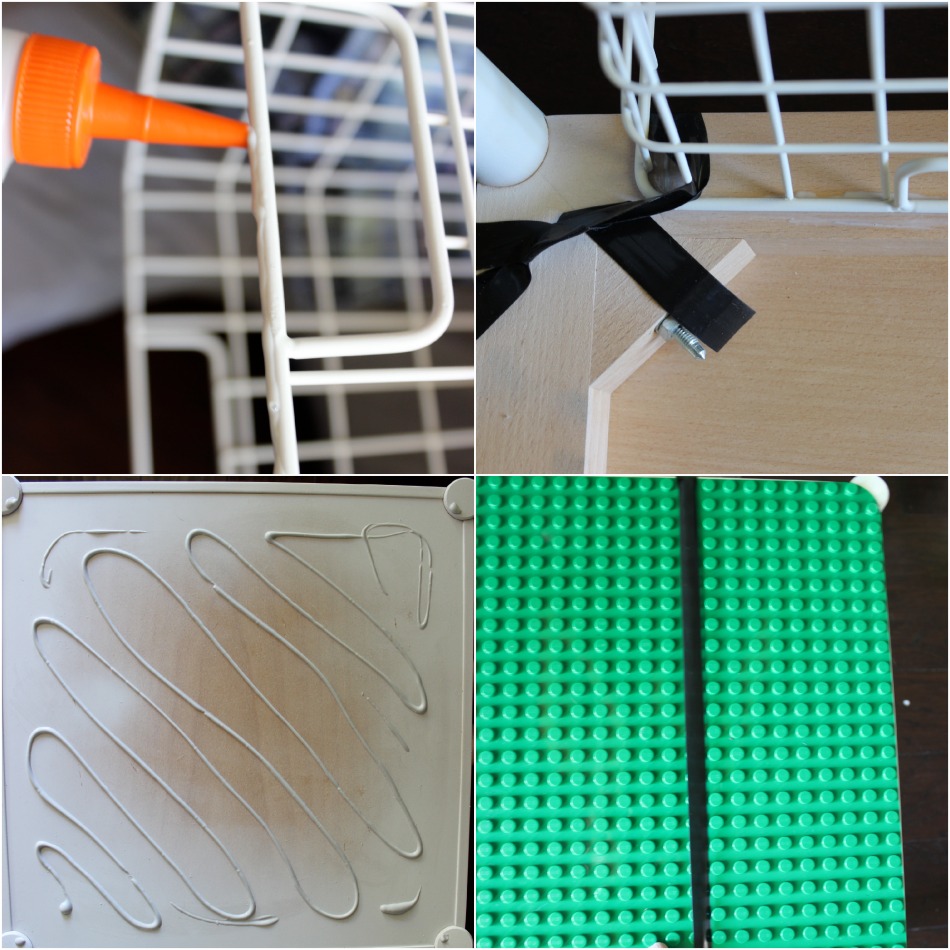
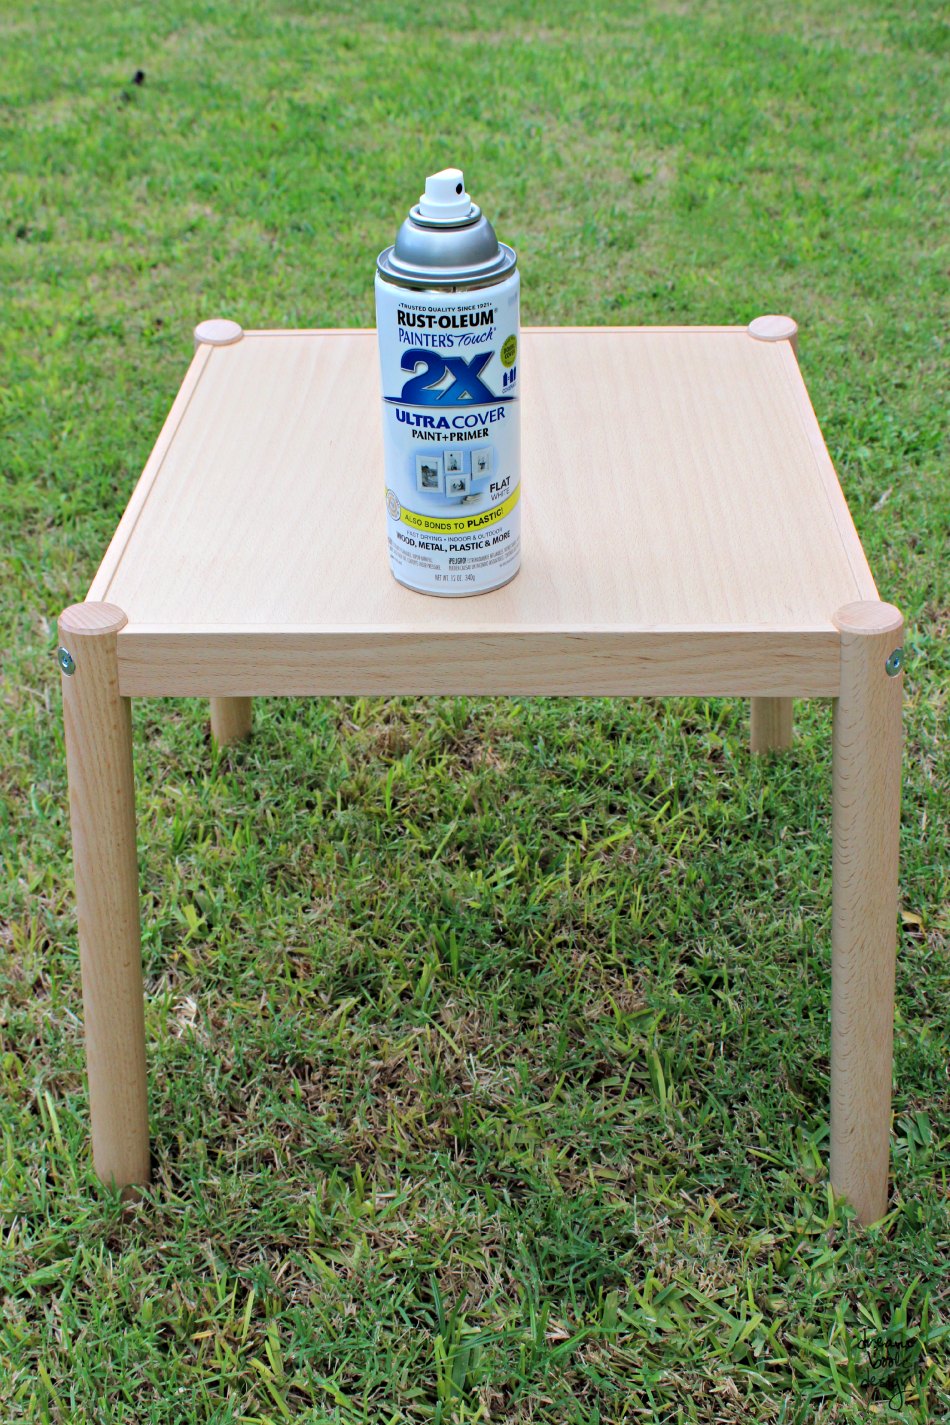 I posted on Instagram asking how many of you actually wait the suggested time between spray paint coats, and I loved the answers. I never ever wait, I simply feel it and if it feels pretty dry, I just spray the extra coat. Apparently I am not alone in this:) I did/do however let the paint fully dry 24 hours before doing anything rough to it, like adding the board and basket. But when it was go time I got out the ProBond Advanced and the clamp tape. The clamp tape takes away the need for using a typical clamp, which is awesome especially when you are clamping to a surface that can get damaged. We started by gluing the basket and using the tape to hold it in place. Then next was gluing the board to the top of the table. The glue went on so easily and was awesome because not only did it only go where I actually put it, but it dries totally clear and paintable, but read this article to see if it’s weatherproof too.
 We let it all dry for 24 hours, and couldn’t wait to see Brays face when he saw what we made for him! He was ecstatic! The table is a perfect size for him, and I am in love with the fact that not only is it a place for him to play with the Legos, but that the basket keeps them off the floor! No more wanting to cry by stepping on those dang things {am I right or am I right?!}

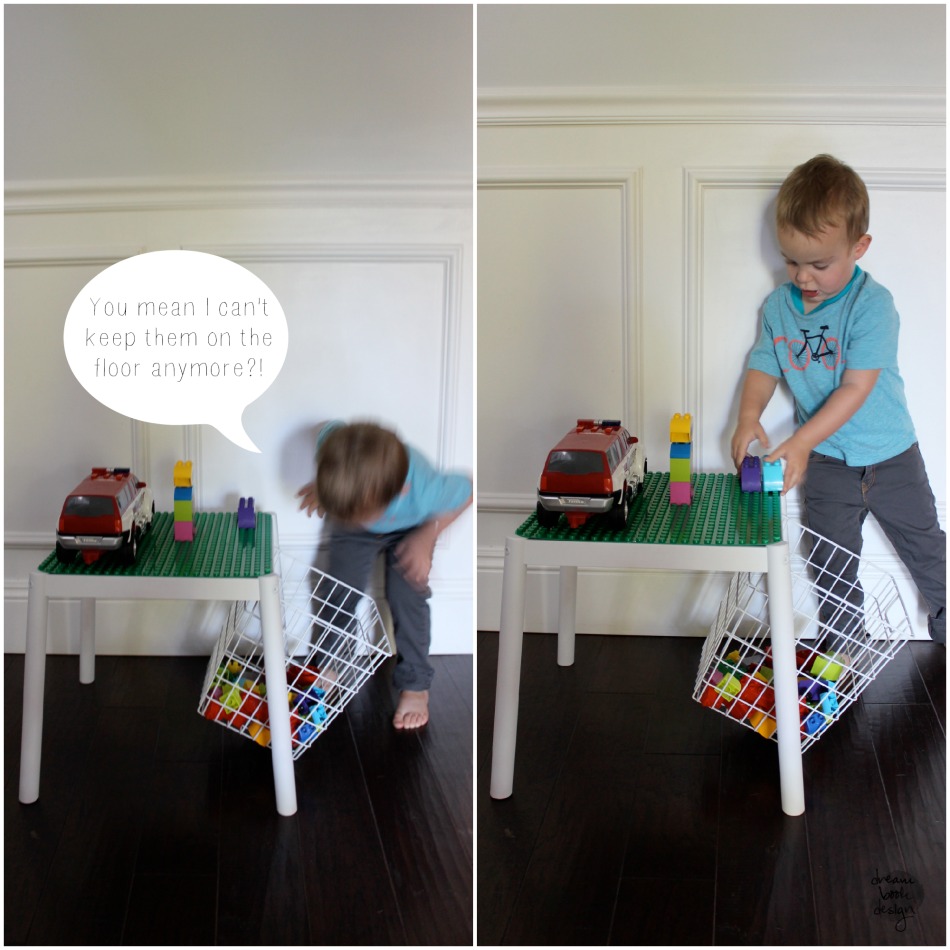 End result? He loves it! I love it! The process was super easy with the help of ProBond! All in all, its a win!
