• Home
  • About Us
  • Happy Juice โ€“ your new fav wellness tool
  • Project Gallery
  • Buy One Of Our Homes
  • Contact
    • Amazon
    • Email
    • Facebook
    • Instagram
    • Pinterest
    • RSS
    • Twitter

Dream Book Design

How To Paint A Kitchen

Today I painted the kitchen. As we speak my back hurts, my hands are tired, but I am so happy! I thought I’d share some of my most useful tips I followed today to help the painting go smoothly. There are some bits still left to do that I have considered actually getting professionally spray painted. We would consider tackling these jobs ourselves, however, there are some strict rules on paint booth fire safety and the materials that you are able to paint. This is obviously particularly important to research into when painting items for a kitchen. So, we mostly tackled the job ourselves and I am definitely proud of what we have done!

Tip #1:
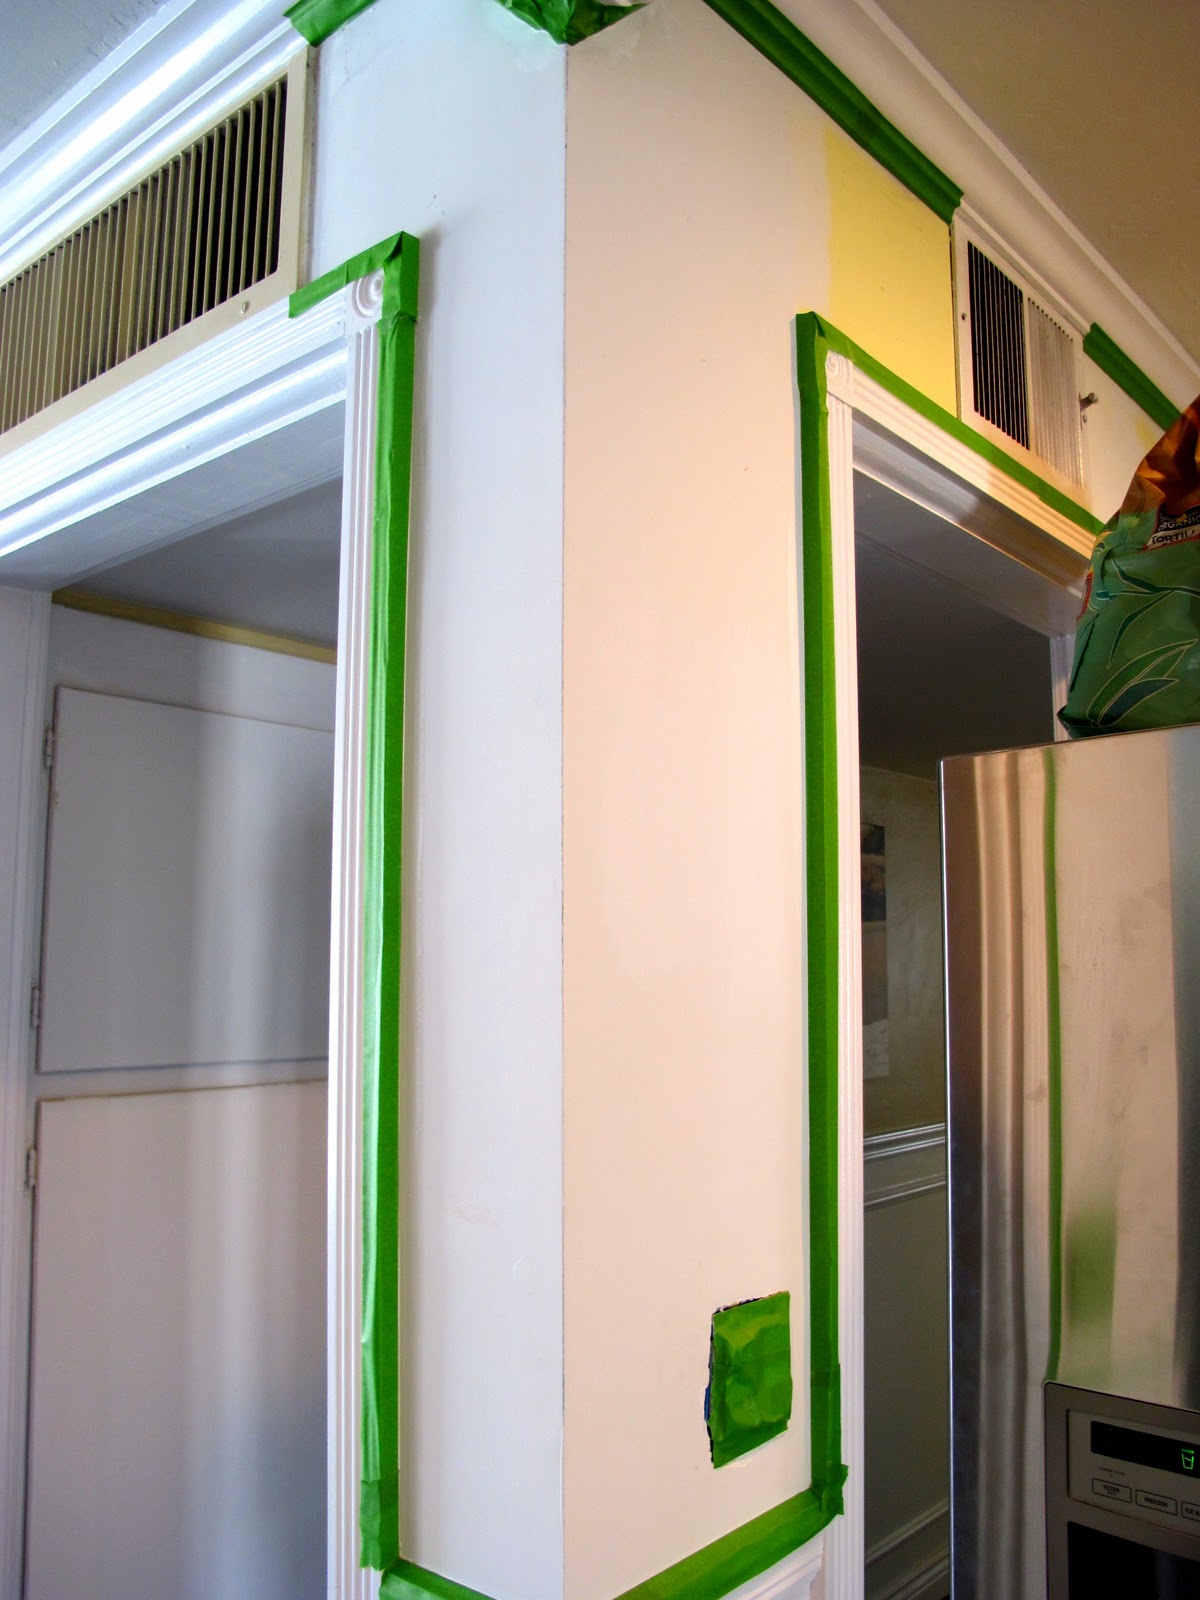
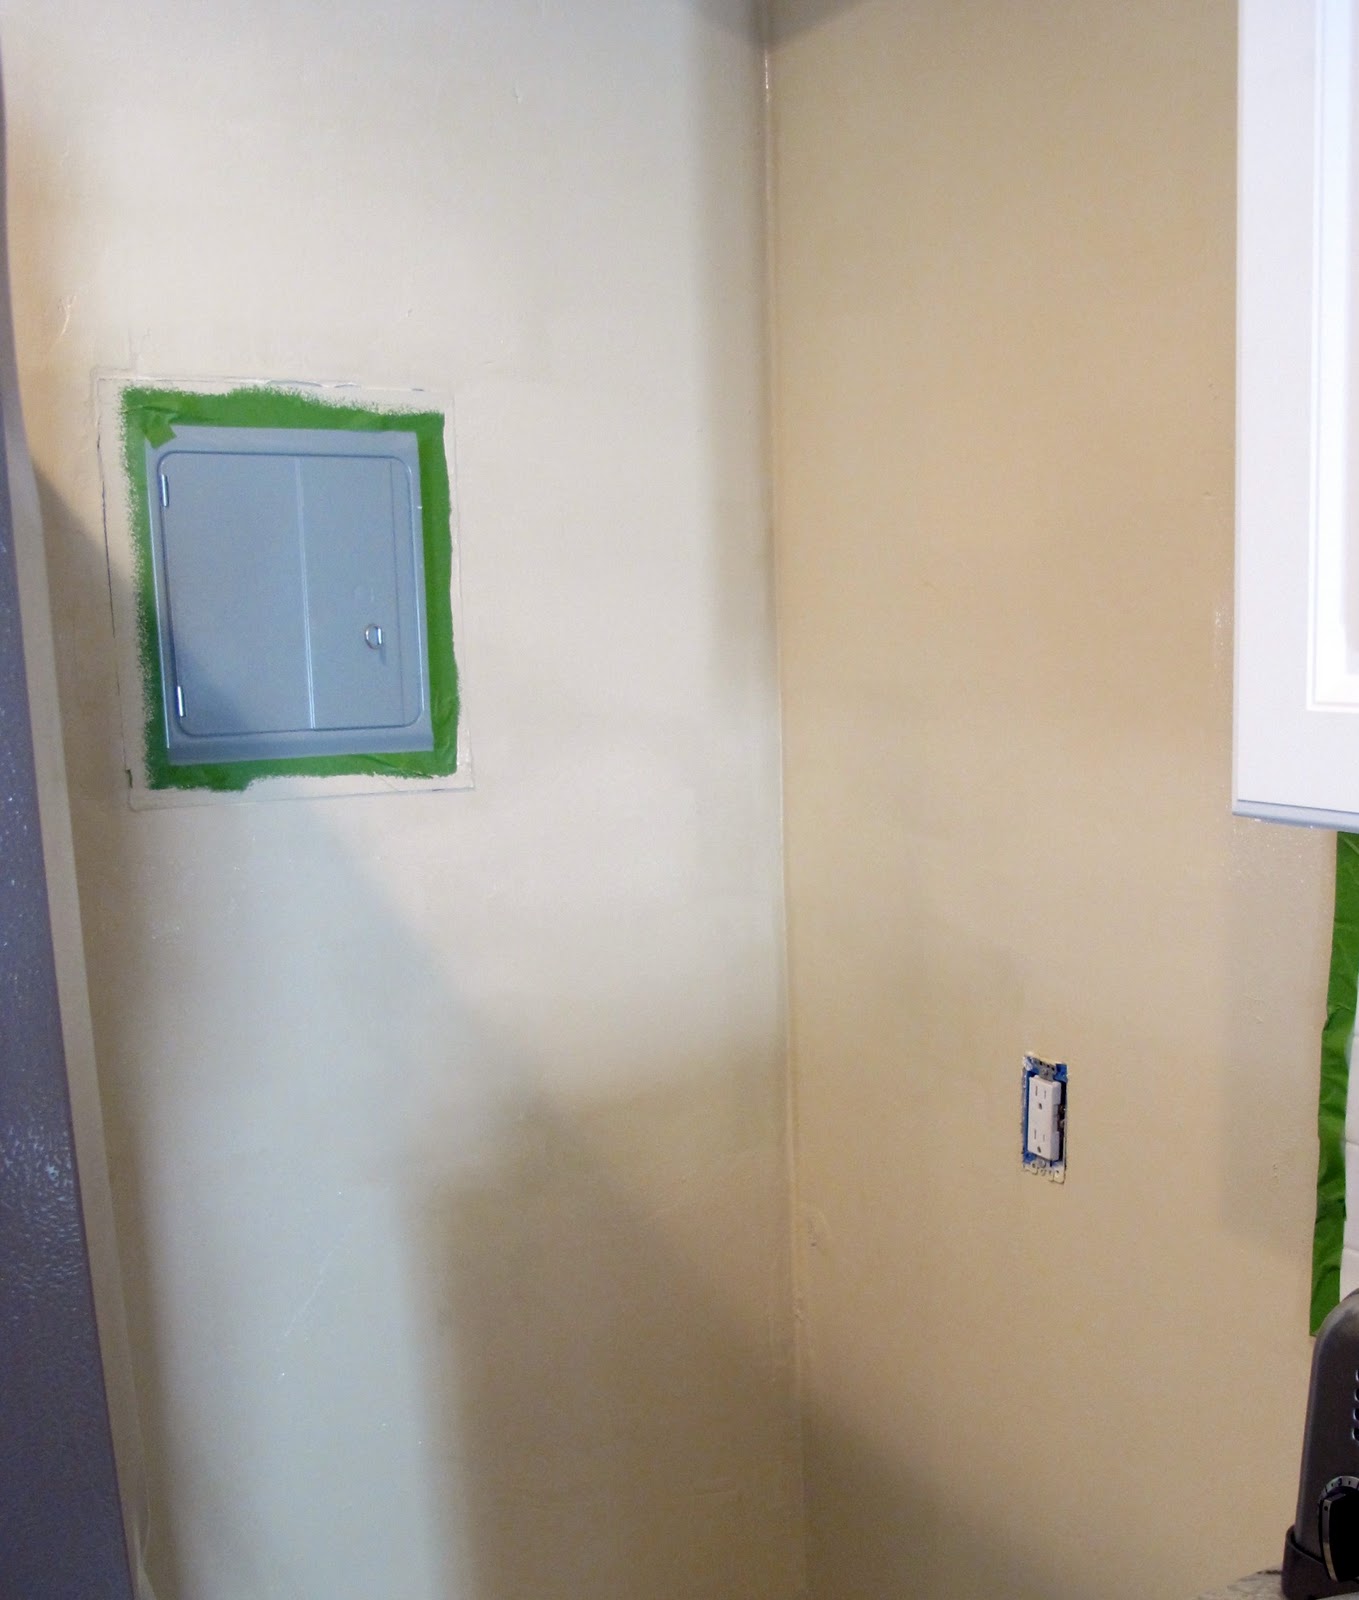
Always take your time to do a great taping job. For me, taping is the most annoying part, because I feel like I see no immediate results- BUT I also know its the most important thing I can do to help myself. Take your time and tape off well, and to keep your sanity- make sure you have a great playlist of music going.

Tip #2:
Use Frog Tape. You will love me for this tip if you’ve never used it. It makes painting so much easier because the tape actually works and holds its line. The blue tape is good, don’t get me wrong, but with this tape you will never have paint bleed through the tape.

Tip #3:
Protect what you’ve got. We just got our new cabinets in, and if I got paint all over them I think I would want to die. I simply protected the cabinets by first taping them off, and then to protect the tops I laid small trash bags over them. Easy on and easy off. You could use anything really, I just had these on hand.
Tip #4&5:
Wrap your paint tray in a bag. We use our small trash bags {same ones as above} every time we paint. Simply stick the tray in the bag and tie it off at the shallow end{the end you use to roll the roller out}. That way when your finished all you have to do is take the bag off and throw it away. This is my most favorite tip ever! The last thing I enjoy doing once i’ve been painting for 6 hours, is wash out my tray. ALSO when your waiting really quick for a coat to dry so you can do another coat, or a touch up somewhere, simply cover your brushes and tray in plastic. Some say they wrap their brushes and stick them in the fridge, I am kinda lazy though so I just cover it all, and leave it out. By doing this your paint and brushes don’t dry out or get that film over them. AMAZING!
Tip #6:
Know where a second coat is needed. Since we always use Behr Ultra Premium Plus our paint jobs never take more than two coats. Although the kitchen overall took two coats for a perfect finish, I only did one coat on the wall behind the fridge. No point in waisting my time, and the paint. Only paint fully where you actually need to:)
Tip #7:
Always {if possible} remove the switch plates before painting. It takes two seconds to remove them, it takes 2 minutes to tape them well…whats better?! I remove mine and then tape the actual light switches. This way you don’t have to worry about any paint getting on the switch plate, which leaves you with a very clean look.

Obviously we didn’t end up going with a light gray. Kinda bummed. Once we really started planning it out we realized that theres a wall that would be completely awkward if we painted the kitchen a different color than the living room {SEE FIRST PHOTO. THAT CORNER WOULD BE WHERE THE TWO COLORS MEET…AWKWARD} I think were actually going to be pretty happy that we went with the same color, it really makes the kitchen and living room flow together.
Hope these tips help you on any future painting adventures. If you have any other tips, I would love to know them!
<3,
Adri

Share this:

  • Google
  • Pinterest
  • Facebook
  • Twitter

Filed Under: House Projects, Tutorials

« Valentines Day Menu
Change Of Mind… »

Comments

  1. Mary says

    February 16, 2011 at 1:45 pm

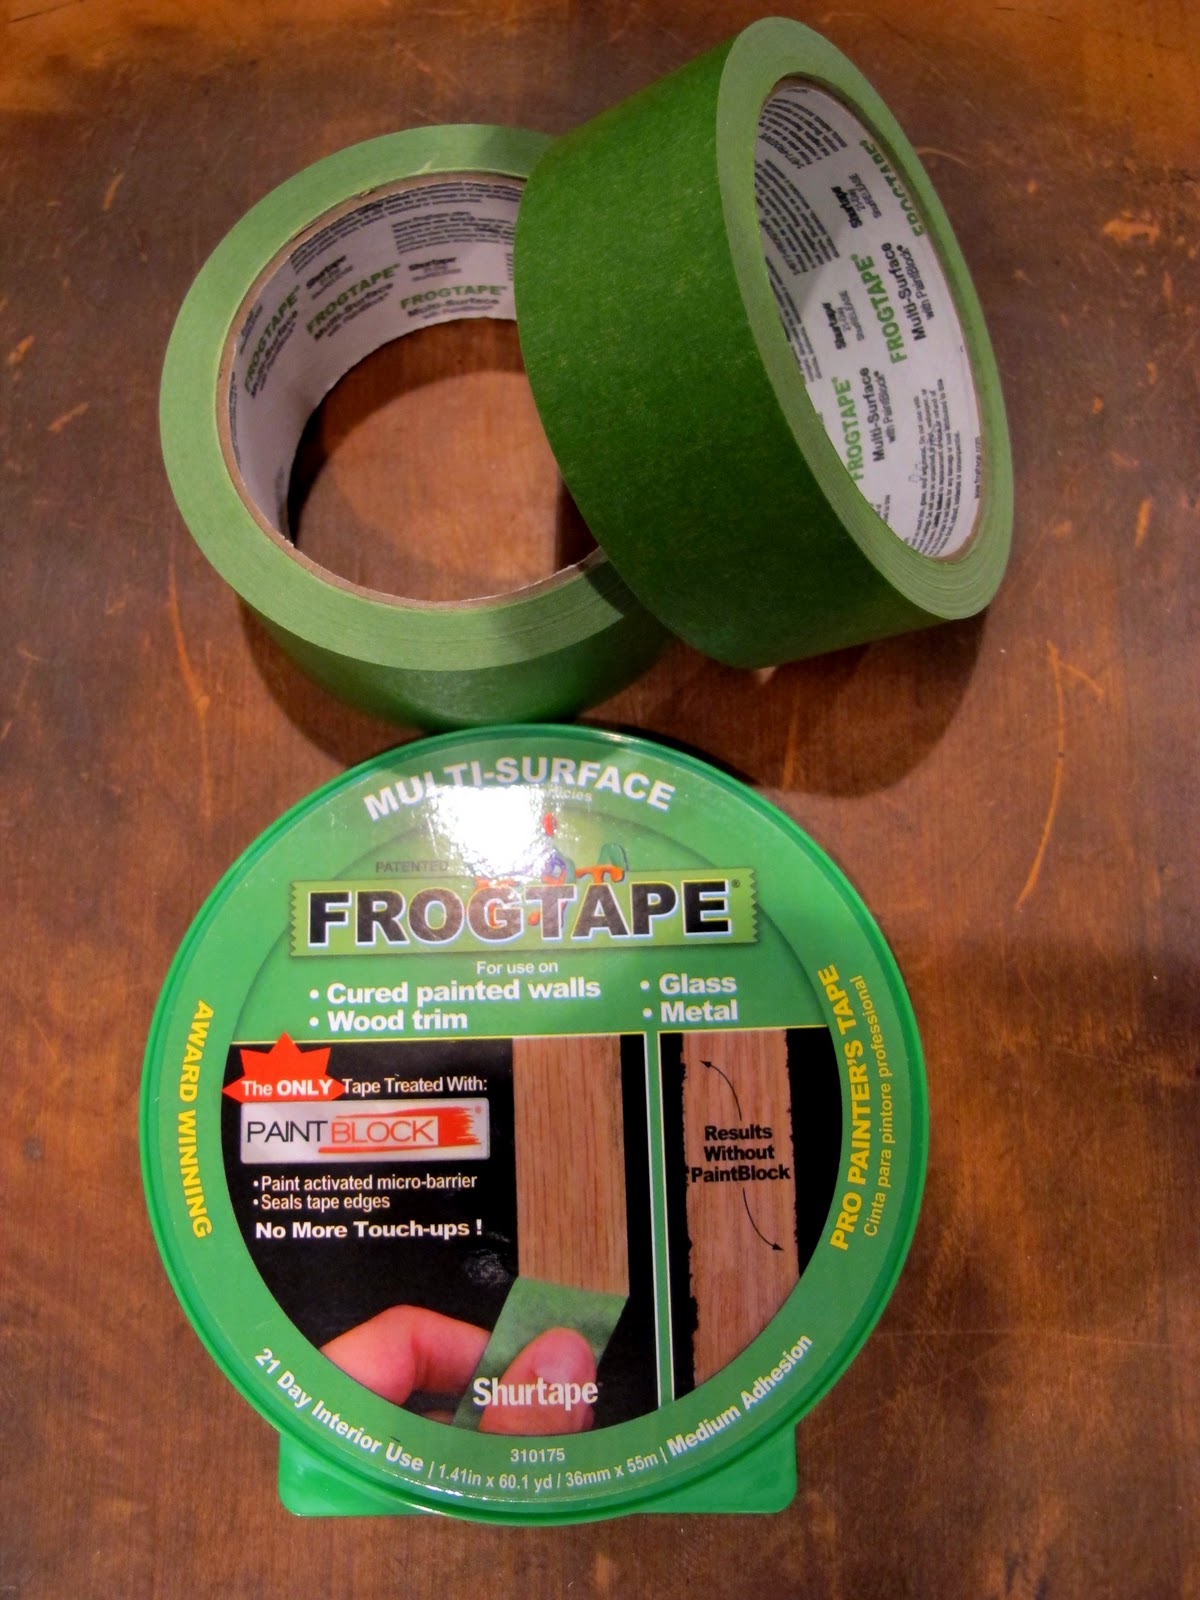
    So so so glad to know frog tape is worth the extra money. I spent so much time on touch ups. Painting kitchen next week hope it works ๐Ÿ™‚
    Mary

  2. Cassie says

    February 16, 2011 at 1:48 pm

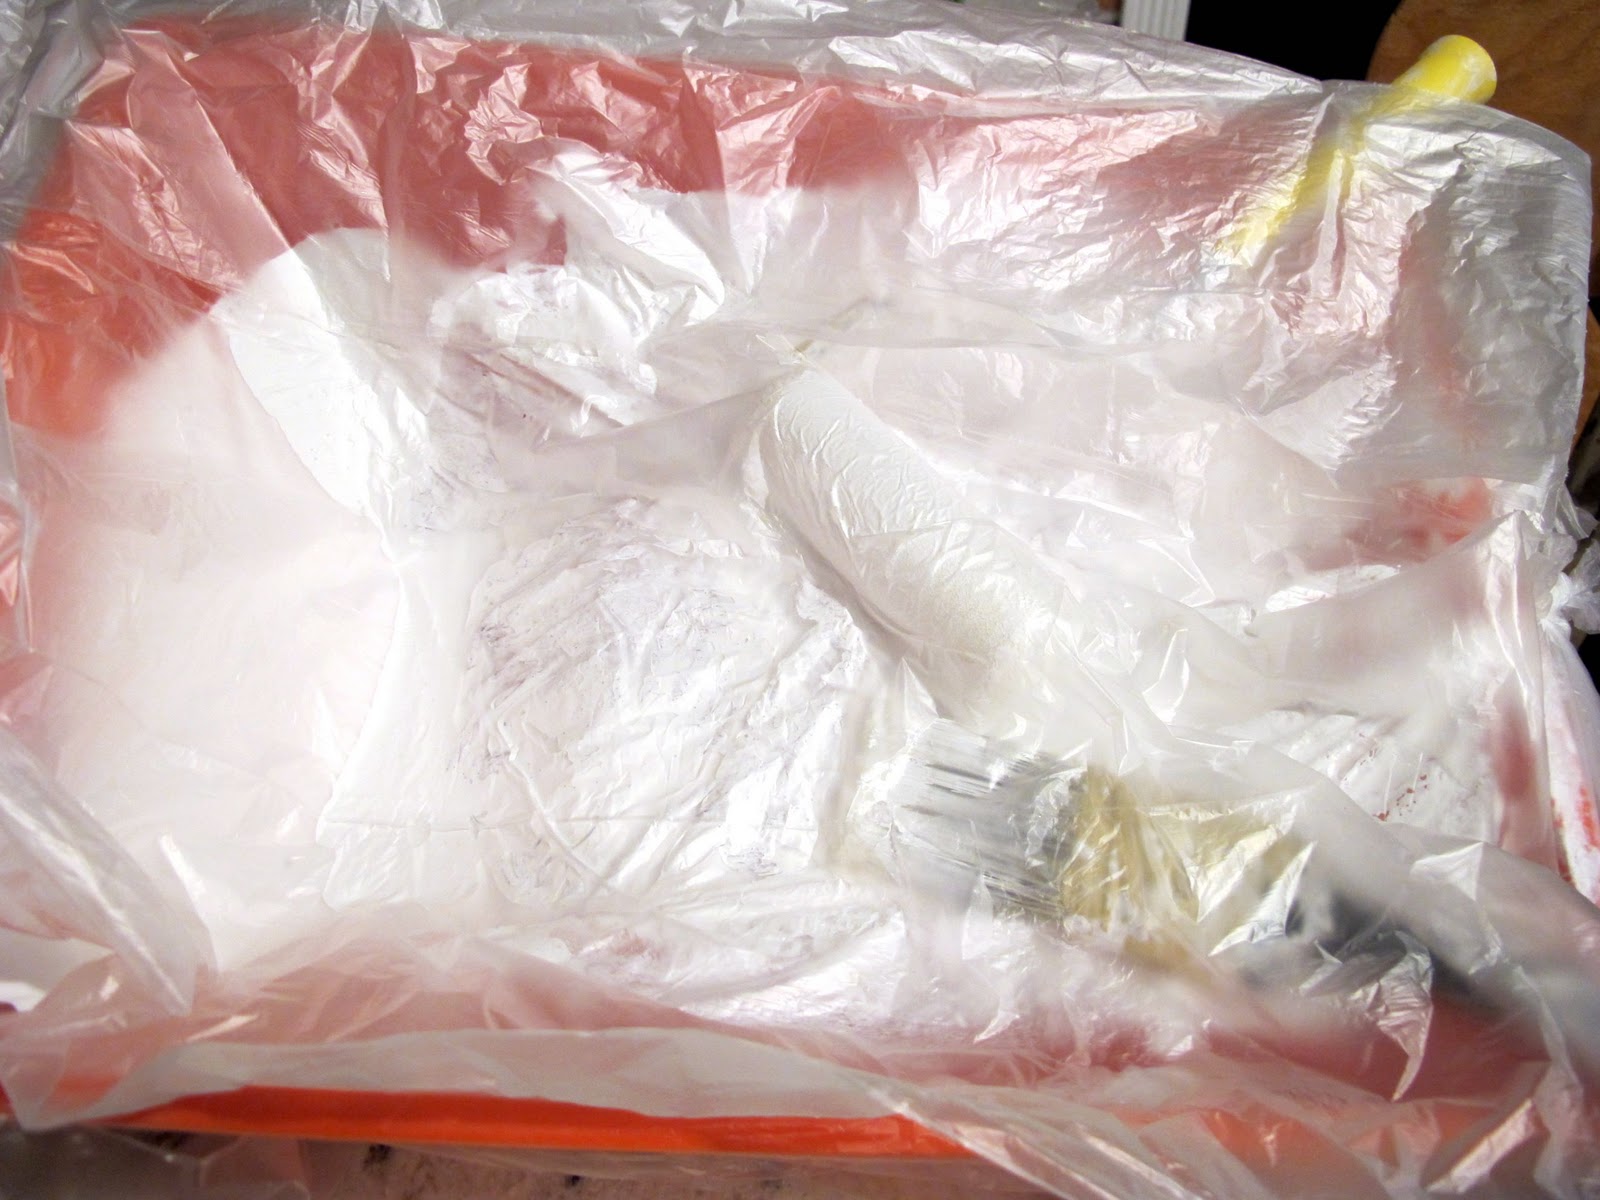
    So glad Frog Tape got a shout out! Been painting a ton and tried it for the first time – completely agree with you! The trash bag tip is a good one, thanks!

  3. Angy says

    February 16, 2011 at 3:48 pm

    Ok, I’m ready to see the final product ๐Ÿ˜›

  4. courtney says

    February 16, 2011 at 4:10 pm

    i totally agree on the frog tape. it changed my life when i found it. congrats on the new paint. it makes everything feel so fresh!

  5. adrianne says

    February 16, 2011 at 4:27 pm

    Mary-definitely worth the extra money for sure! Good luck with your kitchen…just get some good music going and you’ll be finished in no time!
    Cassie- glad we agree-and YES use the trash bag , it’s such a time and mess saver!
    Angy- HOPEFULLY I’ll have some photos next week! If all goes well:):)
    Courtney-thank you! It does make it feel fresh, although now I’m looking at the kitchen and I dint think I love the color. Haha oo the joys of paint. At least it’s an easy change!
    <3,
    adri

  6. Anonymous says

    February 17, 2011 at 10:55 pm

    Not true about the Frog Tape :(. I did however have to paint 4 coats of red paint though and it bled through all over. One tip we learned is to take the starter color and paint that over the tape and then paint the color you are planning on.


Hi there. We are a married couple with three sweet kiddos. On this blog we document our DIY home projects, design inspiration, and our parenting life along the way. More >

Instagram @Dreambookdesign

Categories

Archives

  • Email
  • Instagram
  • Pinterest
  • RSS
  • Twitter

Copyright © 2025 ยท Blog Design by Sweet Theory Designs ยท Blog Set-Up By Blogelina