• Home
  • About Us
  • Happy Juice – your new fav wellness tool
  • Project Gallery
  • Buy One Of Our Homes
  • Contact
    • Amazon
    • Email
    • Facebook
    • Instagram
    • Pinterest
    • RSS
    • Twitter

Dream Book Design

Installing Hardwood Floors

About 95% of our home has hardwood, and we love it. Yes is gets scratches, yes it shows dirt/dust, but yes-it also makes my heart smile. Yep, it has that effect!

Our amazing floor guy Steve Raub has done all of our wood floors, and always amazes us with how quick and efficient he is. He reminds me of the professionals about whom a friend of mine talked. This friend had recently bought a new house and wanted to decorate it beautifully. She decided on everything from room colour to window blinds and flooring. Though most of the work was done smoothly, she was struggling to find flooring installation experts who could install her selected wood flooring. It was at this point that she happened to find BM Handyman Watford, a company she possibly found quite reliable. Guess what? Now she has beautiful flooring which I am slightly envious of! In my opinion, the flooring installation professionals did an excellent job, just like Steve here!

Anyway, coming back to our flooring, let me tell you, our floors were a freaking disaster to start with. Almost no room was actually level, which is a nightmare for installing. He always would tackle each room with a smile, and amazed me when he even was given a bad batch of glue and had to work through it. The poor guy said hes never experienced something like it in his 25+ years experience. He first tried to scrape up the bad glue, then tried the {more} normal trick of putting sand on it, when that failed too he ended up using cat litter to remove it. Weird right?! That set back put him about two days back, and yet he smiled and whistled through it all {PS-Steve always whistles,always}.

Here are some shots of his steps:
  • Grind down the base floor {whatever it is in your case, in ours it was cement}
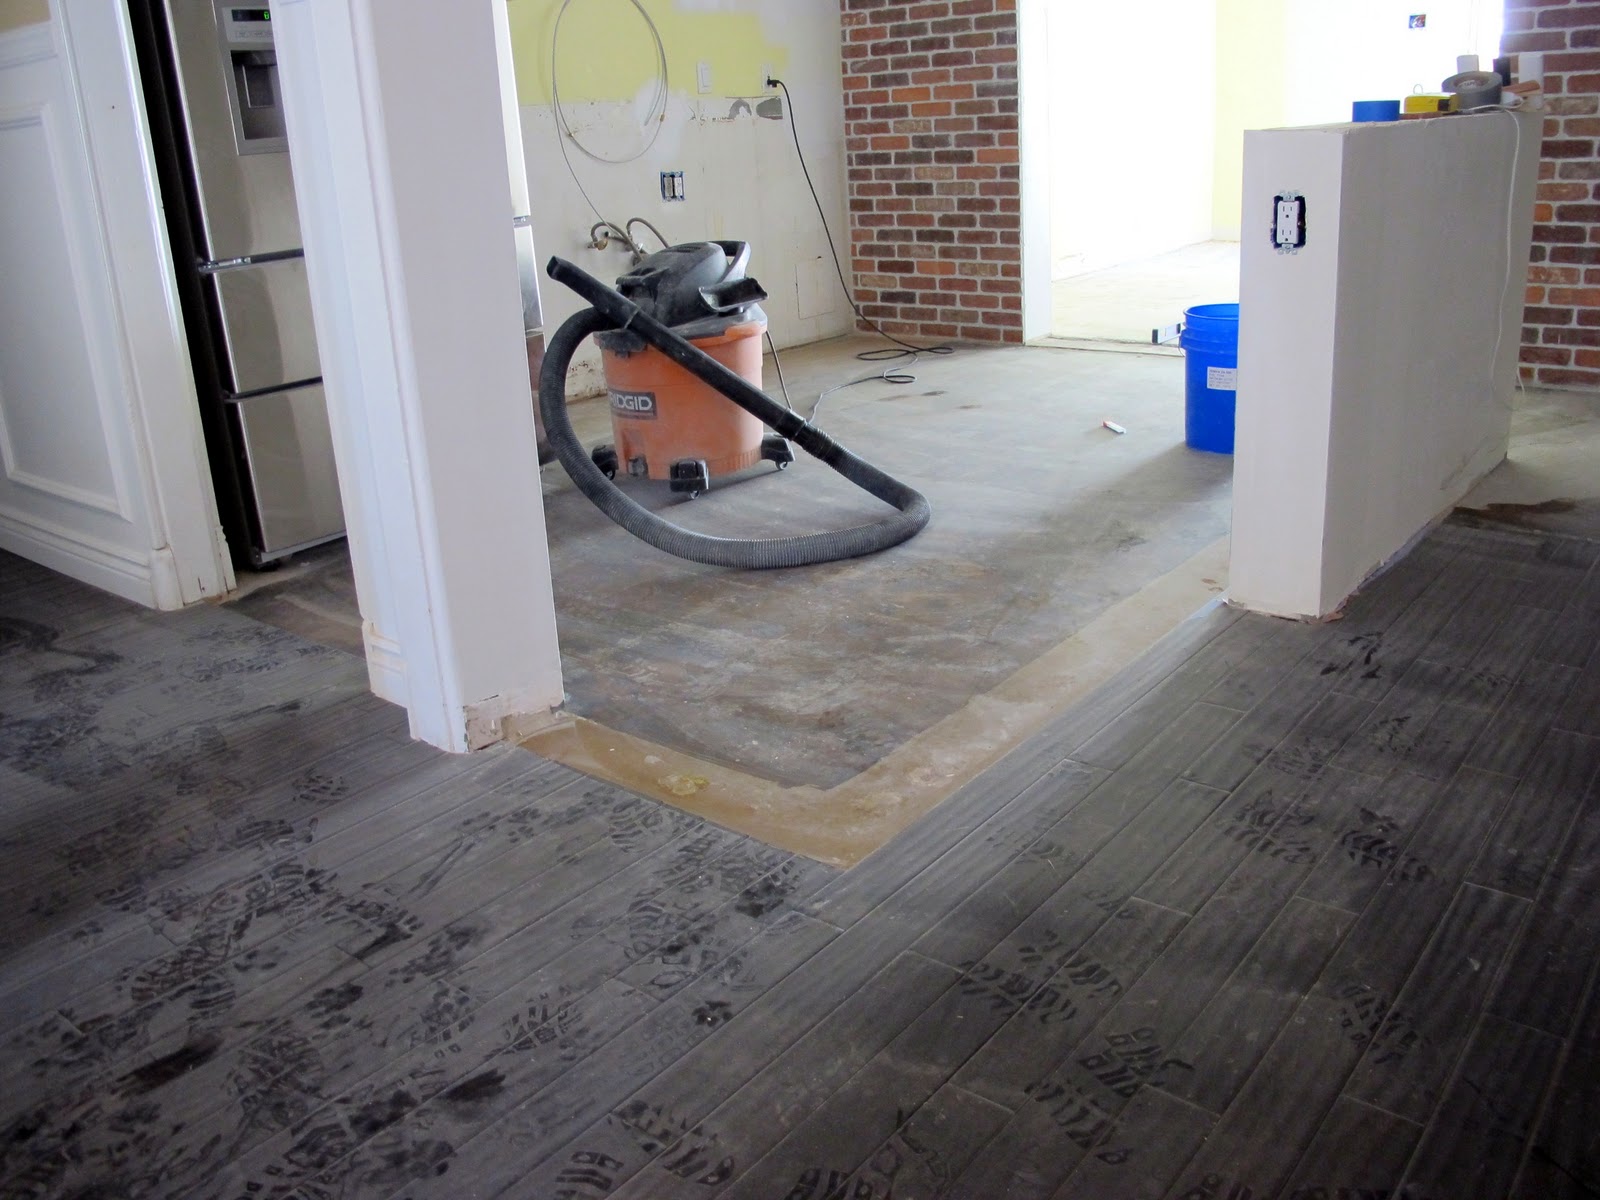
  • Level out the floor with cement {another grinding may be necessary in some cases, once cement has set for at least 24 hours}
  • Remove previous wood planks that will join with the new wood
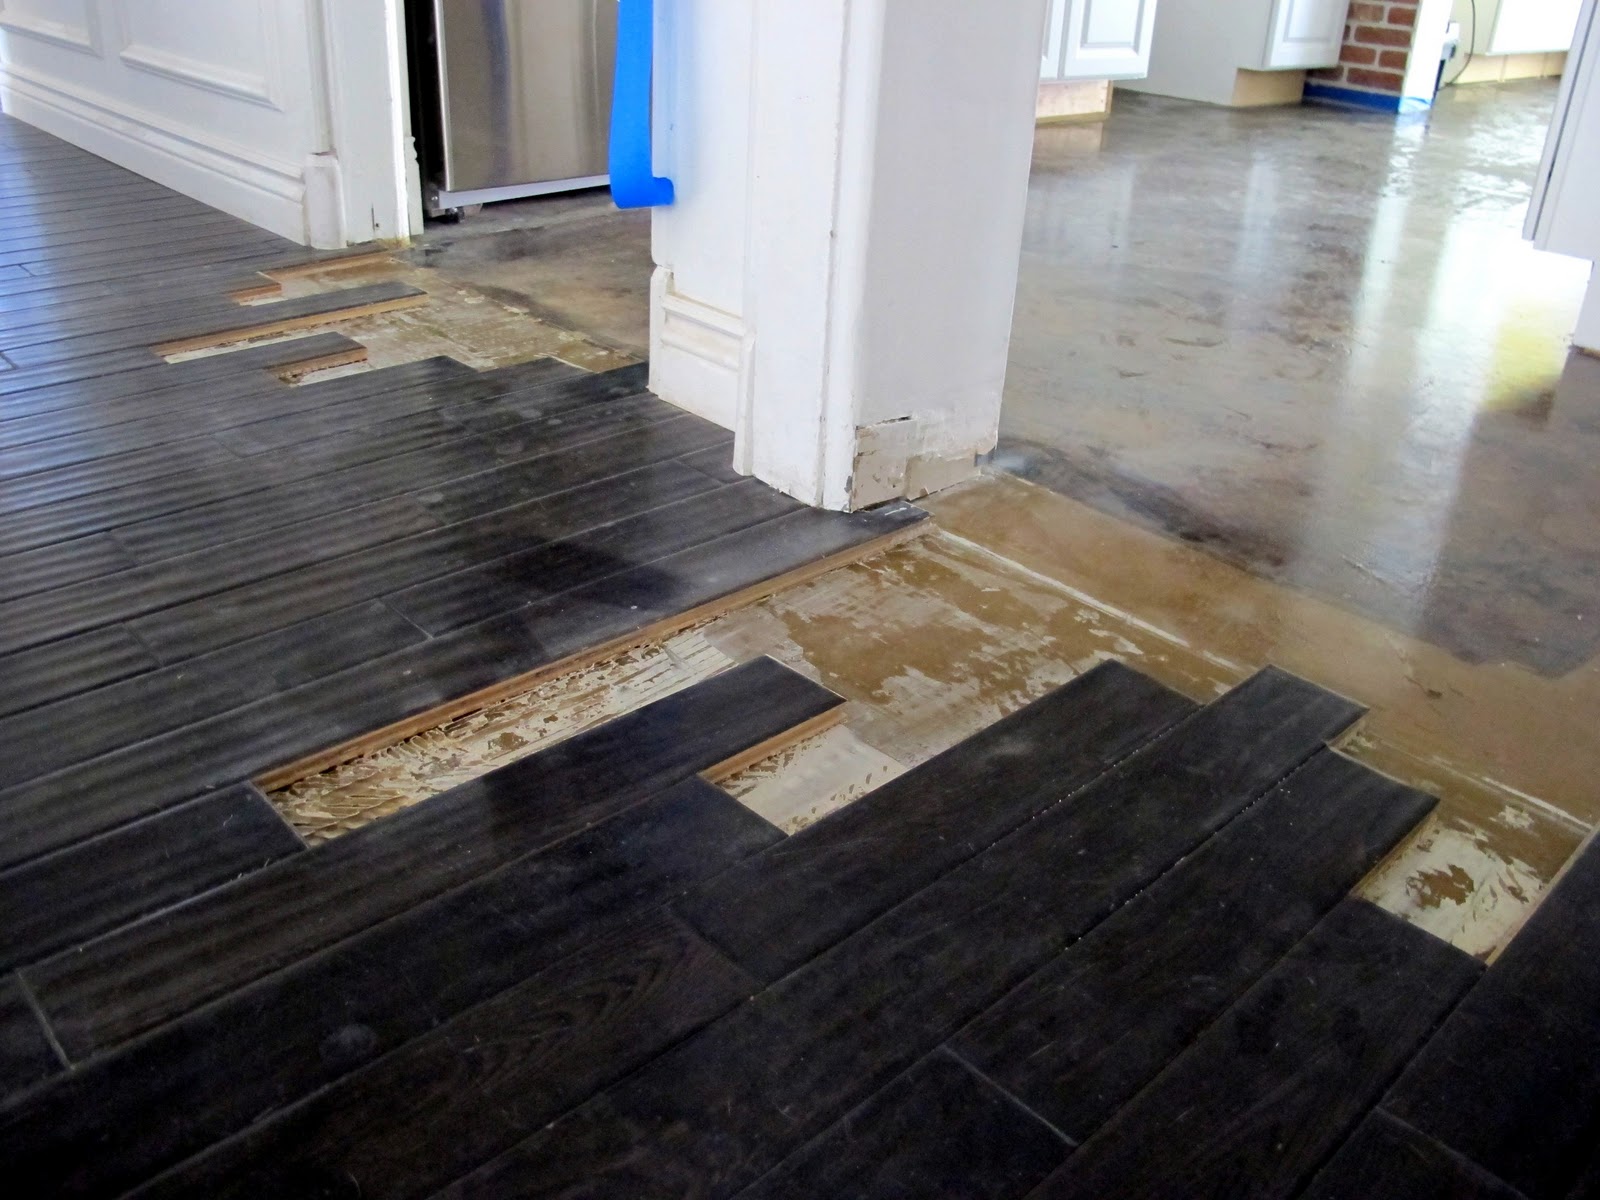
  • Apply glue to floor using the trowel
  • Connect planks, and hammer in using a hammering block thingie {I know, i’m so technical,you’re welcome}

Note:hammering block thingie
We think the wood turned out pretty fabulous, don’t you?
If anyone is looking for a fabulous, reliable, and family-friendly floor guy- call Steve.
<3,
Adri

Share this:

  • Google
  • Pinterest
  • Facebook
  • Twitter

Filed Under: House Projects, Tutorials

« DIY Plumbing Gone Bad
I Am An Aunt!!! »

Comments

  1. -Kasey says

    March 9, 2011 at 11:08 am

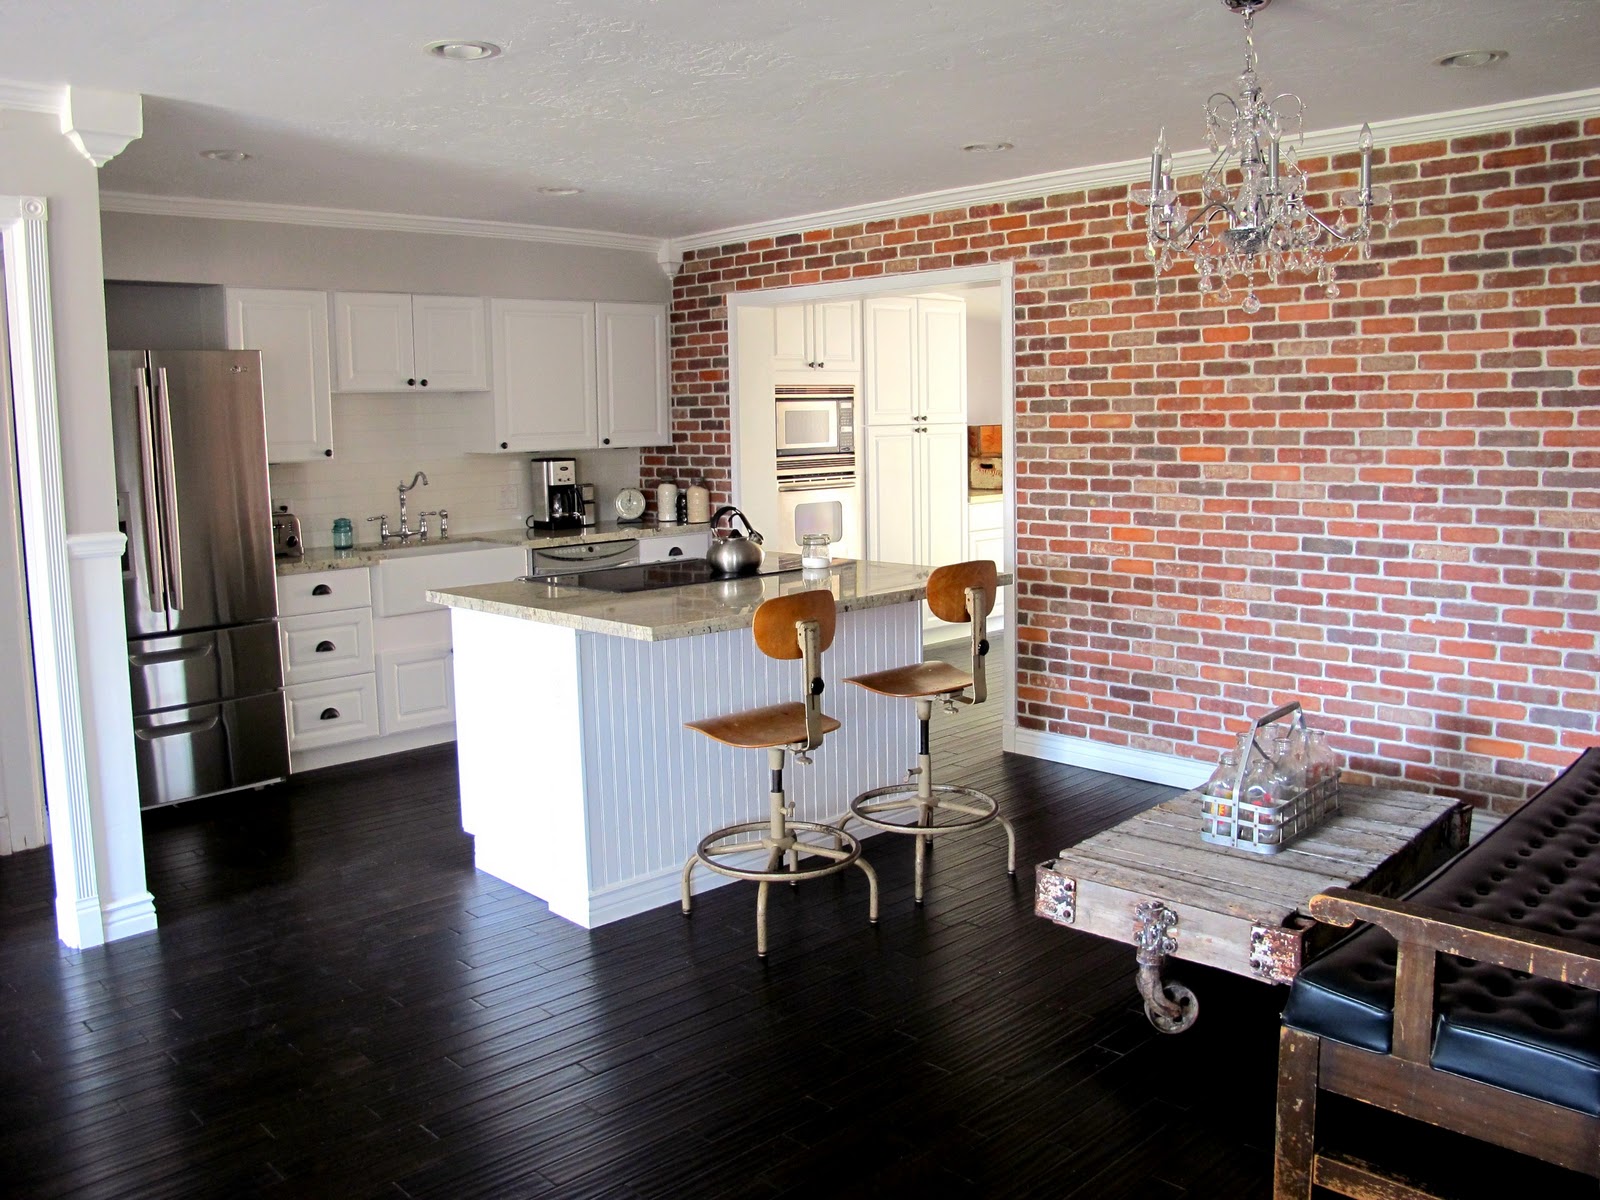
    I think it turned out more than fabulous. I love that shade of wood you used. That’s the color I want to put in, in our living room/Kitchen/dining.. Not sure if it will pair well with the rest of the house which has the original hardwoods though. Either way it’s beautiful and love your new kitchen!!

  2. Angy says

    March 9, 2011 at 3:12 pm

    Looks great!!!

  3. christine donee says

    March 10, 2011 at 9:51 am

    Don’t you just want to slide around in your socks? I think you should…

    Looks great!

    xoxo
    Christine

  4. Uzyer Razin says

    February 20, 2015 at 4:31 am

    This is very useful one and gives indepth information about installing hardwood floors. Thanks for this nice article.


Hi there. We are a married couple with three sweet kiddos. On this blog we document our DIY home projects, design inspiration, and our parenting life along the way. More >

Instagram @Dreambookdesign

Categories

Archives

  • Email
  • Instagram
  • Pinterest
  • RSS
  • Twitter

Copyright © 2025 · Blog Design by Sweet Theory Designs · Blog Set-Up By Blogelina