- Cuts your drying time in almost 1/2
- Prevents static in clothes
- Softens clothes as a dryer sheet would
- Much more eco-friendly than dryer sheets are
- Can be used with any type of fabric, cloth diapers included {which dryer sheets are a BIG NO-NO for cloth diapers}
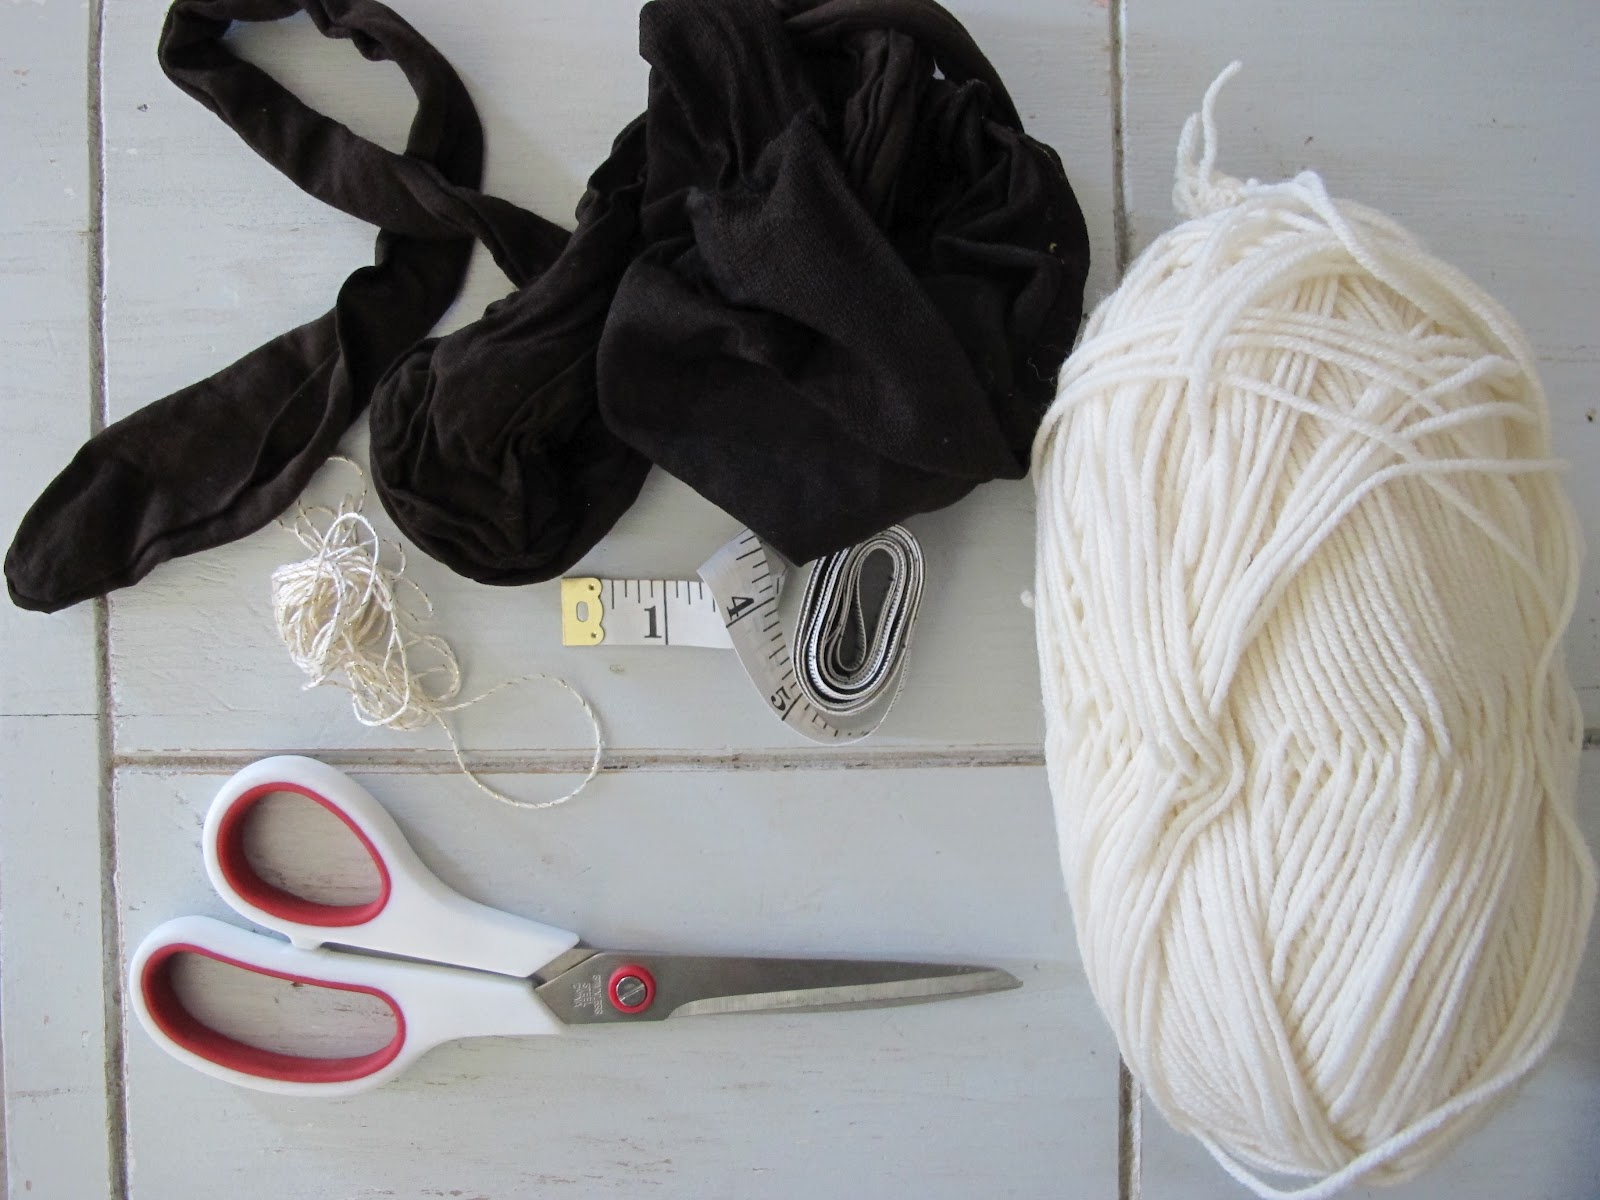
I had seen these sold all the time on sites like Babysteals and Zulily, but I knew that they had to be easy to make. To make four large sized dryer balls {I keep feeling like I have to write dryer in front of balls for this post to not get weirdos finding it in google!} this is what you need:
- 100% wool { I ended up using about 1 1/2 things of Wool}
- Some sort of tights or knee-highs {yes, I did just write knee-highs…who owns those now a-days?!}
- String
- Scissors
- I have pictured a measuring tape, but didn’t find it necessary at all actually, so ignore it:)
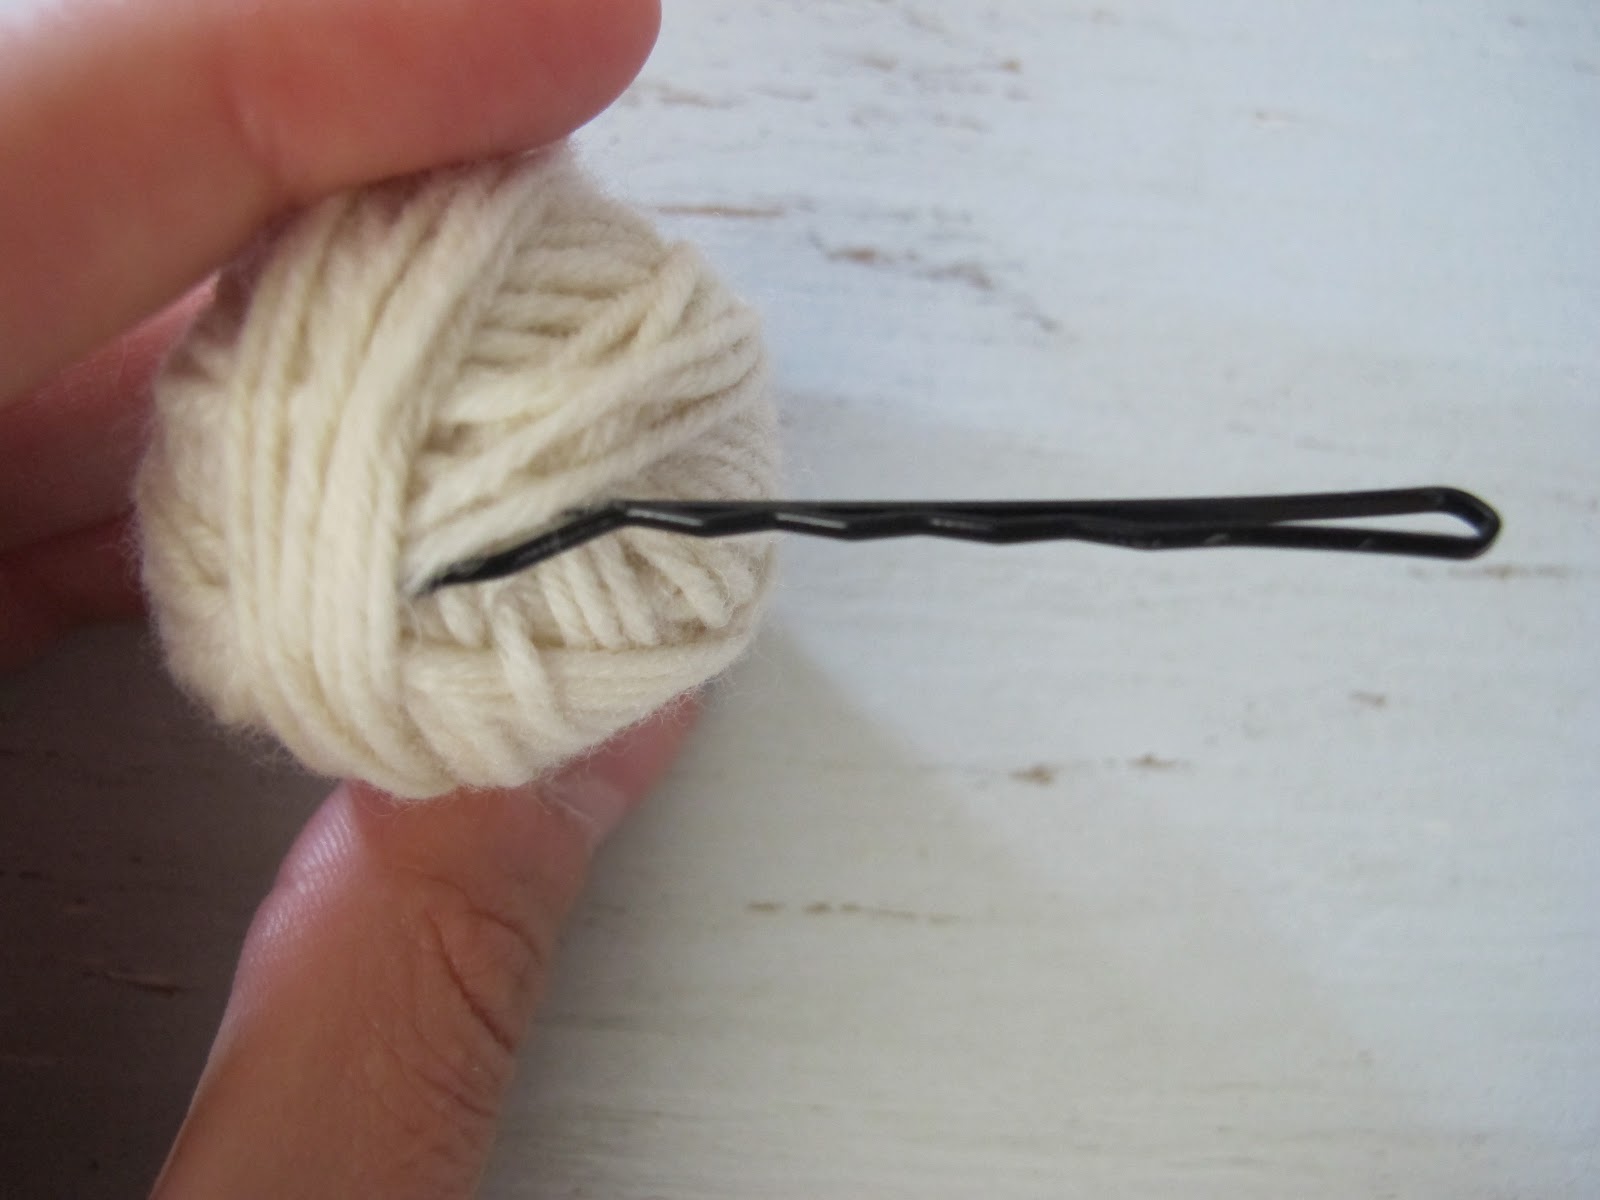
- Begin by rolling the wool around your fingers until you create a little ball, and then take it off of your fingers and continue rolling until you have a ball that is about the size of a lime.
- Once the dryer ball is ‘lime’ sized, cut your wool and tuck the end into the center. You can use a crochet hook if you have one, or you can be super classy like me and simply use a bobbypin:

- Once the end is tucked, put the dryer ball all the way in the tights and tie it off with your string. You will end up having all four dryer balls in the tights separated by the string. Now throw them in the washer and dryer with your next load of laundry. I washed and dried mine about three times. This allows the dryer balls to felt {harden in to firm dryer balls {again, key word DRYER}}.
- Once they have felted, cut the string and take them out of the tights for the next round. You now are making the dryer ball its full size. Simply wrap the wool around the dryer ball more until it reaches about the size of a large lemon.
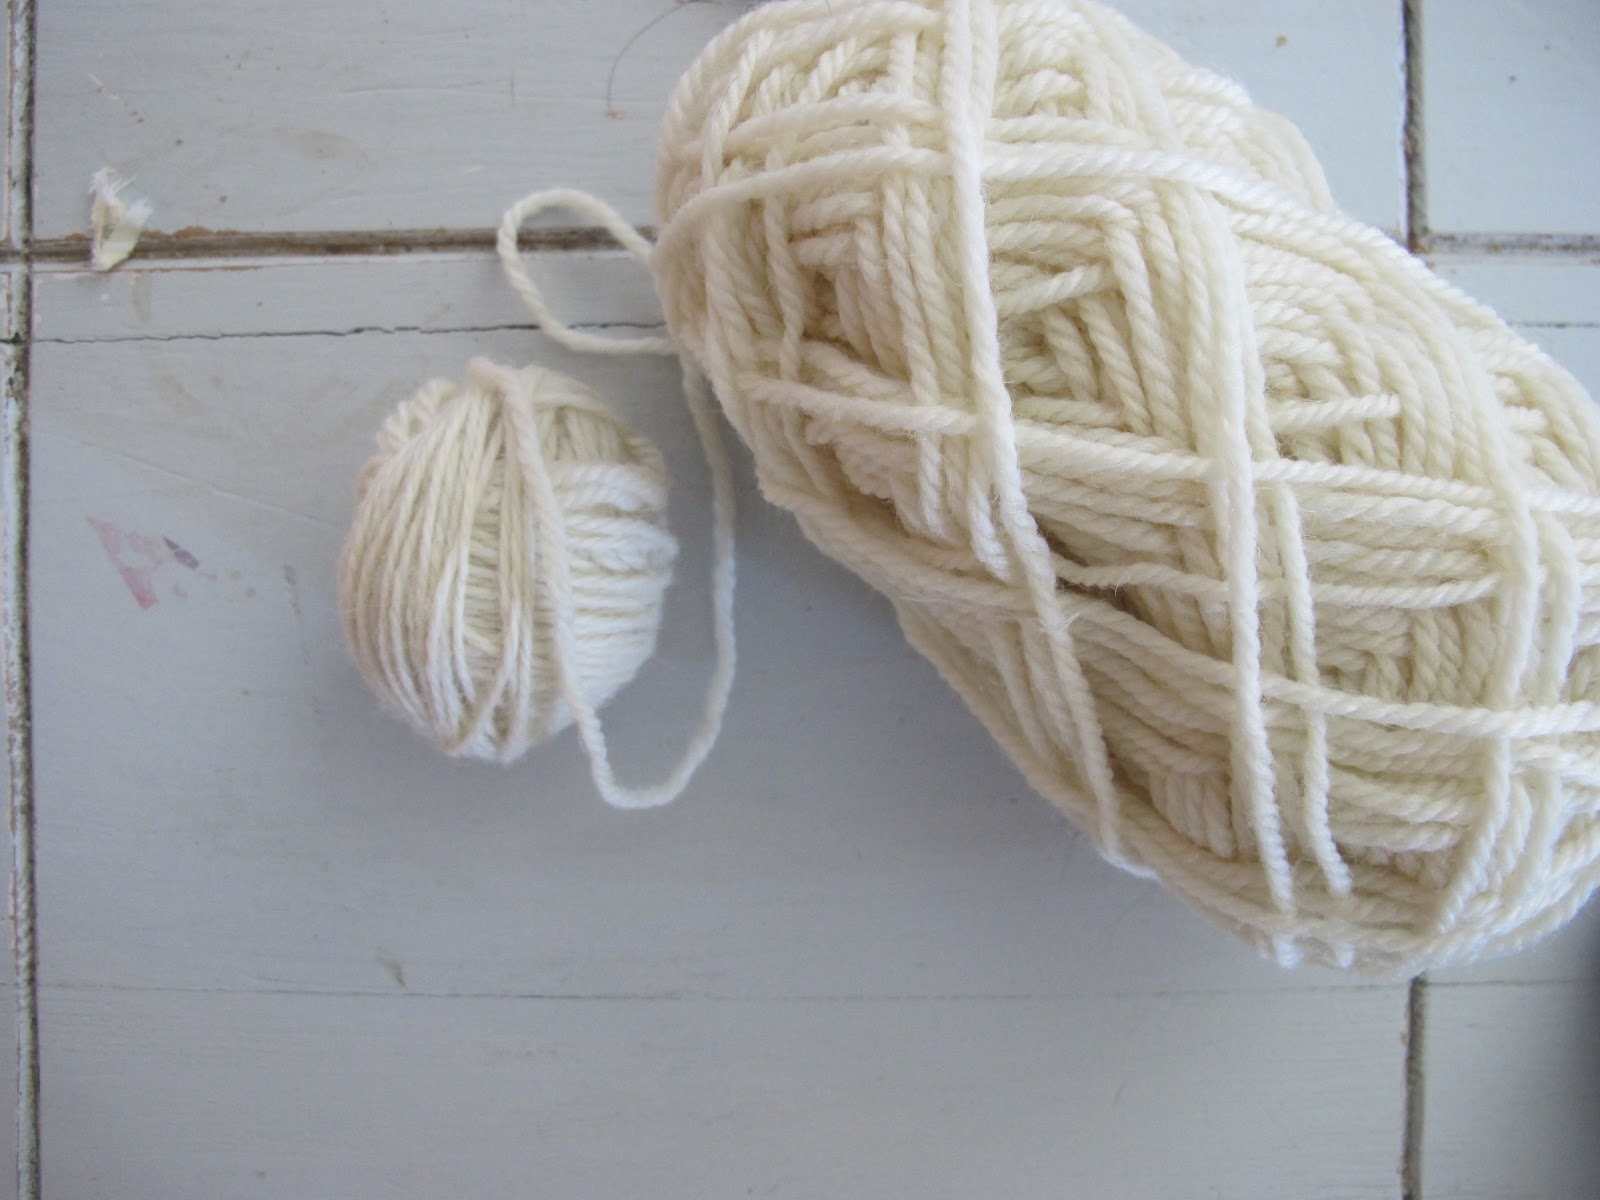
- Once you have finished wrapping, cut and tuck in the end of the wool again, and place back in the tights. Felt again with your wash, and then they are finished and ready to be used!!
I have had mine going for about two months now and love them. They truly do cut down on drying time and make the clothes so incredible soft. To make them even more amazing, I have been adding a few drops of Young Livings Lavender to them before drying and now my clothes smell incredible! For more info on the essential oils, leave your email in the comments and Ill shoot you over some fun stuff!
PS- I did a little Pinterest tip yesterday for my shower curtain liner. I simply threw that, along with my actual shower curtain {since it is solid white as well} in the washing machine and ran a hot wash with just bleach. The curtain came out looking brand new. Why didn’t I think of this on my own earlier?! I love sparkling clean things, especially in the area where we go to get clean:)

Wow! Going to have to try these for my dryers. Would have never thunk it 🙂
I saw dryer balls for the first time at an arts & crafts fair this summer, but wanted to research before I “fell” for it. Glad to see a report of someone who’se used them…and even better how to make them myself! 😉 Thanks!!
Infarrantly- you will be so glad you did!!
Audrey-so glad you held off on buying them. So easy and cheap to make! You’ll love them!
I’ve been using dryer balls for a few years, but they are more of a plastic/rubber. I’d like to give this a try. And I hate to admit it but I wear knee highs. We aren’t allowed to go stocking-less at work and I can’t wear dress socks with pumps. Some days I feel like the only person left who wears pantyhose. Hanging my head in shame.
Thank you for great tutorial! I learned how to make wool dryer balls myself from the other great tutorials. I made mine by wet felting technique. You can check them at http://allurewool.com/
I have used the spiked oval balls ,bought from a catalog,a long time. It cuts the time ;fluffs the clothes … I will make these too.
One important tip….ALWAYS shake the clothes loosely as they are put into the dryer. Since I have space avaliable, I will lay the clothes out on the counter…semi dry then place in the dryer. This works on everything. Do remember ladies dainties..air dry. I like my dryer…but I just hear dollars rolling around there with the clothes.
Do I sound a little old fashion..these are praticle steps for today’s convinces,but I ….did…as a teenager..have to hang them out on the line.
That could be another blog. session …ha ,ha
To do this, you want to consider some elements like your floor area as well as your spending budget. Right after all, dryers of this brand name do cost a great deal of money.
http://wooldryerballs.com/
Thanks.
always use Black Tights and they must be opaques.
Thank you so much for the info. on the balls (dryer)! I’m going to try them as soon as I stop laughing at your wonderfully funny tutorial.
I’m going to become a fan. You are a gem. Thank you….x
You are so cute, glad you like them!!