
This past weekend J and I took on the task of DIYing a tufted headboard. We mainly followed the lovely Centsational Girls tutorial, while changing a little bit of the details here and there. The project was fun, tiring, and rewarding. So without further ado, here is how we made our own tufted headboard.
Supplies {For a King sized headboard}:
- Approximately 4 yards of fabric
- Approximately 4 yards of batting
- 1/2 inch particle board {you can also use plywood}
- 2 inch foam
- Upholstery thread {or embroidery thread, either or}
- Decorator needles {ideally at least 3 inches long}
- Button cover kit
- D ring hooks {2}
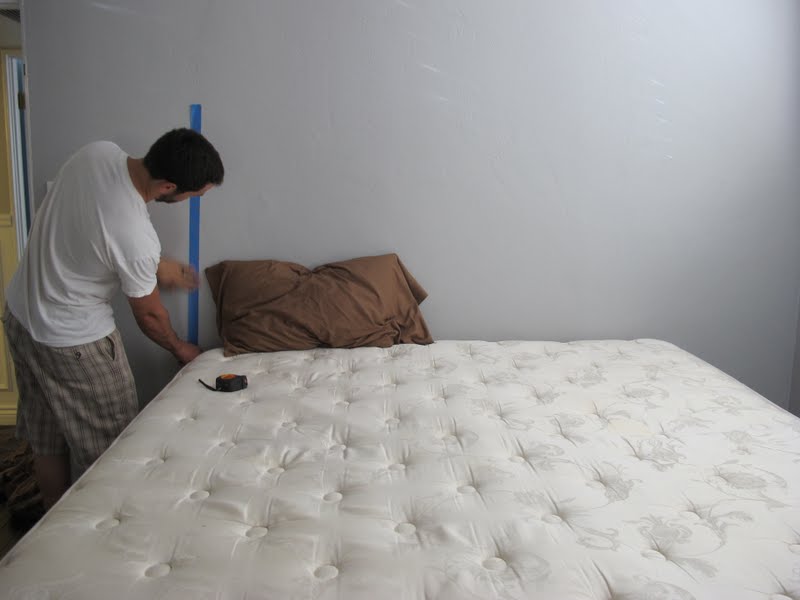
We started by measuring out how large we wanted the headboard to be.
First stop was Home Depot to get our particle board. You can also get plywood, but the plywood that was there that day was pretty warped, so we opted for particle board. We had the Home Depot worker cut the board to our measurements {79 1/4 x 36}.
 |
| That machine was so amazing. We want one for our home;) |
Once we got the board home, we measured out where the buttons should go. To figure out the height we marked every 9 inches {drawing a line on the particle board at 9, 18, and 27 in.} How we figured out the width was, we took the overall width of 79 1/4 and divided it by the number of buttons we wanted to use in each row, 6. This equated to approximately 11 3/8 spacing between the buttons in each row. We started by finding and marking the center (width) and marked it on our horizontal line. We decided we were going to space them 11 3/8in apart, but there would not be a button in the center, since we were using an even number of buttons and not an odd number. So from the center we measured out 1/2 of 11 3/8 {5 13/16in} in each direction, and marked the spots. From these marks we continued outwards to the edges, marking every 11 3/8in apart.


Once all the spots were marked we used a 7/32 drill bit and drilled at each spot. Make sure to drill a clear hole, as you’ll need this to be cleaned for the needle later. Remember that if you are using a cordless BLACK+DECKER drill, then you have to be cautious about the battery. Not all batteries are interchangeable, which is why it could be a good idea to read this article beforehand. You can get an insight into which batteries can be used interchangeably for the drill machine.

Next, we laid our 2in. foam over the board. We had Fabric Depot cut our foam to our measurements. While its not absolutely necessary, we used a spray adhesive to attach the foam securely to the board.


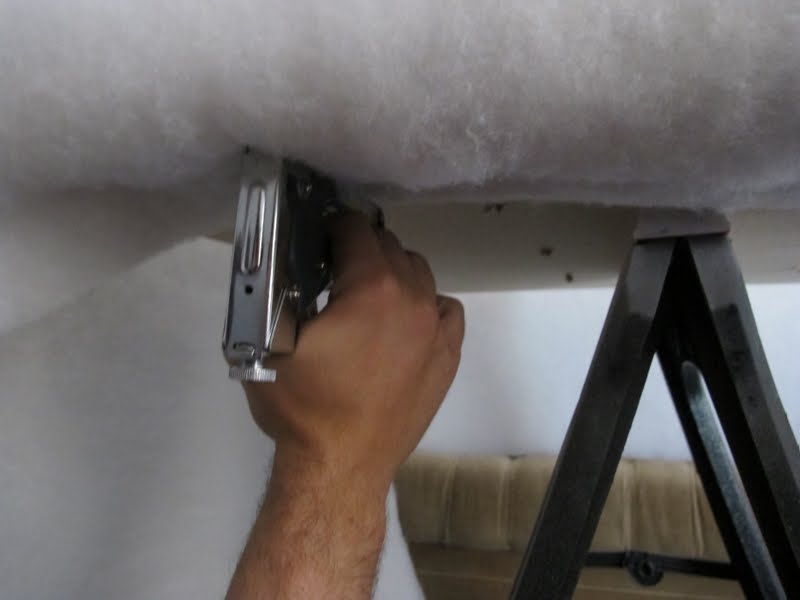
Once the foam is secured to the board we attached the batting {that we got at SAS for only $2.99/yard}. Simply cover the whole area with your batting, and use a staple gun to attach it securely.
Before adding our fabric to the headboard, we made sure to iron it out. We went with a velvet upholstery fabric {that we got at SAS for only 3.99/yard}. Yes, we know we’ll have to put some effort into its upkeep, especially because of the velvet fabric which can be delicate. Once a while, we may have to look at a professional upholstery cleaning service that the likes of Dr. Chem-Dry provide. Maybe even do some DIY cleaning of our own now and then. In any case, we’re willing to put the work in to keep it soft and neat. And that includes ironing it out beforehand.
 |
| Why yes, we don’t own a ironing board. We did, it broke, and now we use a towel on the floor. I think it works great:) |
Once ironed, we attached the fabric to the headboard. We made sure that it was pulled taught all around. We started with attaching the fabric on the ‘top’ , then the bottom, then attached the sides.
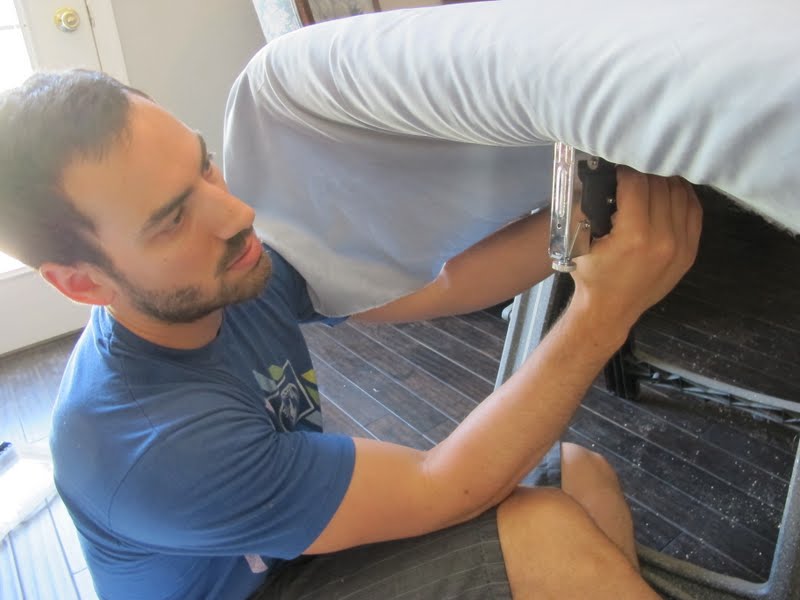
We used a simple fold over pattern for our corners. The more simple the better in our minds:)

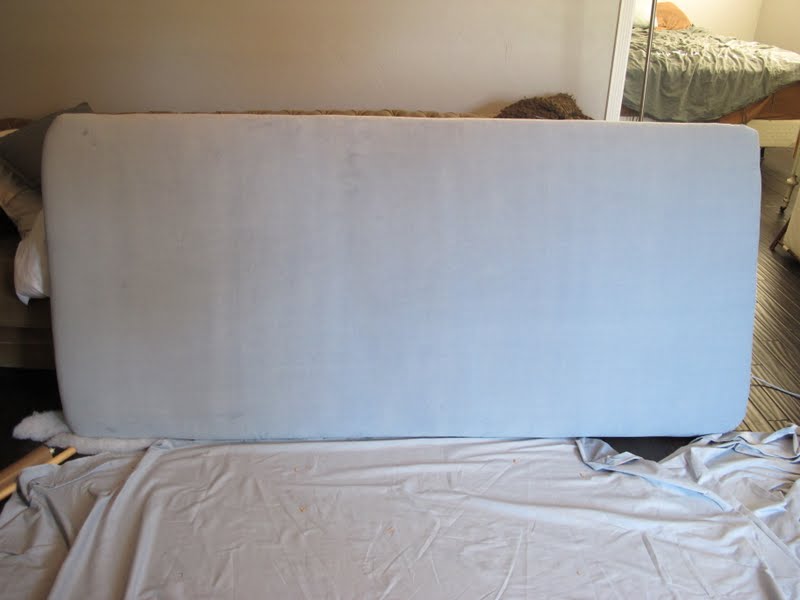
This is how it should look before attaching the buttons {tutorial on how to make button covers coming tomorrow}:
I’m not gonna lie, in the beginning of attaching the buttons, J and I hated life. Its not that its hard, its just frustrating-until you get the hang of it. To attach, follow these steps: Thread your decorator needle with the upholstery thread.

Start by putting your needle through the pre-drilled hole {the back of the headboard}. Pierce through the foam, batting, and fabric, and pull through, but make sure to leave a decent amount thread in the back as well. Once through, weave your thread through your button multiple times {we did it two times} to make sure its securely attached. Pull the thread back through the same hole towards the back. This was the tricky part for us. In the beginning we spent a few minutes on each hole trying to get it through, but once we got the hang of it, things moved a lot faster! Once through, pull the thread as taught as you want your indent to be. Secure the thread by stapling it to the board, multiple times, and hammer down the staples. Make sure as you move along that your indents are even.

 |
| It doesn’t have to be pretty, it just has to be secure! |
A funny thing happened to us in the beginning of attaching our buttons. Whenever J would go to hammer the staples in, the button cover fronts would pop off. We thought it was funny, but also annoying- until we figured out that as long as we applied pressure to the button while hammering, we were golden!

Once all buttons are secure, its time to hang the headboard. You have a few options for this. You can use D hooks {like we chose}, or use D hooks and a wire, or you could attach 2x4s to the back and attach it to your bedframe. We screwed on two D hooks to our back, and went to hanging!

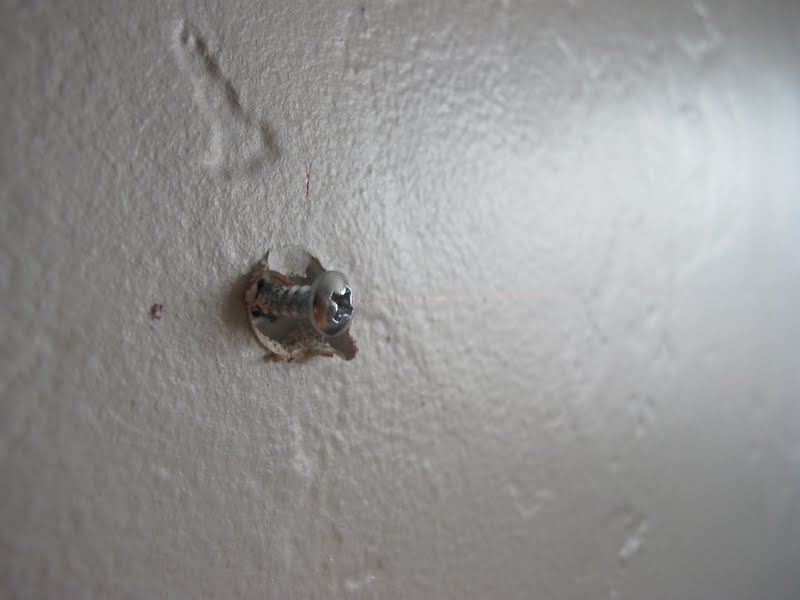
For the hanging, we simply found the center of our wall, chose our height, and hung it with drywall anchors and screws.

Ready for the end result?!
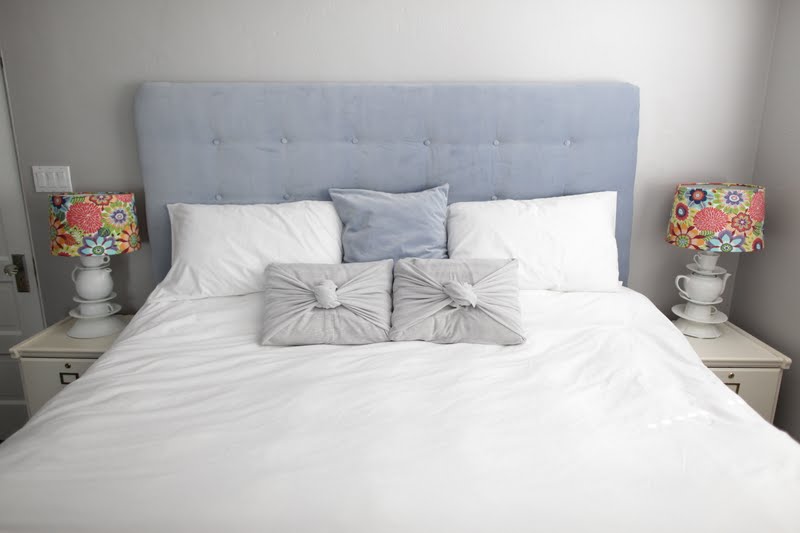

Two above photos Melissa Young Photography

What do you guys think? As of now, we have our bed butting up right at the bottom of the headboard. J thinks we should lower it a bit more, but I think its fun and dramatic where its at now. What do you think? Whenever were in debate, we turn to you:) Also, we are entering this project in to the Pinterest challenge that Emily Henderson and YHL are doing, so fun!
<3,

PS- I linked this to my favorite parties!!

Wow! Nicely done, you two!!! Very very cool!
xox, Uncle Johnny
awesome, awesome, awesome!!! You guys did a great job!! I have been trying to get my hubs to help me do one of these forever! If I could run a saw I would do it myself 🙂 I entered the pinterest challenge too, such fun!
http://jpaigeart.com/2011/08/01/pinterest-challenge/
Great job-looks amazing!
I love it. You guys are brave for trying the tufting. We did a plain one a few months back and we love it.
LOVE! Great job! I like it where it is 🙂
I like it tall, with the wow factor. You guys never cease to amaze me with your can-do attitude and follow through with DIY projects. Love it! xoxo
delicious. totally, totally love it.
i like it at that height. any lower you would cover it all up! good work! 😉
ashley
Really nice! The only comment I will make about the height is that if there’s a gap between the
top of the mattress and the headboard, even if it’s hidden by pillows, I’d consider lowering it. But I’m a bit OCD like that. 😉
I’ve always wanted to make my own headboard. Great job.
looks fantastic!!!!
Beautiful! I love the fabric that you chose for this.
Great job. Love the color. 🙂 Would love to have you link this up to my {wow me} wednesday link party going on right now over on my blog.. if you haven‘t already. Hope to see you there. {I’m a new follower.}
Ginger
gingersnapcrafts.blogspot.com
I love working on projects with my husband! The fabric you used looks so good – fancy! Love it!
Nice job! The higher, the better. You can always use extra pillows behind your regular pillows to fill in the gaps. I can’t read any of the yellow words on your post. Ann
Awesome job, love the fabric too. It looks really similar to the upholstered headboard my husband and I did last year, but we used a door for the “wood” and only had to buy 1 inch foam since the door helped make the headboard look thicker. And after making it I learned from another blogger that if you want your tufts to look deeper you can do the tufting first and then tighten and staple the fabric to the back.
Here’s our link to our headboard in case you ever get the chance to check it out. http://www.alwaysinwonder.com/2010/10/diy-upholstered-headboard-and-diy.html
And, I am already changing everything in our room out. Hehe, including the headboard and that stencil on the wall!
Thanks so much guys! Loving the encouragement on the height! Nightgarden- there is not a gap, the end of the headboard and the mattress topper hit eachother!
Ann- sorry about that. Not sure why you cant read them, they look ok from here.
Jennifer- we were debating on using an old door too, but decided to save it for another project. Great tip too! THanks so much!
<3,
Adri
fabulous! love this, perfect color and tufting!
This is awesome! Great tutorial, too!
Great tutorial- nice job!
Nice folks to help too 🙂
Visiting from Miss Mustard Seed’s Linky Party tonight
~Suzanne in Illinois
That looks designer quality. You guys did an awesome job! I just tufted a coffee table, so I feel your pain for the process, but in the end it is worth it right? Just beautiful
Looks like a million bucks! 🙂 I love it! Stopped by after searching for subway tile backsplashes. My kitchen is about to get a make over 🙂 Love all your work!
Thanks, this turned out great. I am abour to start my first attempt at tufting. I learned a tip years ago from diy show, use buttons plain any old button to anchor thread from covered fronr buttons. Thread through a flat button on back of headboard, through hole through foam and into front button then back through foam and back through button on back then ties the end vs stapple.
I find this very useful and keep sharing.
WOW!!! the final output is awesome. This post is awesome. Reaaly beatifull work. Thanks for this post, And this turned out great.
RashEd@ Clipping Path India.
Love this!! Just another suggestion…. PEG BOARD. Works like a charm.