While we are making slow progress on the nursery these days, we are at least making progress- and that makes me so happy! We have tried to keep this rooms budget small, mainly because we are planning on putting Winston in Braylens room as soon as they are old enough to do it. We didn’t want to dump a ton of money in here and have him only be in it for a little while. Thats when Tulip For Your Home came in handy for us. It gave me the ability to update some already owned items and give them a fresh life. It also just took me an afternoon to add in three new items to the nursery, so I would call that a success!
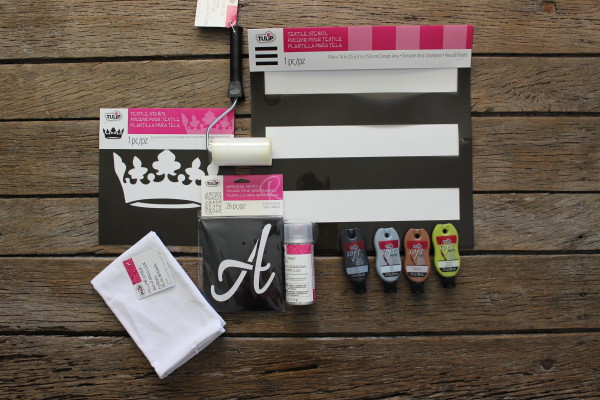
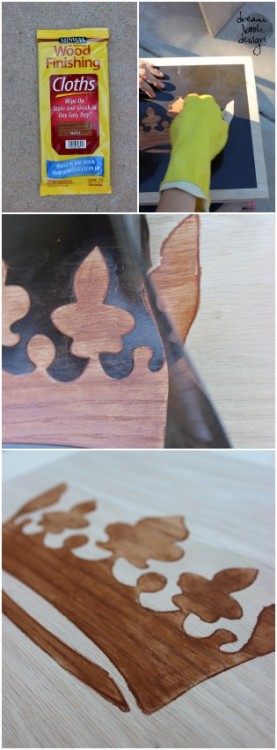
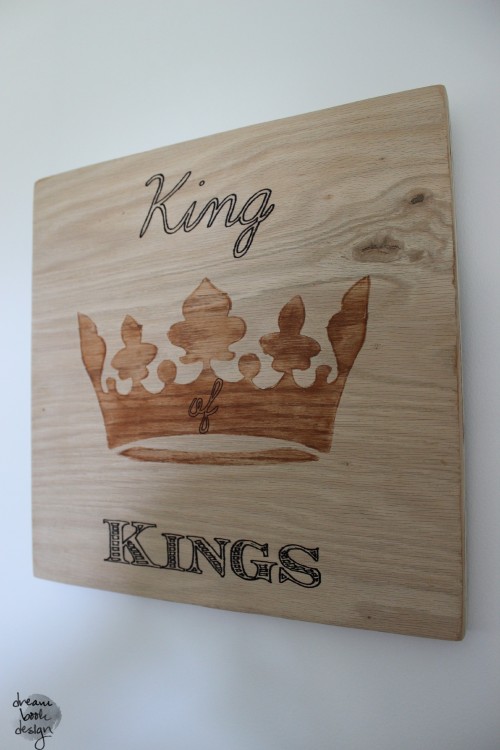
The first easy project I did was the wooden crown. We had some leftover plywood {our garage is full of odds and ends}, and I knew I wanted to create a small piece of Personalised Artwork for his room. I went online and looked for some inspiration, finding a few Kings theme pieces of art. I thought they were amazing and wanted to give them a try. I used the crown stencil that I got from I Love To Create online and went to town. We first smoothed out the plywood with a sander, then I used the stencil spray to hold the stencil in place. That spray is awesome because not only does it hold them in place, but it also prevents from any paint {or stain in this case} from leaking through! Have you guys used the Minwax wood finishing cloths yet? They are freaking awesome!
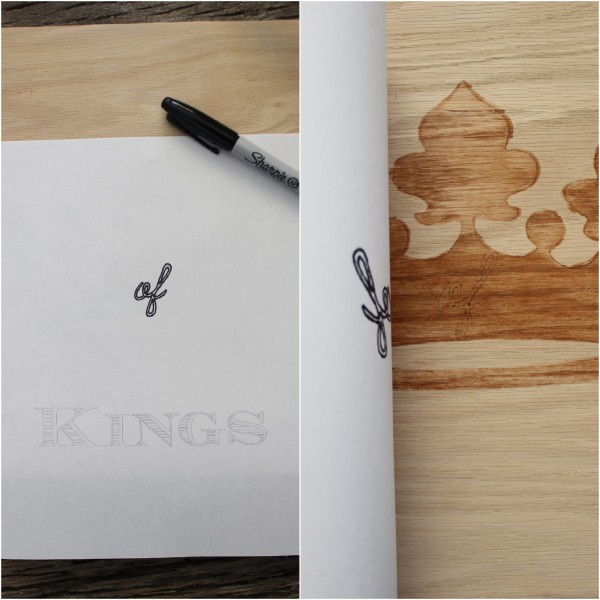
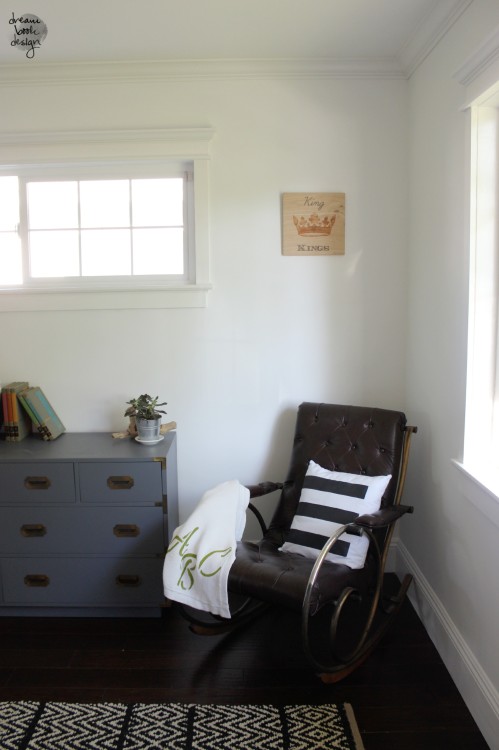
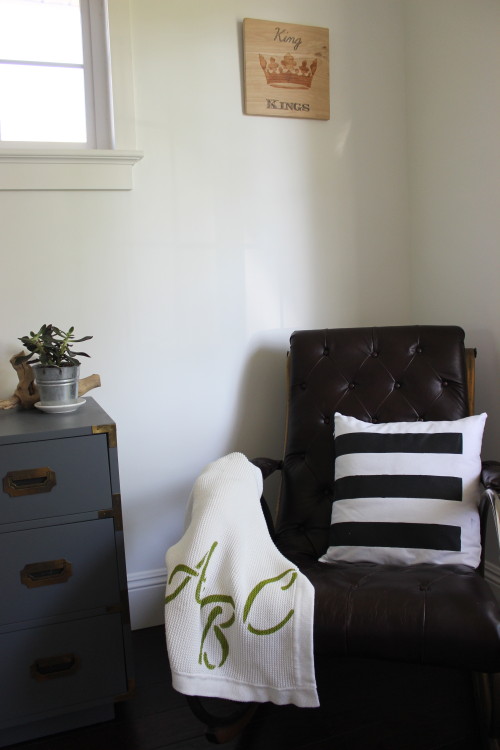
I simply printed out the font and words I wanted, which was King of Kings, and traced over the paper so that the ink went through a little. Once I had that outline I was easily able to replicate it.. and maybe even fool some people into thinking I have decent handwriting:) Here’s how it turned out. Sidenote-I do realize that the wall art needs some friends alongside it, but we are working on that! I’ve seen that you can get personalized diamond paintings and I think that would be quite fitting in this room as our prince definitely deserves diamonds! When the baby’s born, we’re going to do a professional photoshoot as a family. Once I’ve got the pictures back, I’m might get them mounted onto bamboo, keeping with the wood theme. If you want to see what kind of style I’m talking about, you can get more info at Bumblejax. I think the wall art in his room should be personal and I think the photographs will make a great addition.
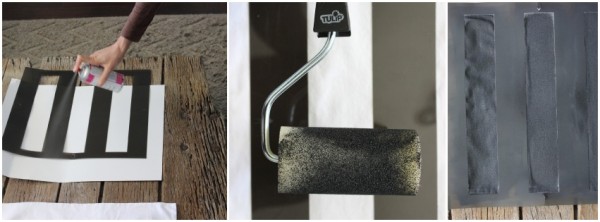
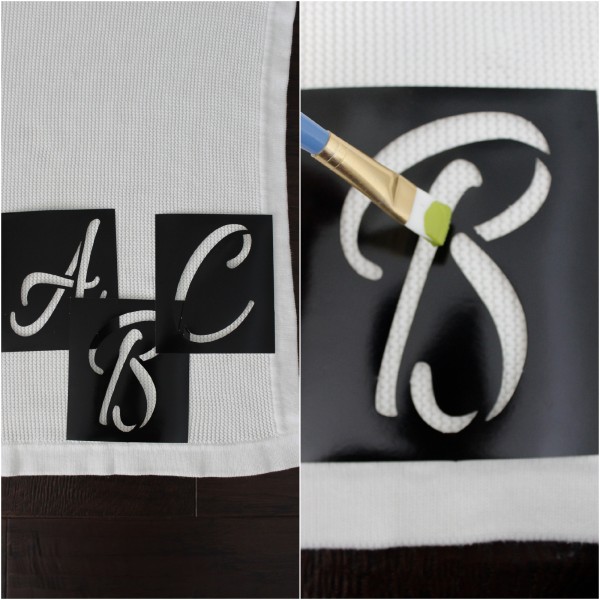
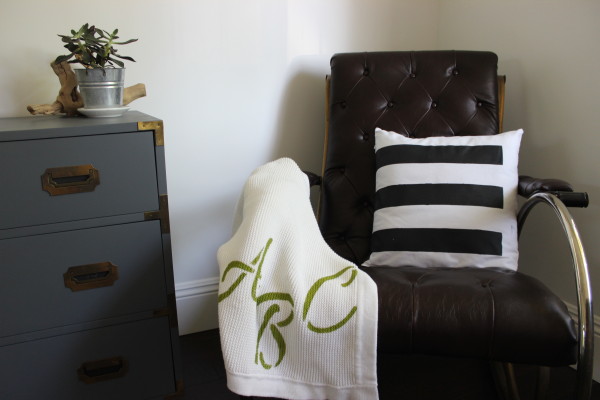
His rocker is comfortable for the most part but I always feel like I need the back support, so this pillow is a saving grace. We spend a ton of time in the rocker, so my next thought was to refresh a baby blanket of his. While I love solid white blankets, I wanted to make this one have more character, so I went and got the alphabet stencils and the fun avocado green paint. I debated buying some Custom Photo Tiles but in the end, I decided to DIY some wall art instead. I had a lot of fun doing it, but if you’re not an arty person, photo tiles might be a better option for you!
So in an afternoon, I was able to update a pillowcase and baby blanket, and create a piece of wooden wall art! I was never much of a stencil person until these projects. I always felt totally overwhelmed and kind of thought you could only use stencils to do entire walls. I don’t know why I thought that, but I am glad that is out of my head now. I think I am going to pick up a few more and create some easy DIY napkins and table runners for the holidays with them!
Do you guys ever get as excited as I do over easy and quick additions for a room? It always motivates me to do even more, which is why we started working on Winstons mobile area the next day! That project coming up next week!
Disclosure: This post is Sponsored by Tulip Home Decor Campaign. All words and opinions are my own:)
