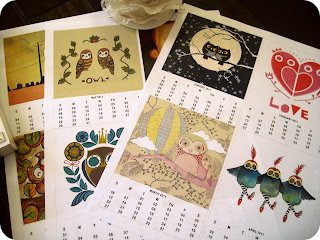
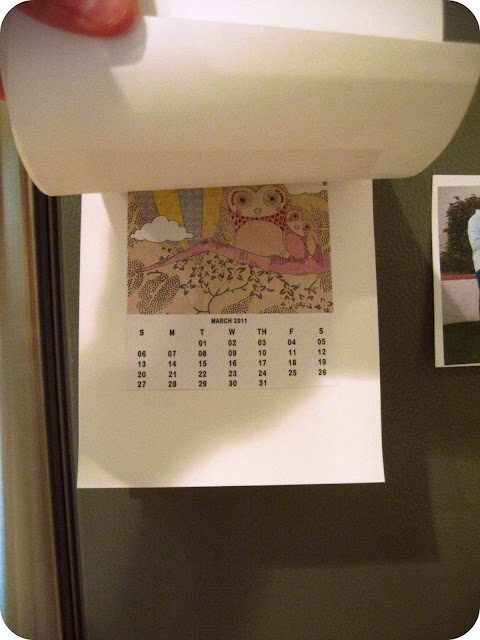
About a week ago I told y’all about the adorable owl calendar, and I finally printed it off and spruced it up in my own way. One thing I didn’t realize about it at first, was how small the calendar was going to be. When J brought the prints home I was shocked that 4 months fit onto ONE page! This required some modification to my original plan! I still had fun though, and loved that I could choose which pictures I wanted for each month. For instance, for April I chose the owl graphic with three owls, because that will be mine and J’s three year anniversary. I love making things custom to our lives.
Here is what I did to make them work for me:
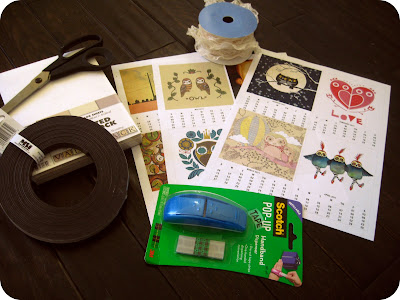
Supplies:
- Owl calendar printed
- Card stock
- Lace
- Mod Podge
- Magnet
- Tape/scissors
Process:
- Cut out each month individually
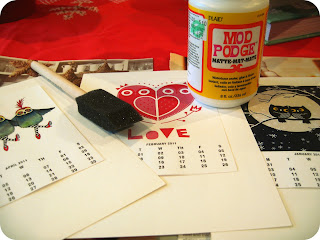
- Tape to the back of the card stock {now, if we had card stock to print it on initially then I would have just skipped this step}
- Mod Podge over everything to ensure they don’t get ‘worn’ easily, but are still able to write on if needed
- Punch or cut holes and string lace through
- Attach magnet to back and hang on fridge
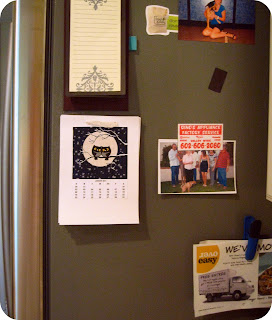 |
| How sad does this side of the fridge look?! |
Now I have a cute owl calendar to look at for dates on my fridge. I also made sure to leave adequate card stock on the bottom half of each month so that I can write down important dates to remember. I love owls, I love being organized, and I love free stuff! Did you print out this calendar too? If so, where/how do you have it up?
<3,
Adri

Thank you so much for this link! I just downloaded my own cute owl calender! So I have been following your blog for a few months now and LOVE it. You have great style! I am going to start my own blog soon and am very inspired by yours. Keep those cute post a’comin!
Love,
Ashton