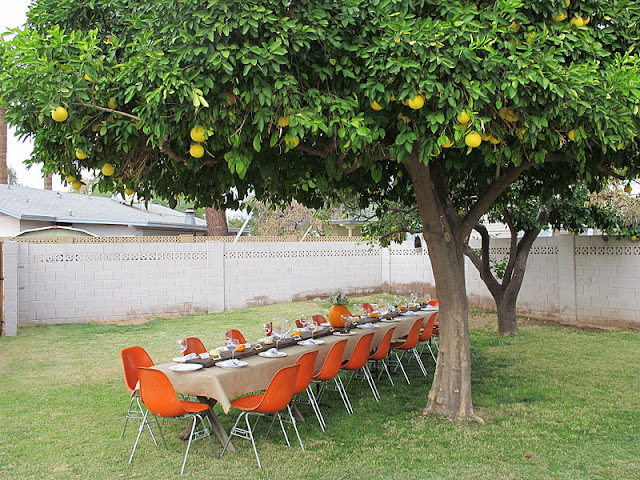

Wow, I love all of your amazing responses to our Thanksgiving table. You guys sure know how to make a girl feel proud and loved, so thank you! As for some of the specifics for the table, here is the breakdown.
Tablecloth: Burlap. To cover our table and have an 8in. overhang on each side I got 7 1/2 yards of burlap. The burlap worked out so well because in order to have the 8in on each side of overhang, we needed the burlap to be 4 ft. wide. It was exactly that! So perfect, because that way the ends were already fused together! Hooray for less work! I was orinigally considering an oilcloth tablecloth as they’re really easy to wipe any marks or food off, as there would no doubt be a a lot of mess at this dinner, but this burlap turned out to be perfect for this table!
While at SAS buying the burlap, I called J to make sure he agreed with my numbers of what I was getting, and he didn’t. He thought the width needed to be at least 5 feet, meaning I needed to get double the amount of burlap, and then cut and sew a seam down the middle. A whole lot more work. I thought he was wrong, but normally when it comes to memory hes right, so I went with what he said and bought 15 yards of burlap! This is it about 1/2 unrolled in the house. Turns out I was right after all, thank goodness!


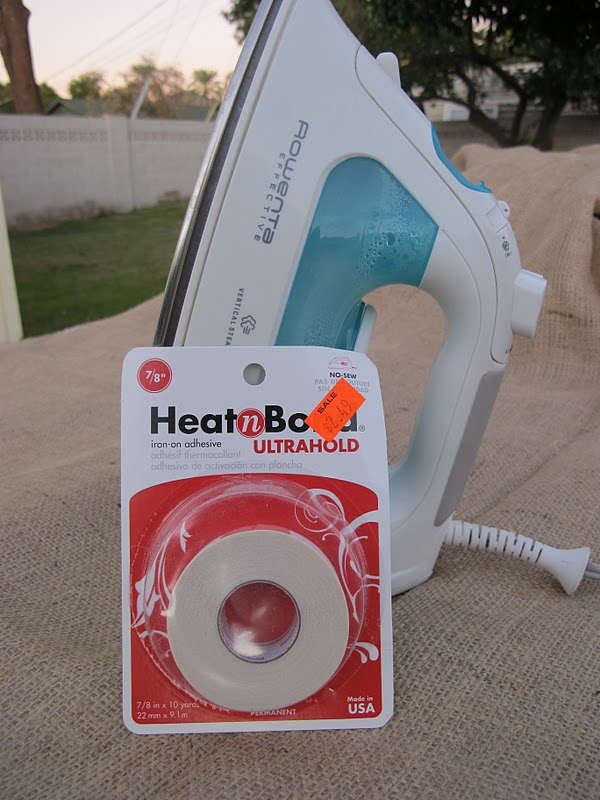
I used this awesome heat-n-bond that I got at SAS to create a nice crisp end to the tablecloth. That stuff is a miracle worker, and so easy to use!

This is what my work area looked like about 40 minutes in to the ironing and hemming:

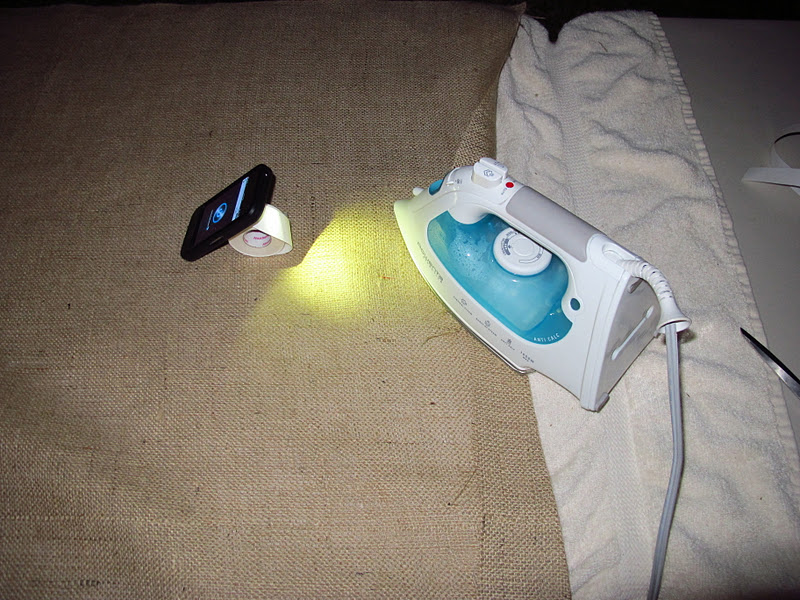
Yes, thats my Flashlight iPhone app giving me just enough light to make sure I was ironing over the correct spots for the heat-n-bond to work! Boy was I glad when I was finished!
Up next, the pumpkins. I bought 10 mini pumpkins and used the same pumpkin we had for Halloween {since I was lazy and didn’t carve it but painted it instead, remember?!}. I got this amazing tea light cutter from Ross for $7. It makes the perfect hole for tea lights in anything: pumpkins, apples, pears, etc. I loved having it because I didn’t have to worry about creating these hideous un-even holes in everything. The only downfall was that the white pumpkins we had were seriously tough to carve in to, but no worries- I just got my hunk of a hubby to help:)


 |
| It gets a little messy:) |
The wooden board was super easy. J just bought 2in.x12in.x10feet piece of lumber from Home Depot and lightly sanded and stained it. Nothing else, that easy!


Everything turned out beautiful! Nicely done, shugga! 😀
I love that you just used a wood board, it’s so simple and so pretty
Wow! So beautiful!! And the fact that you got to eat outside, how cool!! 🙂
So YOU’RE the one that wiped out all the burlap at SAS!! haha! Actually I live in Tempe and went to that SAS… but I was shocked that they were down to only a few remnant pieces left. And they usually have lots of burlap. I should have checked the PHX SAS.