I’m not sure how many of you know this detail of our lives, but my parents live with us 🙂 When we realized we needed to have them move in, we quickly sold our old house and found the one we are in now. We knew that in order for all of us to stay happy and sane living together, that we needed as many separate spaces as possible!
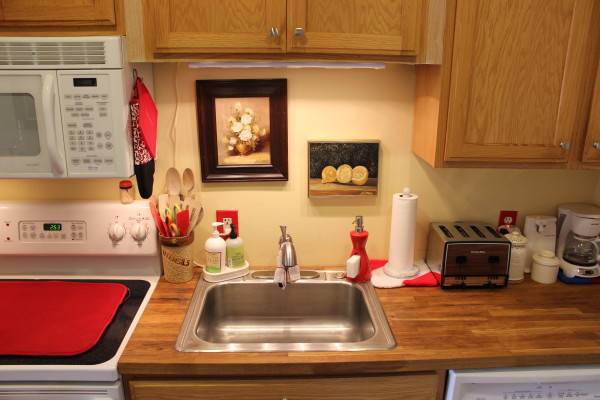
While we don’t have a typical ‘guest house’, what we do have is awesome! Our house from the outside looks like one big home, but inside we share a Laundry Room, and then they have everything else their own. That includes their own Kitchen! This wasn’t how the house was set up initially when we moved in, it was actually an in-home office. But we moved some stuff around and gave them a full-functioning kitchen. We ended up using the cabinets that were already there since they were still in fine condition. BUT one thing we didn’t think much about during that remodel was how bad it would look having so many different shades of tan.
Butcher block counters, wood cabinets, and filler pieces that aren’t quite the shade of cabinets left my parents with a tan nightmare! In the initial stage, when he had just moved in, we thought of options like getting the whole house painted with the help of reliable providers like My House Painter (https://www.myhousepainter.com/) or similar others. But, when it came to painting the kitchen cabinets, we wanted to do it on our own. So, we finally bit the bullet and painted them white! I wanted to share some of our processes with you, in the hopes that it will help you tackle it on your own someday 🙂 However, if you are worried that you may mess up the job or do something wrong in the process, there is no shame in calling in a professional painter like Gruber Painting or someone else, for example, to see how they can assist you with this and get you feeling proud of your kitchen again.
First off, this is what we were working with:

You see those transition pieces, mixed with the counters, and the cabinets?! So bad together right? So off went the cabinet faces. We needed to prep them before getting started.

We took off all the doors, and got to work. They were in ok condition, but for sure needed a good sanding down. Older cabinets also get a good build up of just gunk. We took a knife and cleaned out the corners and scraped off all that we could.


Once your sanding and scraping is finished, give them a good wipe down with a wet rag.
Now you have a few options for getting these bad boys painted, but we went with the easiest and smoothest route. We used our paint sprayer to give these cabinets a beautiful and smooth finish. We didn’t want to have to tape off and cover the whole kitchen though, so we used our favorite Mohair roller for the base of the cabinets. We also used our very favorite paint ever for getting that perfect smooth finish, Sherwin-Williams Pro Classic. We use this paint any time painting cabinets, furniture, doors, you name it.

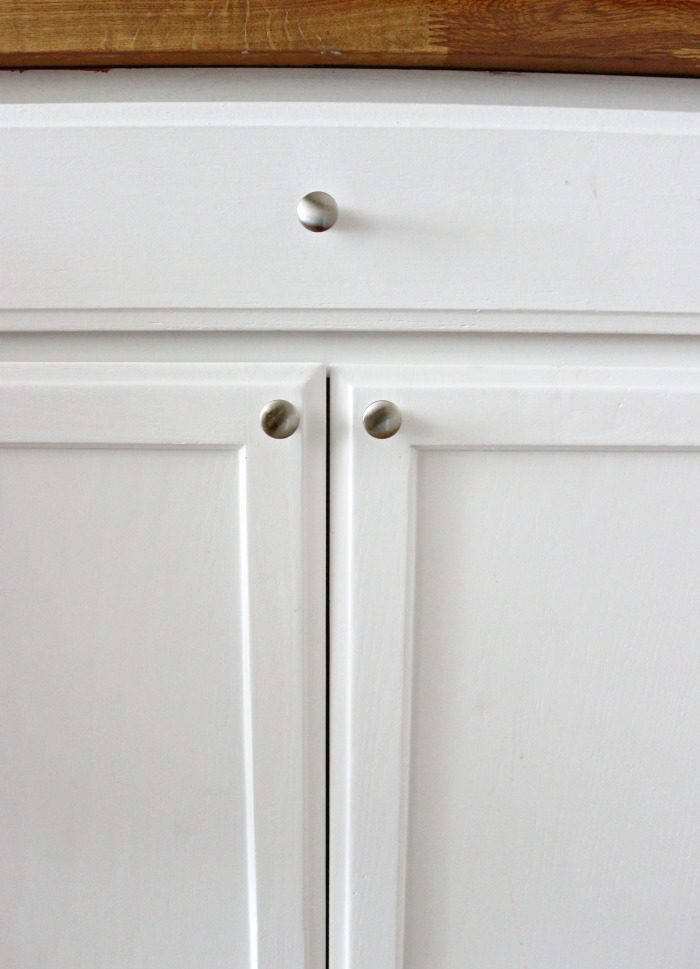
We did two sprays to get them perfect. I cannot tell you what a difference it has made! Check out how bright and uniform these babies are now!

No more multiple shades of wood! No more dings and scrapes. Just all white beauty.


My mama loves her kitchen now. Between the white cabinets, the subway tile backsplash, it is perfect for her.
So our main tips for getting that perfect paint finish on cabinets:
-Prep. Take the doors off
-Scrape out the corners to get off old gunk
-Sand to make smooth
-Wipe down with a wet rag
-Spray with Sherwin-Williams Pro Classic {multiple coats probably}
Hope this helps y’all! Its amazing what a little paint can do.
