Last week we showed y’all how to build a basic, yet awesome, laundry room cabinet {here}. Next up, the painting and distressing of it!
We chose a fairly bright and happy yellow {not that all yellows aren’t happy to me} that definitely was going to need some toning down through distressing.
 |
| Behr Early Morning Sun |
Here is the process for painting and distressing:
- Lightly sand any area that you will be painting. We use a DeWalt orbital sander.
- Tape off any area that you are not wanting to be covered in a fresh coat of yellow!
| We taped off the top of the cabinet |
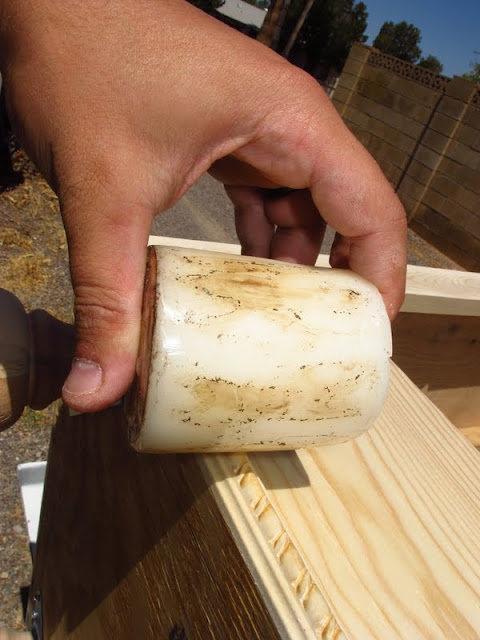
- Rub wax on the cabinet on areas that you want to see chipping or peeling paint. We apply wax to most of the edges, because that will be an area that we want to look more worn. This will help greatly with the distressing later. To apply the wax we just use a cheap old candle. Any wax will do {it has been in the garage for a while, hence the crazy dirt stains}.
- Up next, painting time! For any larger projects we like to use our Wagner paint sprayer. You could definitely use the good ol’ method of a brush, but then you have to work with the issue of streaking {not nudie streaking, you weirdos}. For this cabinet in particular, we did three coats of paint.
 |
| I promise it does NOT look this bright in person! |
- Once the paint has completely dried, then scrape off all the areas that you had rubbed wax on before. By putting the wax on before painting, it allows those areas to be completely paint free with barely any scraping. You aren’t damaging the wood this way as well!You can use a screw driver or chisel, but as gross as it sounds, using your finger nail works best.
- This is also when we sanded the paint. You can lightly sand areas to smooth the finish and sand more intense in areas that you want to remove paint to show character.
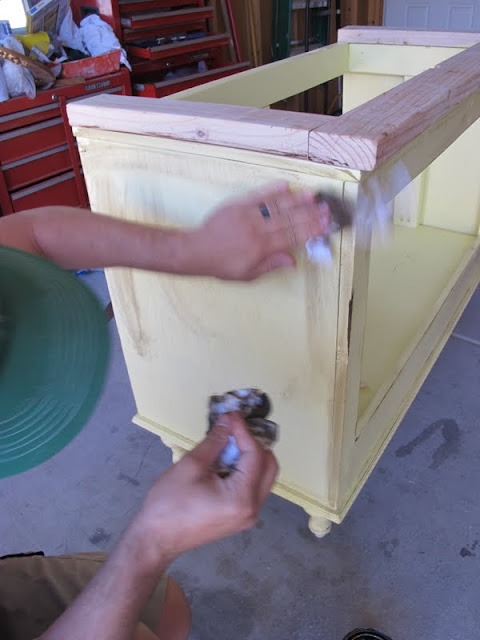
- To really enhance the chipped areas, rub a stain on them. Leave the stain on for only a few seconds, and wipe off. If you want it to be even darker, simply apply again. It will soak into the paint and darken it a bit, but it will also soak into the exposed wood. The stain provides a dirtier look to the paint and adds to the character of the piece.
- We also stained the whole body of the cabinet just slightly. The wood really soaks up the stain fast, so be sure to remove quickly.
- We stained the top of the cabinet, using the same stain as for the yellow areas. {Minwax Dark Walnut 2716}
- Finally, we sealed the whole cabinet with Wipe-on Poly. We only applied 2 coats of poly to the cabinet, but put around 7 coats on the top, since it is going to come into contact with water a lot. Between every couple of coats we would lightly sand with fine sand paper to smooth the finish out.
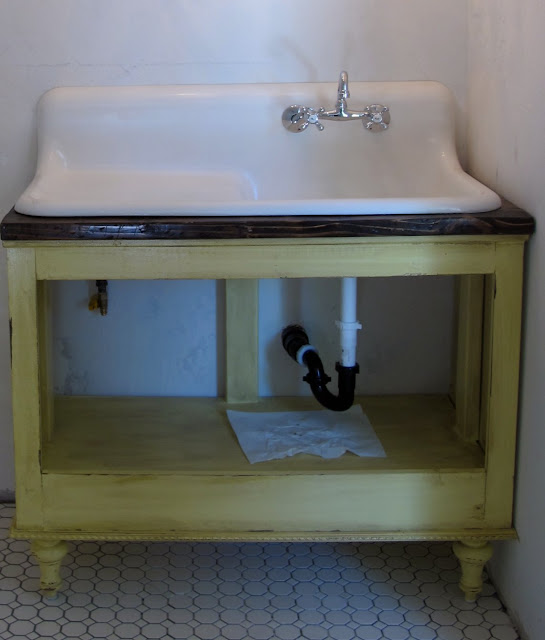
Ready for a peek of it? Obviously the laundry room is a work in progress, as you can see with the paper towel under the pipes {to make sure no leaks!}
More about the room setup and faucet coming as we finish up the laundry room. What do you think? I think that we did a good job making the base match the sink.
<3,


It’s looking really cute so far! Can’t wait to see the finished product.
🙂
Ingrid
Love it! The dark stain on the top really pulls the look together.
LOVE it…. like they were separated at birth and are finally reunited 🙂
Great transformation!
yay!! so glad you guys like it!! hope it motivates yall to do a project this week!
<3,
Adri
http://www.dreambookdesign.com
Love it! I just bought that same tile for our daughters bathroom at home depot. Did you use dark grout or white grout for it?
thanks!