• Home
  • About Us
  • Happy Juice – your new fav wellness tool
  • Project Gallery
  • Buy One Of Our Homes
  • Contact
    • Amazon
    • Email
    • Facebook
    • Instagram
    • Pinterest
    • RSS
    • Twitter

Dream Book Design

Built In Fireplace And Cabinets Tutorial

One thing that we have always wanted in our home(s) is a real fire place. We would love a real wood burning fireplace but unfortunately we haven’t had that option. In our first house we went with an electric fireplace. Although we loved the ability to have the ambience of a fire, but control the heat, at the end of the day the flames were not real. When we made the decision to go with a gas fireplace we looked at some options and decided that utilizing a vent-less fireplace from Lowe’s was the way to go. It allowed us have a real flame but save on the cost of adding a chimney. Saying this though, I wouldn’t mind having a proper fireplace one day. I’ve even gone as far as looking into companies such as Nationwide Chimney Components LTD, if I ever hope to get our old chimney repaired and get a traditional fireplace going. But for now, I am happy with this gas fireplace. In this and the next couple posts we will walk through our steps of how we built out the fireplace wall, with mantel, cabinets and bookcases!

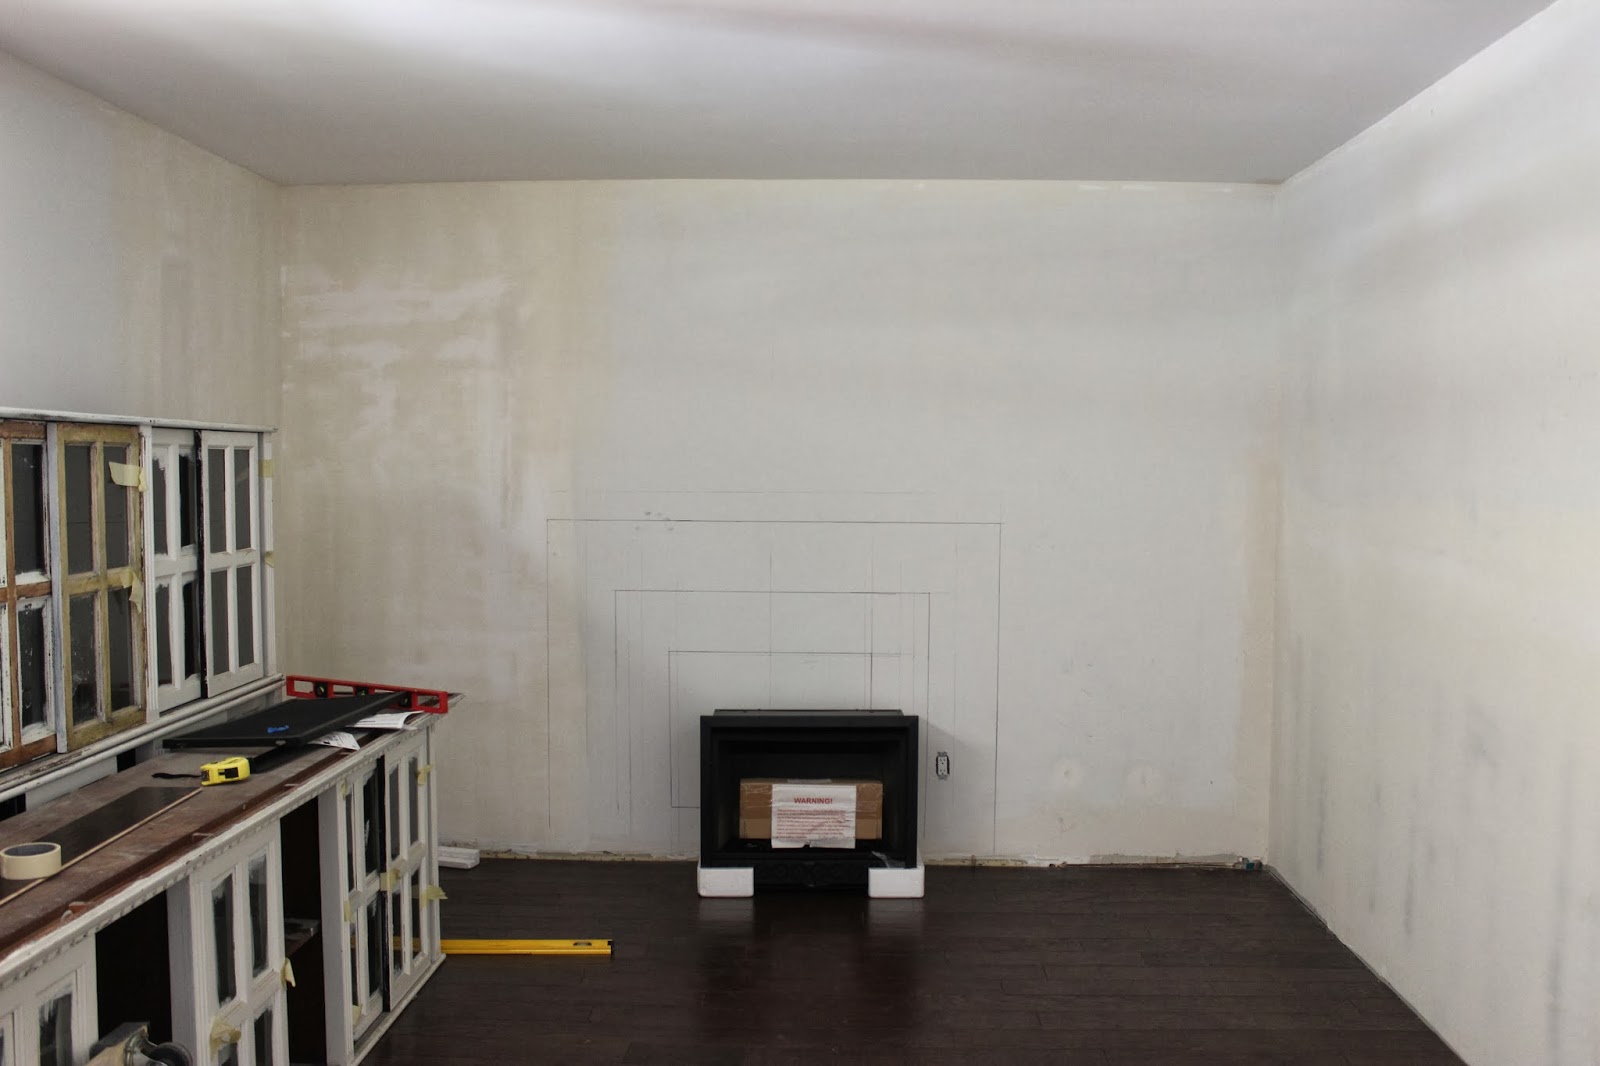
First, we had to map out the room in order in order figure out the layout. We centered the fireplace and worked out from there. J is particular so he spent a lot of time trying to figure out the optimal mantel and cabinet size. Ultimately he decided that the fireplace would be centered and there would be approximately 10″ of tile to each side and above and below. The mantel would be approx 1 foot wide for each leg, then the rest would be cabinets.

After the layout was decided it was time to start building. J laid out the base of the framing for the fireplace. He then drilled through the wood and secured the wood to the cement slab (we checked with our floor guy and said this would work with our floors and that we did not need to cut out the wood flooring).

He then started to build the walls. One thing that helped J here was his experience with Young Life. For many years he would go to Mexico and help build houses for families. They would basically build a small house for a family over a 3-4 day weekend. He learned some basic framing (although its definitely not the prettiest of framing jobs) and it came in handy. Essentially he built 3 walls outside and we brought them in and secured them to the ceiling joists, back wall, each other, and the base.

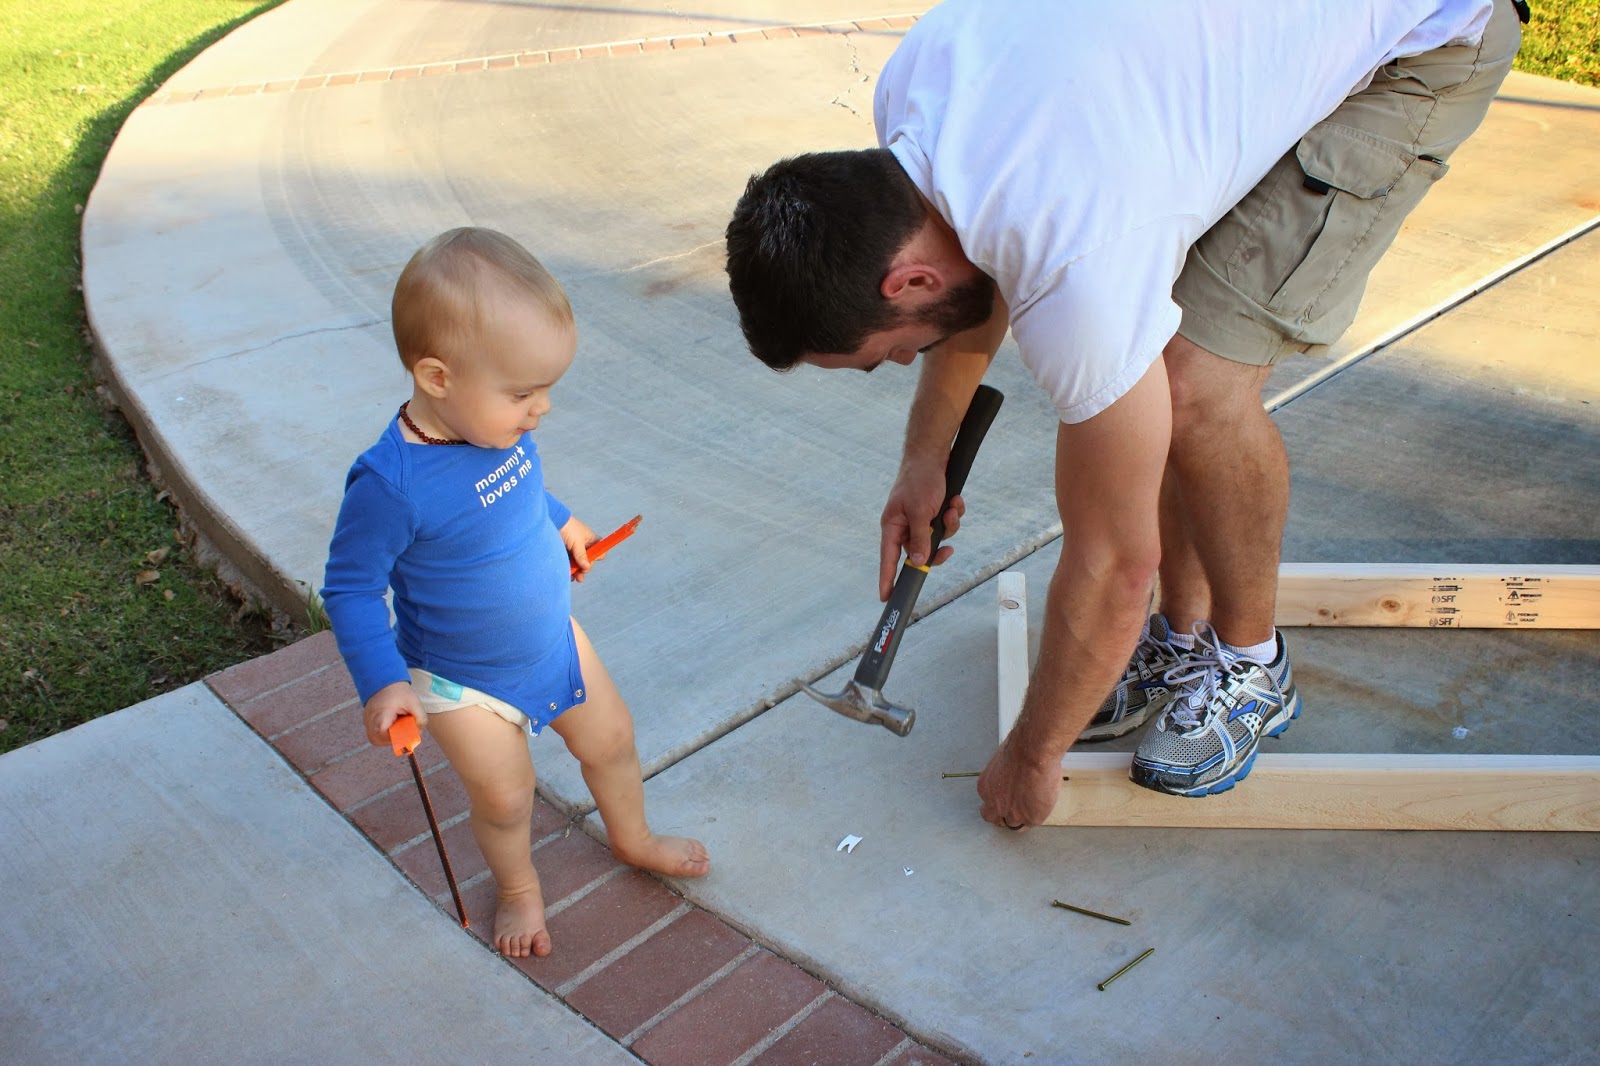
Bray is a ‘big helper’ with any project he can be by:)

We wont get into all the measurements because lets face it that is boring to read and write.

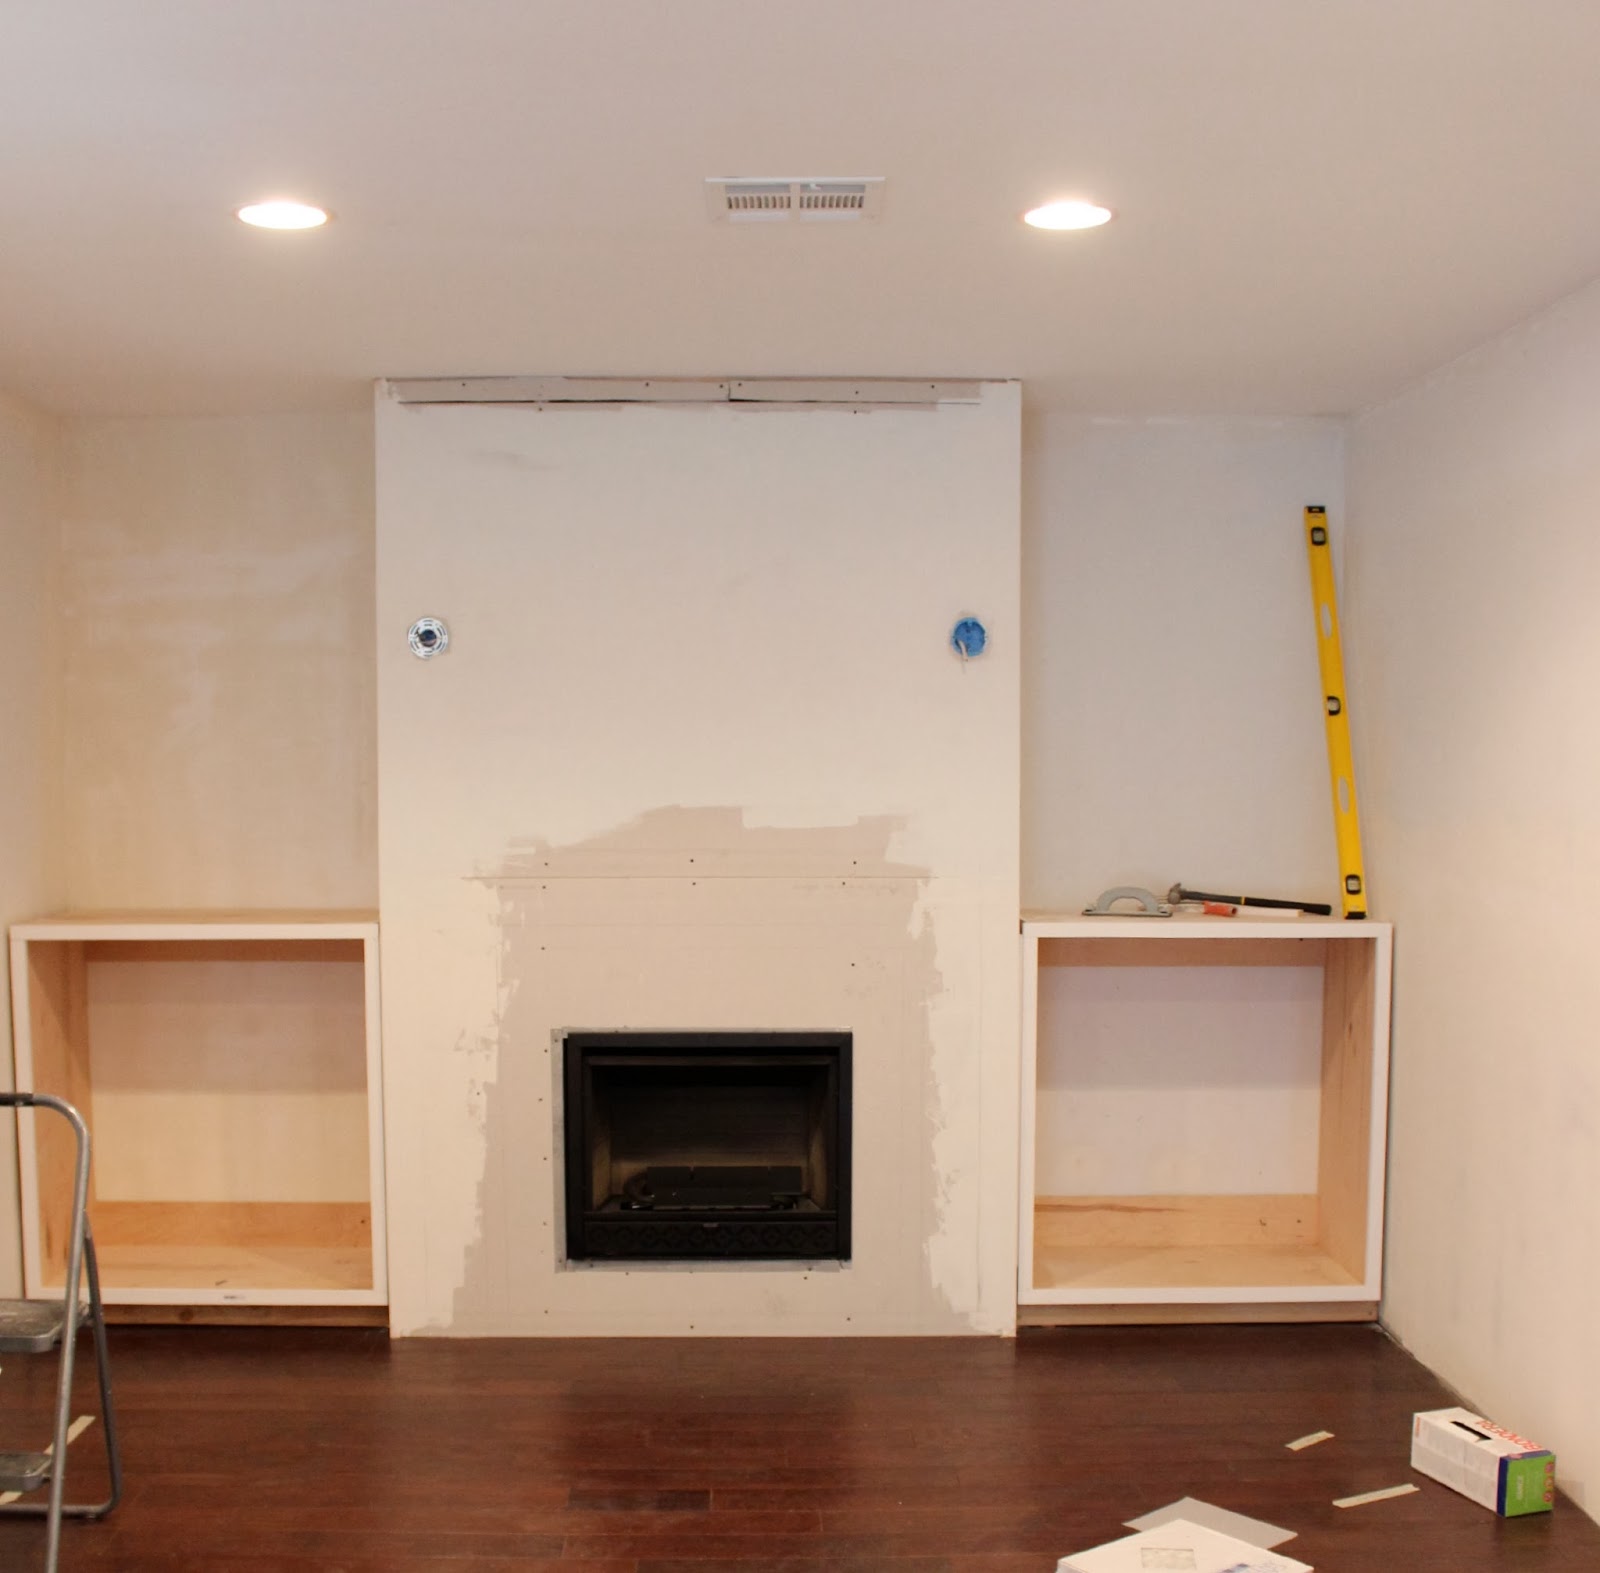
Next, once the walls were up and secure, J built out a cubby for the fireplace to slip into. J built the opening per the instructions that came with the fireplace.

See: although its not pretty, its functional and secure 🙂
Next it was time for drywall. This was our first attempt at ever hanging drywall and it was actually pretty straight forward. We hung the drywall using drywall screws and tried to place the seems where they would be covered by the cabinets or the mantel. This cut down on us having to putty and sand seams and screw holes. I think it was easy because we only had a small area to renovate, if I was doing the whole house, I would certainly use some of the best drywall contractors Lynchburg has to offer so that I knew everything was installed properly.

For the corners we simply applied a generous amount of drywall compound to the corner and then cut a corner bead (metal corner with drywall paper). We then placed the metal bead over the corner and smoothed out with a putty knife. Final step was to add compound over the bead and feather the compound out. J watched a few youtube videos on how to do this and he said it helped. Next we applied some compound over screws and smoothed the compound out. Because J spent time planning out the seams he only had the corner seams to deal with a because all the other seams were covered by trim or cabinets { I married a smart man;) }

Once the corners and screw patches were dry J sanded and applied another coat, he did this probably 3 times total each time feathering out more. J also added beads around the fireplace opening, which will be covered by the fireplace overhang and tile.

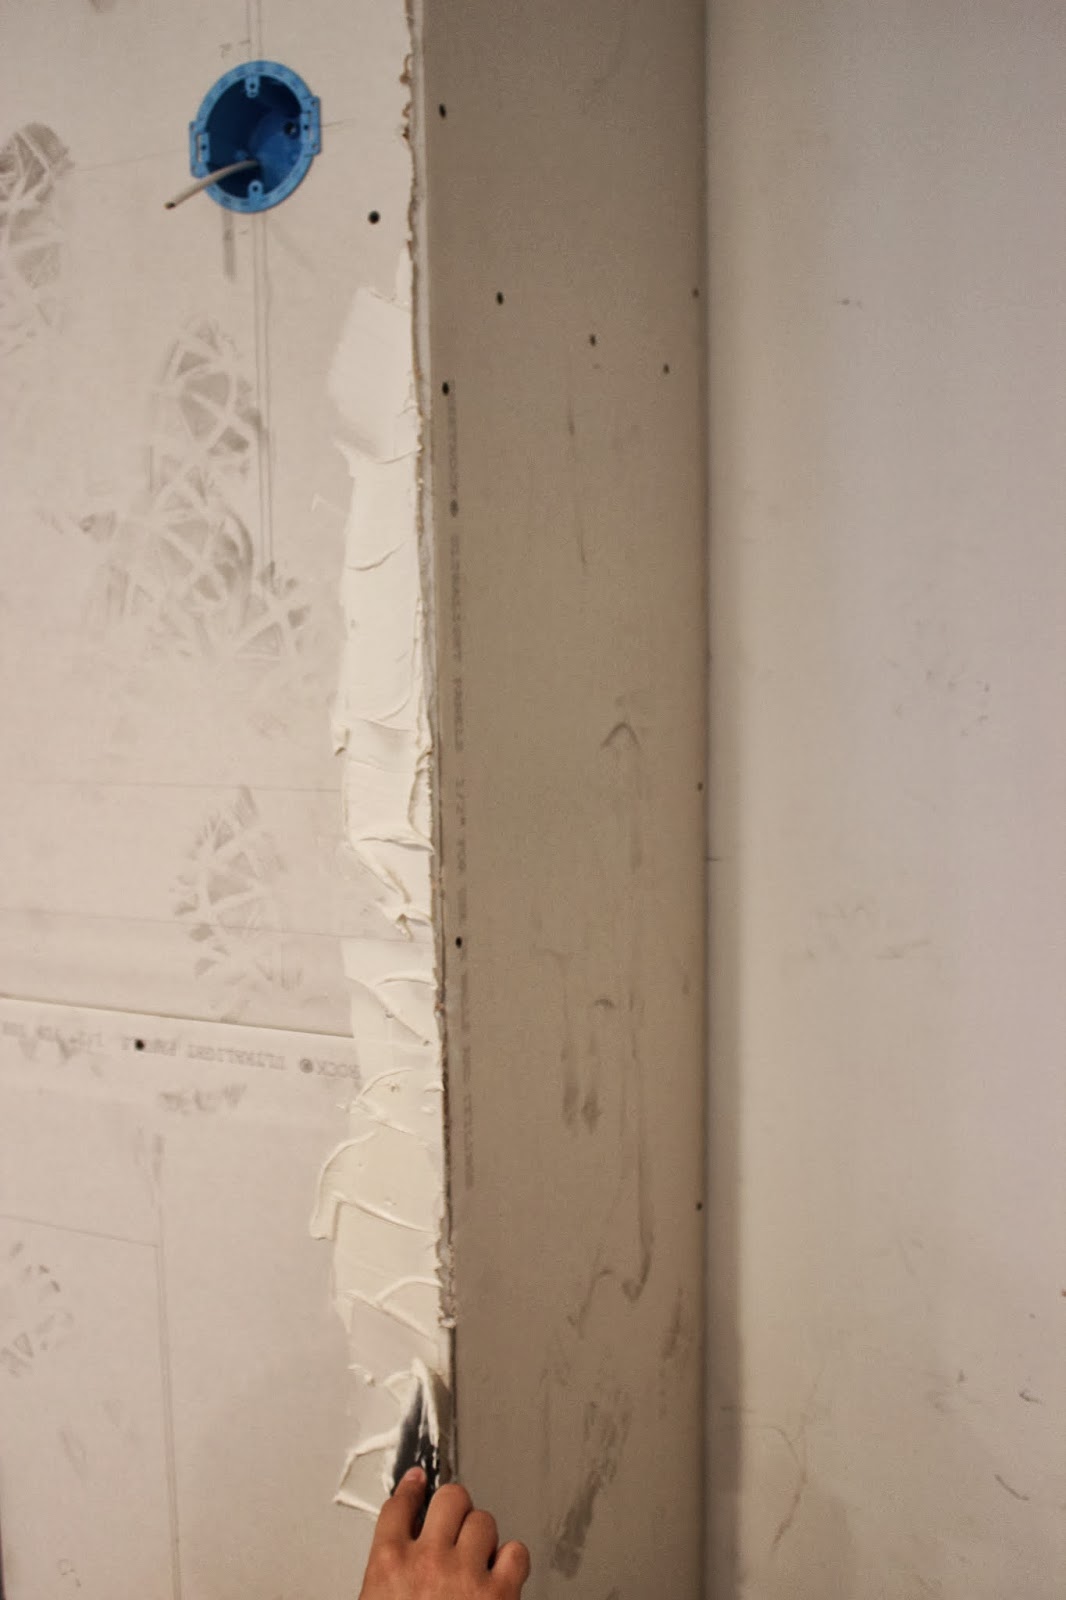
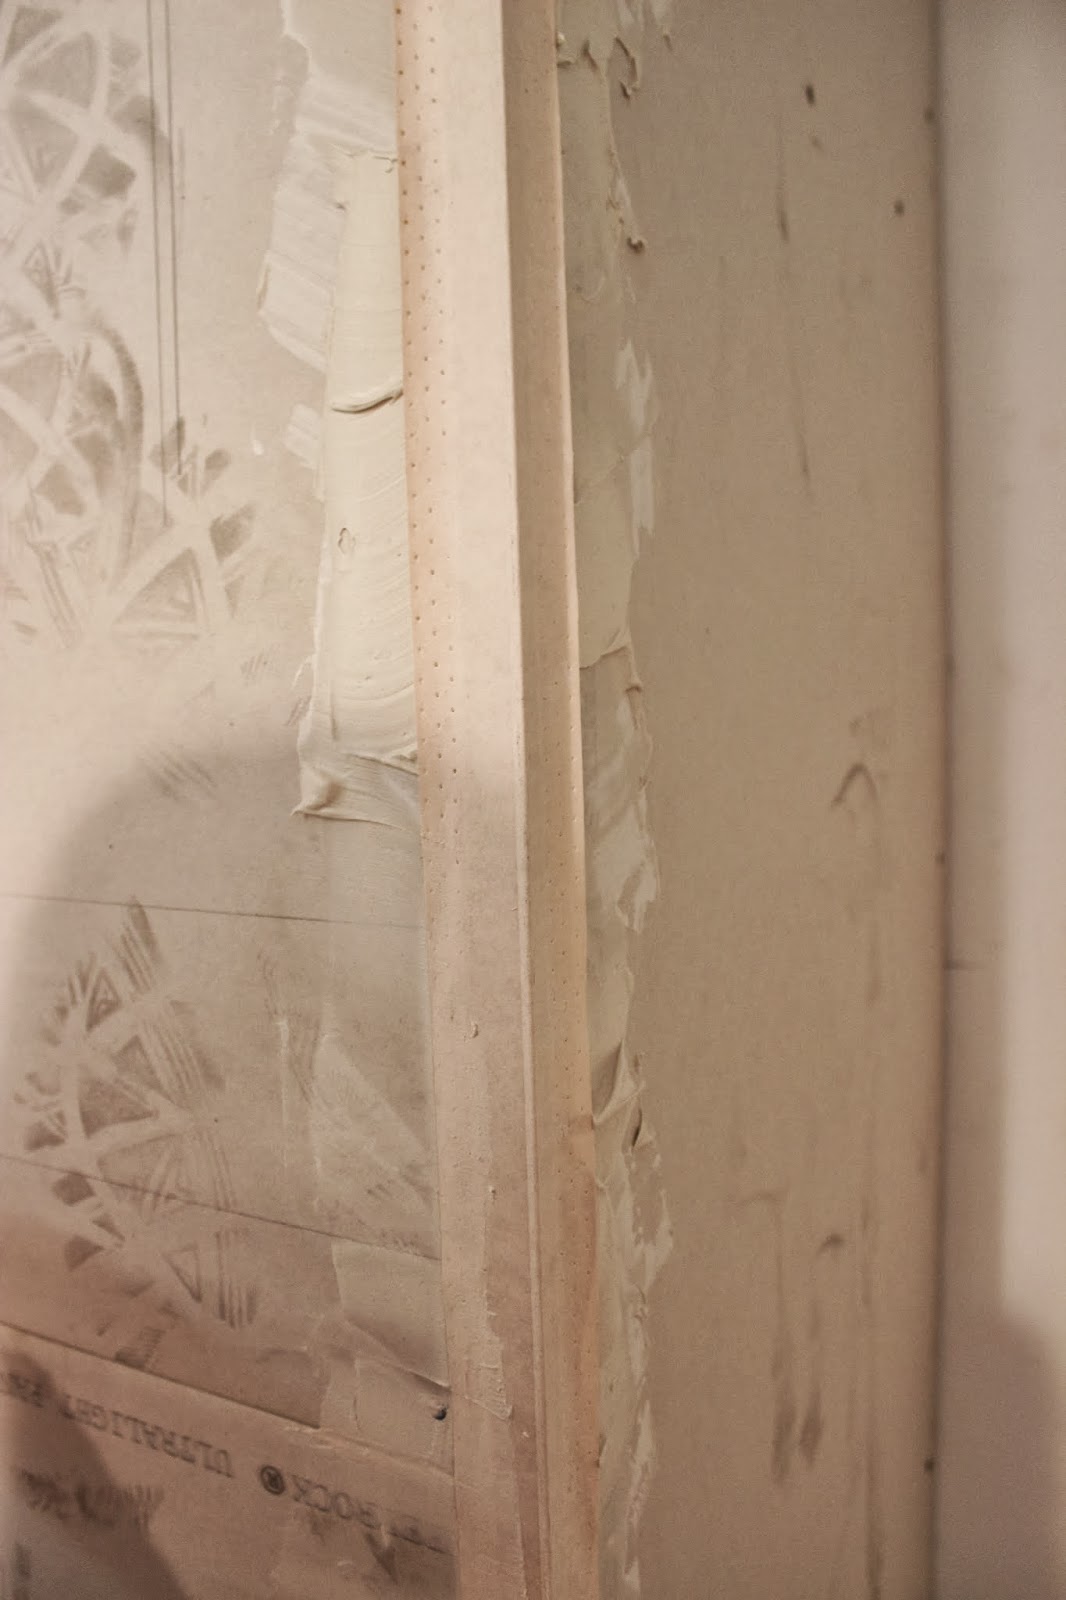
During the drywall step we had a plumber come run the gas line and an electrician like this electrician in Anoka, MN add the switch and wiring for the sconces. We know our limits when it comes to DIY, so calling in the professionals for these important jobs was definitely the right thing to do.

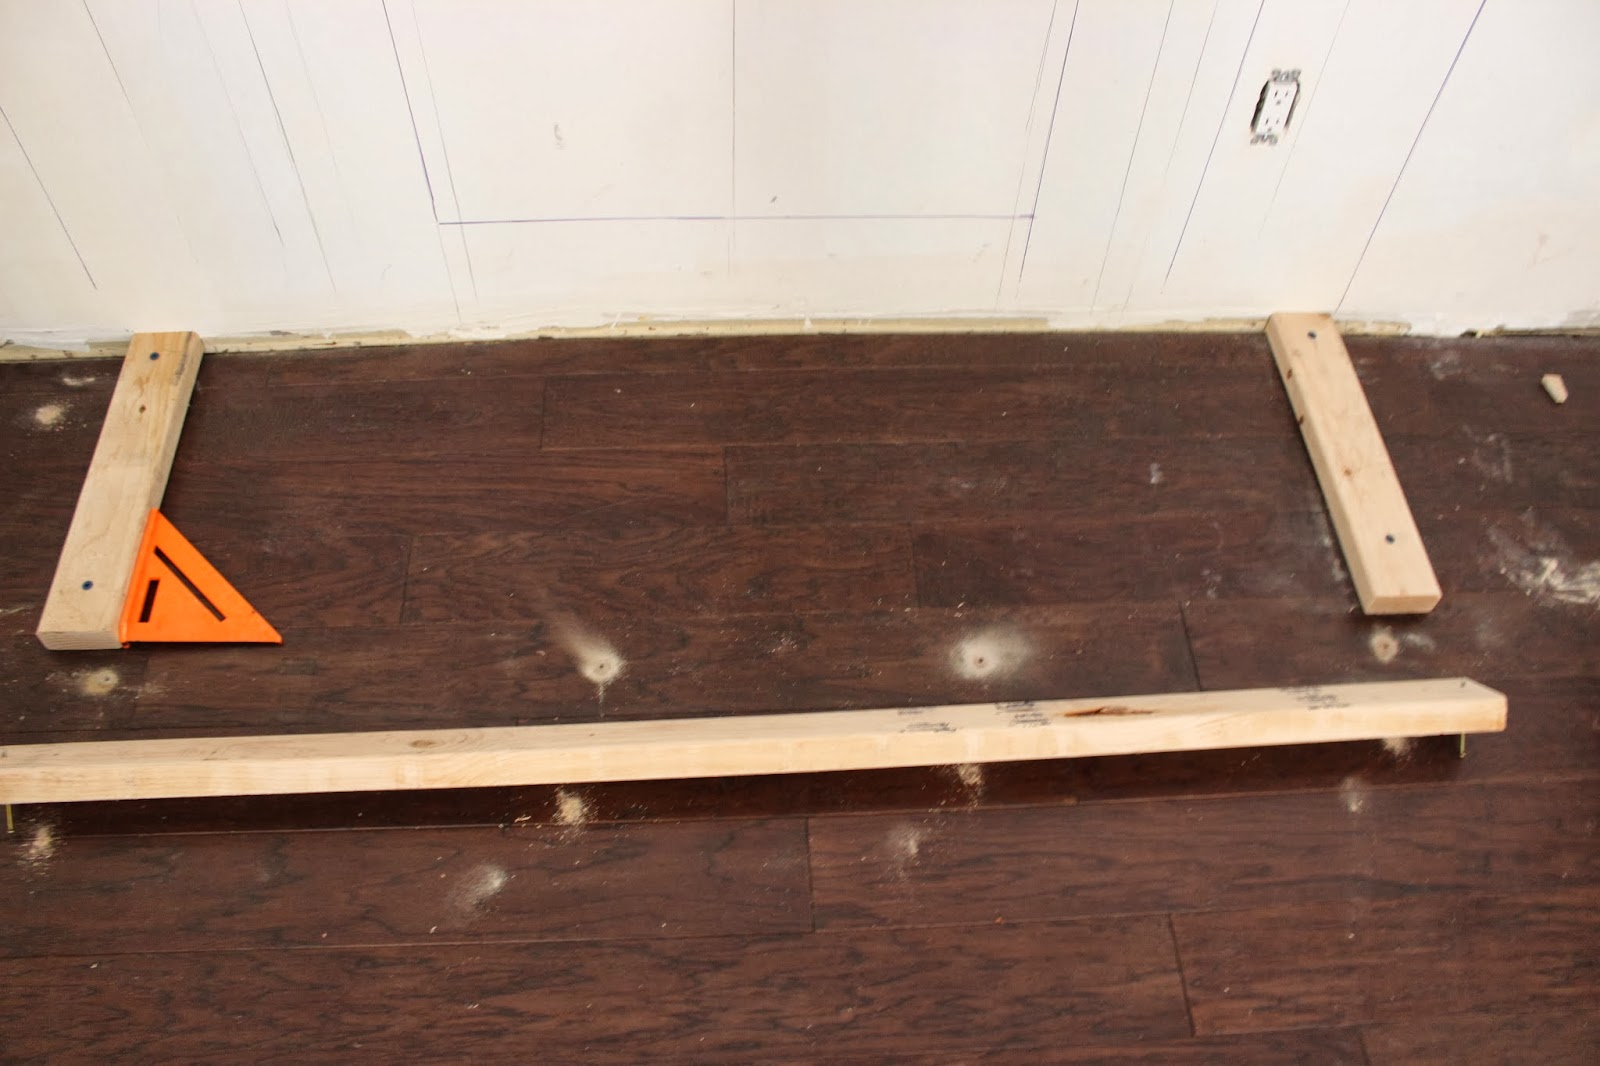
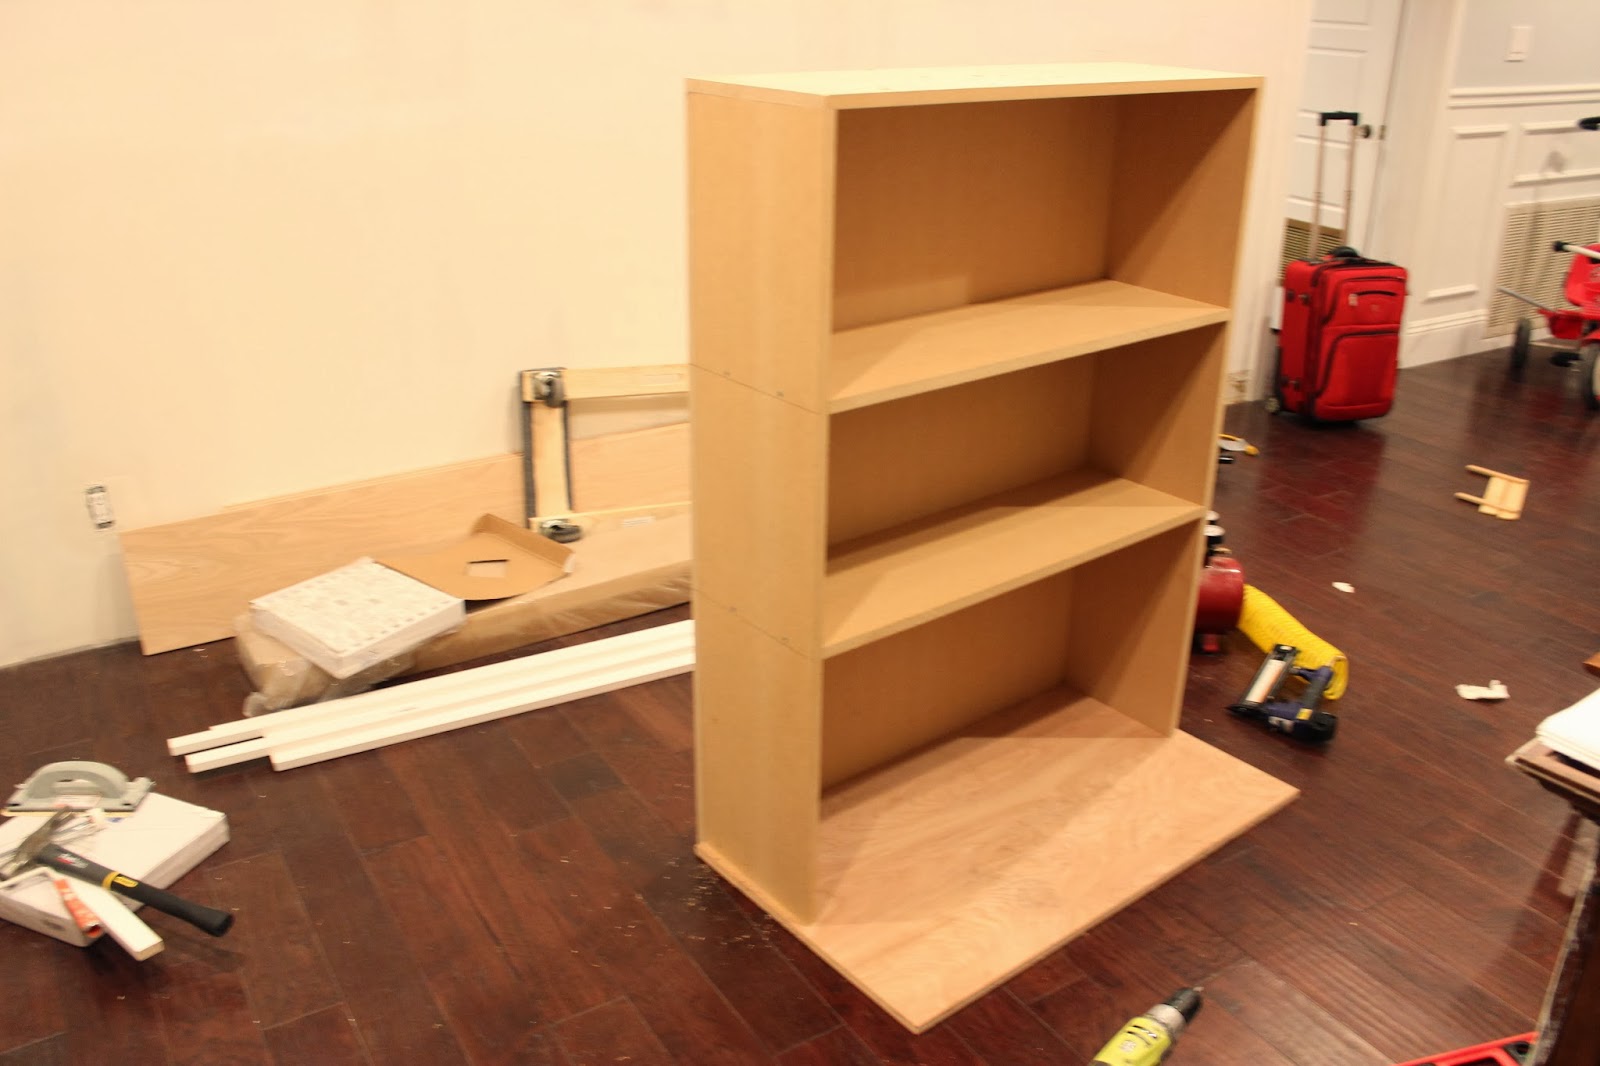
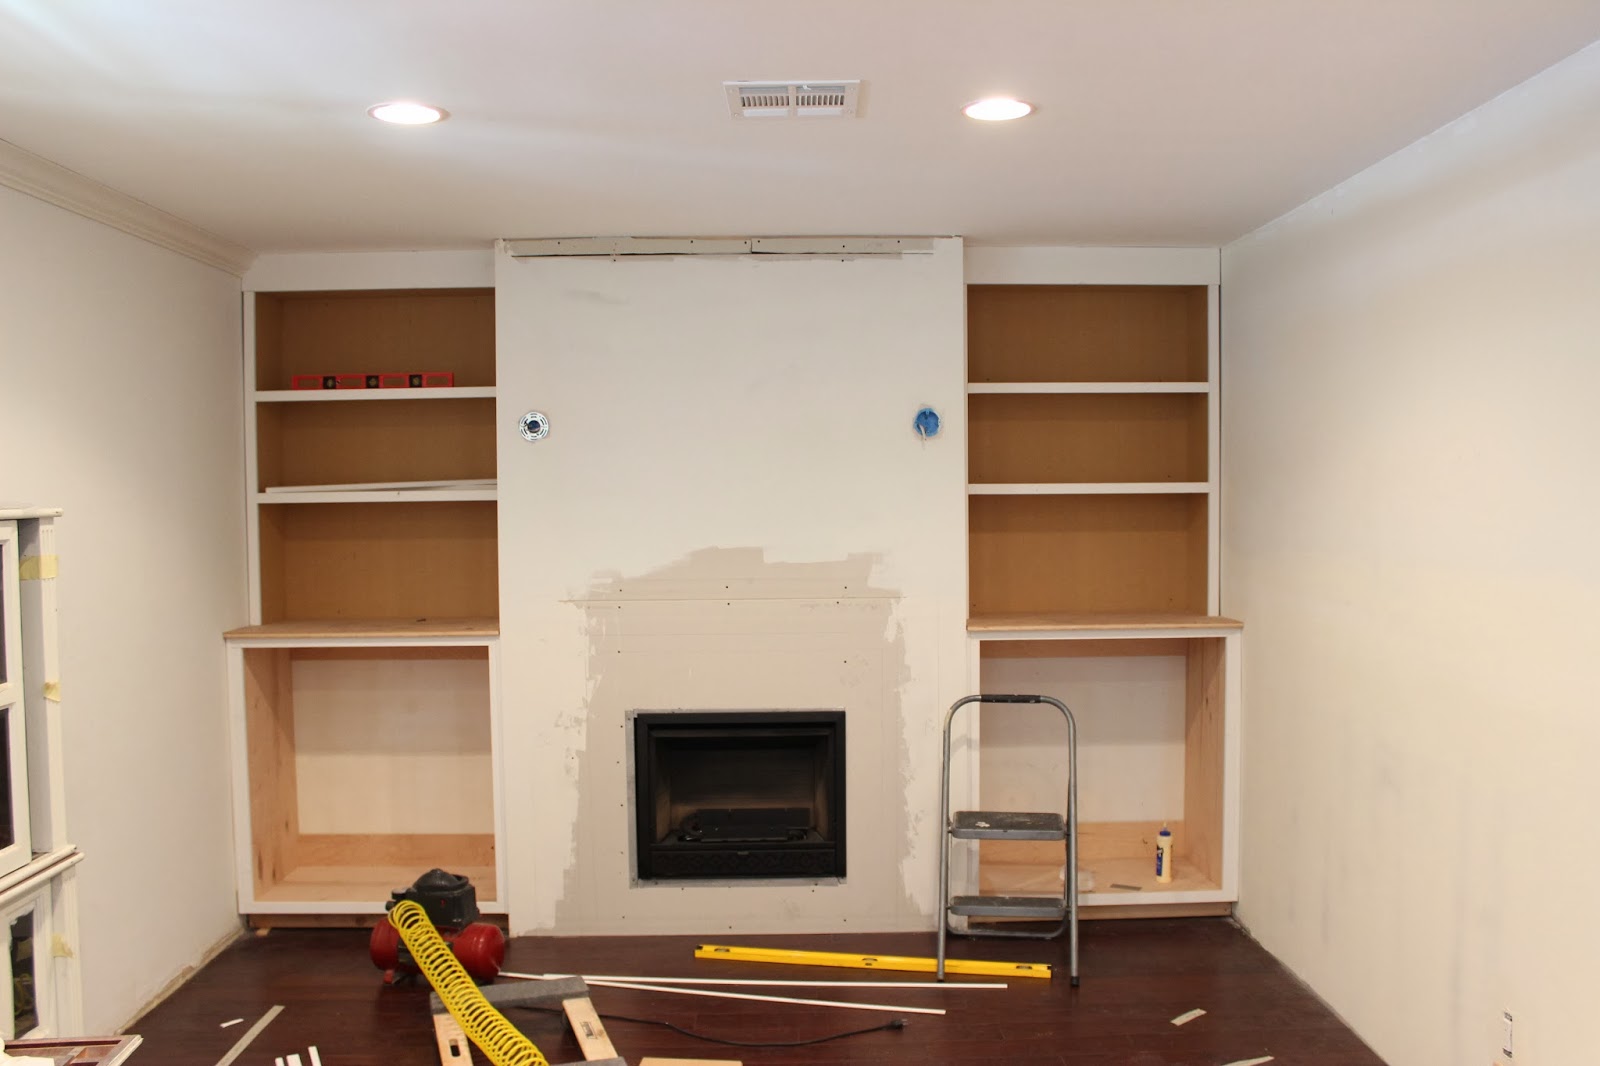
Now that the drywall was finished it was time to build the cabinets. J used the same process as we used with our DIY built ins. He made a simple base, attached it to the floor and wall, made a box for the cabinet that will house flush mount doors and added face trim (see our built ins post for directions). As you can imagine, our hardwood floors got quite scuffed during this process. I was not happy to say the least. Fortunately, as soon as everything is built, our floors are going to go through a floor sanding process and get rid of all the dents that have been made. They’ll be treated with a varnish after just to bring the colour back to life and that’s all they need.

For above the base cabinets we wanted open shelving. This actually was fairly simple once the measurements were figured out. J planned all the measurements out and made sure that all the cuts were made correctly at home depot on their large saw. Since all the corresponding sides were the same size it made getting the cabinets square very simple. When he was planning out the measurement he drew out how each piece would sit and made sure to accommodate where the overlap would be. Its hard to describe but hopefully the photos show how he was able make these. J used MDF for the sides, top, back and shelves. He used oak plywood as the base, that will be attached to the top of the cabinets. He attached face trim to the side fronts and the bookshelves to make a flush look.

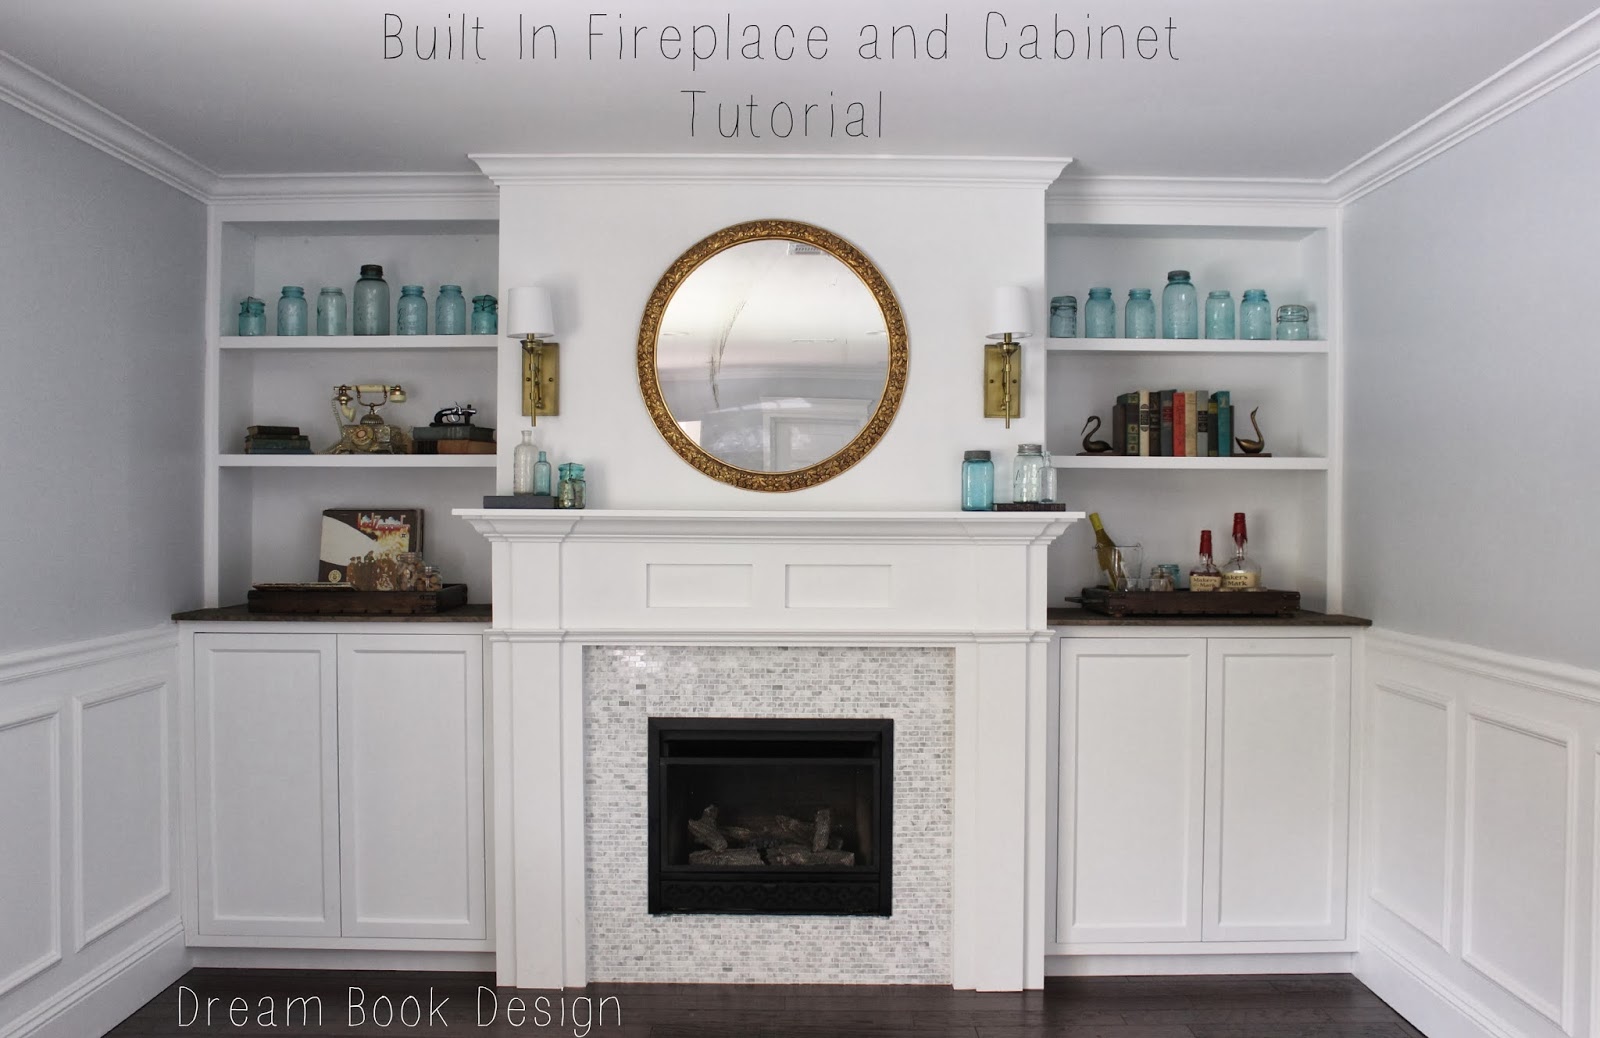
J used a few trim pieces to cover up the seams between the cabinets and walls. We added crown molding to the top of the bookshelves and mantel wall. This helped tie the cabinets and fireplace in to the room and make it look built in. Overall we really love the way that this wall looks like it has been there forever.

Come back next week and I will have a post that shows how we made our mantel from scratch, added tile and completed our built in fireplace.

Share this:

  • Google
  • Pinterest
  • Facebook
  • Twitter

Filed Under: New House Living Room, Tutorials

« 15 Weeks Pregnant
Our High Gloss Black Front Door »

Comments

  1. Anonymous says

    January 9, 2014 at 5:43 pm

    I couldn’t figure out how the fireplace is vented? Is there a chimney? Or is it not necessary? Will you be burning wood?

  2. adrianne lentine says

    January 9, 2014 at 6:32 pm

    It is a ventless gas fireplace. We are not able to burn wood. The link to it is up top in the post:)

  3. Amanda says

    January 9, 2014 at 7:14 pm

    It’s beautiful. I’ve been falling more in love with your blog with each post lately. I’ve been a reader for a while and it just keeps getting better. Last week I was inspired to look into your Okite countertops and now have their beautiful samples all over my current need-to-be-replaced counters. I’m in love – you found a gem with them. I’m excited to do my own stain testing 🙂

    And now with your fireplace. Oh my. Was wondering if you could give me a rough estimate of how much it cost you to get the gas line put in. I feel like I can estimate every other part of the project in my house, but that’s the one that I don’t have a clue about.

    Thanks! Keep posting your beautiful home and I’ll keep dreaming it wouldn’t be totally creepy of me to come to your side of the valley and see it in person.

  4. shannonallsworth says

    January 10, 2014 at 4:22 am

    Crass question, I know, but would you mind sharing some of the cost breakdowns. I hate to make you uncomfortable, but it will really help me figure out if I want to tackle part or all of this project.
    Thank you!

    • adrianne lentine says

      January 10, 2014 at 2:56 pm

      Can you send me your email address? It will be easier that way:)

  5. Laser hair removal surrey says

    January 10, 2014 at 11:09 am

    Wow… this is great… I’m impressed with your creativity.

  6. Shay Carr says

    January 10, 2014 at 12:21 pm

    Just found your site via Pinterest – will definitely start following! Love that your posts include a range of projects – simple to complicated skill levels – with a lot of pictures & detailed instructions. Your husband seems to be very good at large builds such as this one…possibly a future post should How-to Build Your Own Workshop (or at least a large Workbench)! 🙂 Congrats on your pregnancy!

    • adrianne lentine says

      January 10, 2014 at 2:55 pm

      Thanks so much shay! We try and post all projects, whether big or small- wth the hopes of encouraging others!! Glad you like what you see:)

  7. Anonymous says

    January 10, 2014 at 2:37 pm

    What was the cost in having the gas line ran to the new fireplace? We are considering doing a similar project.

    • adrianne lentine says

      January 10, 2014 at 2:54 pm

      We had a good friend do our gas line, so it was $300. I’m guessing that if he wasn’t a friend it would’ve been more like $500-600

  8. Holy Craft says

    January 10, 2014 at 8:08 pm

    Amazing! What a beautiful makeover! Nice work…and your little helper is pretty cute too.

  9. Tracy Carson says

    January 10, 2014 at 9:01 pm

    This is amazing! Total rockstar DIY status here. Such talent!

  10. Beverly G. French says

    February 5, 2014 at 7:21 am

    What a cute lil baby helping his dad put up the fireplace…I don’t think me or my husband has a knack for things like this although the tutorial and the pictures are a great help to visualize and anticipate the steps to be done in building a fireplace…and thanks for this because without it we would just go along with our plan to build it ourselves, but after seeing this post we realized we cannot do such an enormous job so I think we will just contact someone who could build our fireplace for us and this one looks great http://www.buildersupplysource.com/

  11. Morag Donlevy says

    July 17, 2014 at 4:16 am

    We have a ventless fireplace in our 4 season room. Although it is lovely to look at, there is always a slight odor of propane and there is always a film on the windows. It is relatively easy to clean windows but not so easy to clean the ceiling and woodwork. We added on a 4 season room in our lake home but this time we vented the fireplace. Still a gas fire but much much better.

    • Adri says

      July 17, 2014 at 11:41 am

      Thats so interesting because we have never experienced that! Good to know though.

  12. Allen says

    January 6, 2015 at 5:30 am

    What did you do for the front edge of the counter top? How did you cover up the layers in the plywood? Did you use banding?

    • Adri says

      January 25, 2015 at 8:56 pm

      The front edge was just a trim moulding piece. All the face of the cabinets are 1×2 cut to size. We didnt use banding, we just attached a trim piece of wood in front of it. Its all in the tutorial:)

  13. susie says

    March 31, 2015 at 12:02 pm

    Hi there,
    Love your built ins. I’m wondering how big the entire wall is that you were working with. I’m planning built ins for an 8 foot wall (width and height) and trying to figure out how big of a fireplace to go with. Thanks!!

Trackbacks

  1. The 8 Most Financially Savvy Home Improvements You Can Make | Nicole DiCicco Real Estate says:
    July 14, 2014 at 10:50 am

    […] This homeowner’s room remodel is an ROI double-whammy: Its DIY built-ins frame a gas fireplace. These features make the room enjoyable now — and will make a great selling point later. Image: Dream Book Design […]

  2. From Michael Pond-The 8 Most Financially Savvy Home Improvements You Can Make | The Michael Pond TeamThe Michael Pond Team says:
    July 29, 2014 at 4:11 pm

    […] This homeowner’s room remodel is an ROI double-whammy: Its DIY built-ins frame a gas fireplace. These features make the room enjoyable now — and will make a great selling point later. Image: Dream Book Design […]

  3. The 8 Most Financially Savvy Home Improvements You Can Make | Tammy Goodson | Real Estate | Manhattan | Kansas | Homes For Sale | Property Search says:
    July 31, 2014 at 7:46 pm

    […] This homeowner’s room remodel is an ROI double-whammy: Its DIY built-ins frame a gas fireplace. These features make the room enjoyable now — and will make a great selling point later. Image: Dream Book Design […]

  4. The 8 Most Financially Savvy Home Improvements You Can Make - The Hyte Team says:
    September 10, 2014 at 7:37 am

    […] This homeowner’s room remodel is an ROI double-whammy: Its DIY built-ins frame a gas fireplace. These features make the room enjoyable now — and will make a great selling point later. Image: Dream Book Design […]

  5. Thanksgiving Decorating Ideas: An Understated, Eclectic Fall Mantel - Home Improvement Blog – The Apron by The Home Depot says:
    October 8, 2014 at 7:01 am

    […] 2 am the night before Thanksgiving in order to finish building our new DIY fireplace mantel and built-ins. We hosted the dinner in that room and we wanted it to be perfect. Best choice of timing? Probably […]

  6. Budget-Friendly | Tammy Goodson | Real Estate | Manhattan | Kansas | Homes For Sale | Property Search says:
    January 29, 2015 at 10:40 am

    […] This homeowner’s room remodel is an ROI double-whammy: Its DIY built-ins frame a gas fireplace. These features make the room enjoyable now — and will make a great selling point later. Image: Dream Book Design […]

  7. The 8 Most Financially Savvy Home Improvements you Can Make | Tracie L. Whillock says:
    April 8, 2015 at 12:55 pm

    […] This homeowner’s room remodel is an ROI double-whammy: Its DIY built-ins frame a gas fireplace. These features make the room enjoyable now — and will make a great selling point later. Image: Dream Book Design […]

  8. Budget Home Improvement Ideas | Home Remodeling Costs | HouseLogic | Crystal Edgerly says:
    November 4, 2015 at 2:54 pm

    […] This homeowner’s room remodel is an ROI double-whammy: Its DIY built-ins frame a gas fireplace. These features make the room enjoyable now — and will make a great selling point later. Image: Dream Book Design […]

  9. The 8 Most Financially Savvy Home Improvements | Tammy Goodson | Real Estate Agent | Manhattan, KS Homes For Sale says:
    June 2, 2016 at 11:40 am

    […] Image: Dream Book Design […]

  10. The 8 Most Financially Savvy Home Improvements | Randy Scott | Real Estate Agent | Atlantic Beach, NY Homes For Sale says:
    June 18, 2016 at 11:56 am

    […] Image: Dream Book Design […]

  11. The 8 Most Financially Savvy Home Improvements | Annalisa Weller's Blog says:
    August 22, 2016 at 10:14 am

    […] Image: Dream Book Design […]


Hi there. We are a married couple with three sweet kiddos. On this blog we document our DIY home projects, design inspiration, and our parenting life along the way. More >

Instagram @Dreambookdesign

Categories

Archives

  • Email
  • Instagram
  • Pinterest
  • RSS
  • Twitter

Copyright © 2025 · Blog Design by Sweet Theory Designs · Blog Set-Up By Blogelina