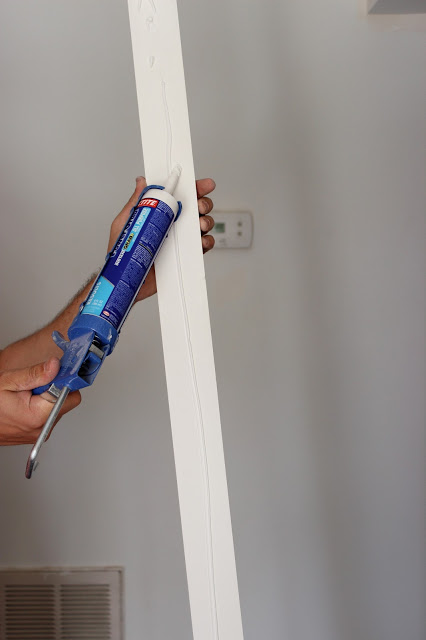
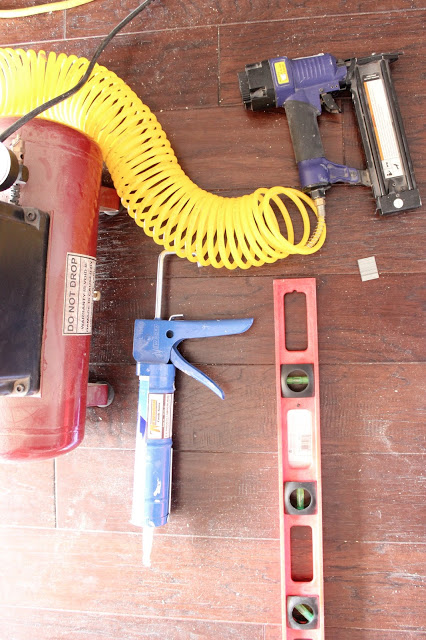
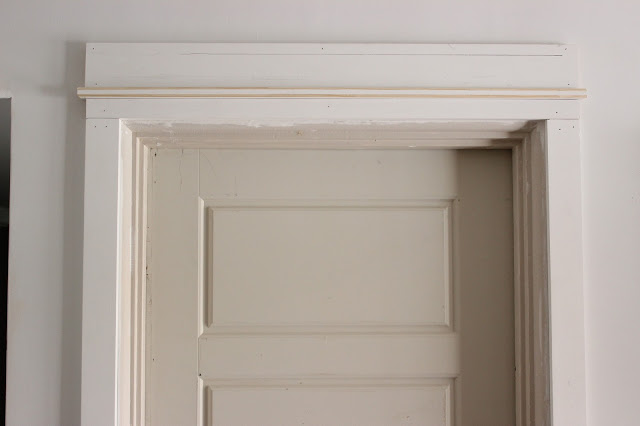
1. Cut a 1″x2″ to the width of your door frame plus your side trims (Piece #1). For example our door frame was 32 1/4″ wide plus 5″ for the 2 1″x3″ side pieces (remember the 1″x3″ are actually only 2.5″ wide and not 3″). We then cut the board to 37 1/4″, leveled it above the frame, glued and nailed it with the finish nailer.
3. For this next step you take a 1″ x 2″ cut it to size. You want to have this piece extend 1/2″ over each of the side pieces so it needs to be 1″ longer than your previous 1″ x 2″. Next you need to shave it down to 1 1/4″. This step isn’t totally necessary but we didn’t want it to protrude too much so it was worth shaving a 1/4″ off.
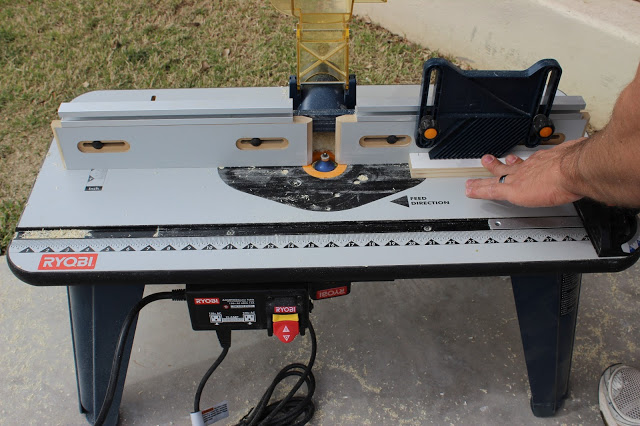
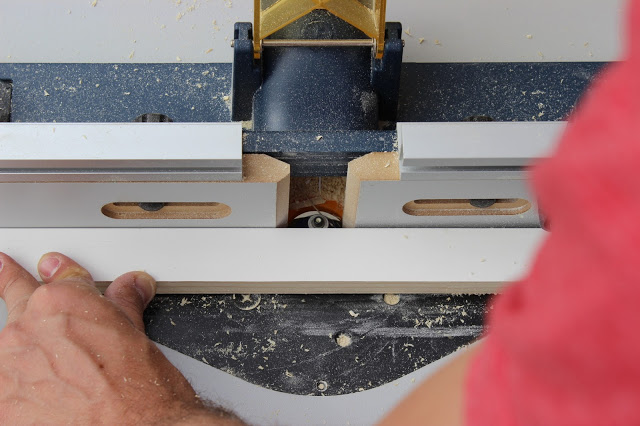
4. Take the board you just trimmed and run it through your router. We used a 1/2″ bit that rounded corners. Round the top and bottom of the front and both sides (We used the side of the board that we did not cut as the front). If you don’t have a router you could always use a orbital sander but it will definitely take a lot longer and wont be as exact.
Mark the hangover 1/2″ on each end.
5. Lay the trimmed board (#4) perpendicular to your top trim piece (#1) It should protrude out approximately 1/2″ in front and on each side.
6. Next you trim a 1″ x 4″ (Piece #5) to the same length as Piece #1. Make a mark 1″ down from the top of the board using a triangle. This will be used for installing the trim. Install it directly above Piece #4.
7. The trickiest part of this is cutting the crown pieces for the top. There are plenty of you tube videos that show you how to cut outside corners but we have some photos that may help. One trick J does is he always marks the angle he needs with a pencil, he says it helps him visualize the cut. So to do this you can hold the trim piece up on the wall and mark it.
Essentially you have to cut crown upside down using a 45″ mitre saw. The top of the crown piece has to be pressed firmly to the saw table and the bottom side of the crown has to pressed against the fence of your saw. Once your cut it made you and have to rotate the saw blade to the other side to cut the other end. For outside corners the top side of the crown has to be longer than the bottom side \___/. J suggests using a scrap piece to get the hang of it and how the corners go together. In total you will have 3 crown pieces to cut; 1 front (Piece #6 \___/ ) and 2 side pieces (Piece #7 |_/ & #8 \_|). I hope my drawings using backslashes help 🙂
Once the crown pieces are cut, install the Piece #6 and then fit #7 & #8 into place. You will want to put some glue on the corners to help create a strong bond.
If you ever get to a point during this tutorial and think “man, I feel like I just read another language with all those numbers and measurements, then realize we are good friends! This type of project is something I personally could never feel comfortable with doing on my own. Cutting the wood, totally. But that’s only if Jeremy was telling me exactly what measurement to cut it at! I can pretend all day long that I am a fabulous DIYing mama, but truth is that I need J for a whollee lot of these projects:)
Also, I would not recommend doing this without some professional help. Especially, if you’re working on your entry doors, you’ve to make sure that all the measurements are accurate. Hope this helps any of you that were wanting to add a punch to your doors. And if you live in a home that trim like this came stock, well- just now a girl back in AZ is working hard to have what you have;)
What little things like this in your home are things that you are just driven crazy by, knowing that other states have that all over? Wrap around front porches, yea- totally dreamy, and totally not in Phoenix. Brick laden streets? For sure not here- but I don’t even know where?






Looks great! There is also a tutorial over on the blog, Sawdust Girl, http://sawdustgirl.com/2013/06/10/layered-door-and-window-trim-molding that might be of interest. She does kind of the same thing.
Cheers!
you guys are so good at this stuff!
Gosh that looks wonderful and SO much better than any door I have seen in AZ. I found a blog today that made me think a bit of you guys (young couple, cute, lots of energy, that have totally taken on a fixer upper and are making it wonderful) but you maybe a bit jealous of the fantastic craigslist finds they seem to have in their area!! And she is SO funny! http://victoriaelizabethbarnes.com/
This blows my mind! We are house-hunting and since most homes with this kind of trim are not affordable, will be doing some of these types of things ourselves – thank you!!
Very nice trim. I just built a lot of trim like that. A suggestion for you is to assemble that header on the bench. Once it is all put together, nail it up in one peice.
I LOVE this! This is exactly what I was looking for! Great post and so helpful. I’m a sucker for all things with southern charm. These door frames completely capture it! Thank you for sharing!
Hi. What is the paint color on your wall?
Hi Rosanna,
The color is Sherwin Williams Olympus White!