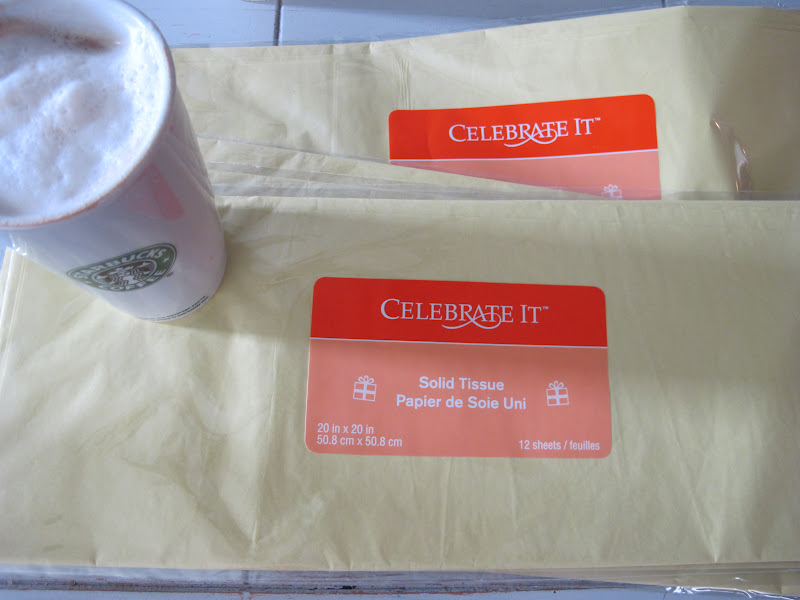
- Tissue paper {preferably 20×30, but I used 20×20 and it was great}. Each pom-pom takes about 10 sheets
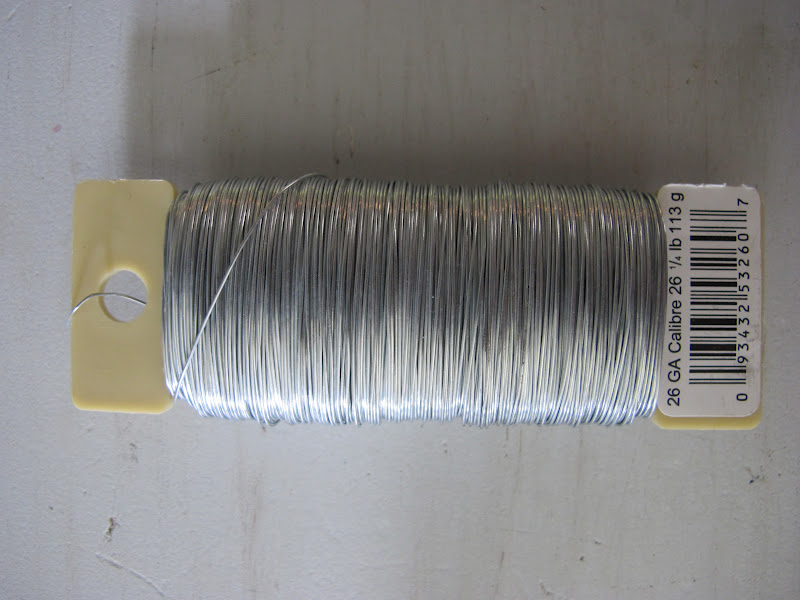
- Floral wire
- Scissors
- Clear string {or something to hold the pom-poms up}
Steps:
- Start by making yourself a latte, because these bad boys take some time to open up nicely:)
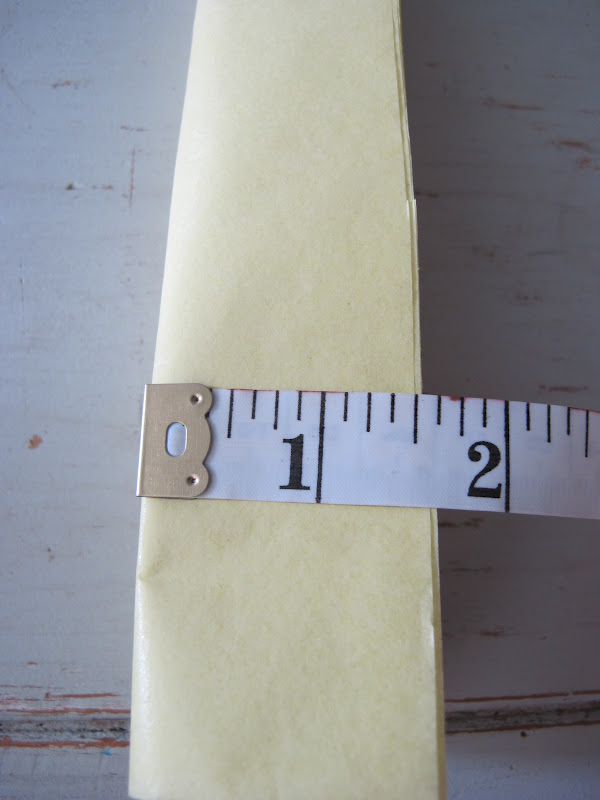
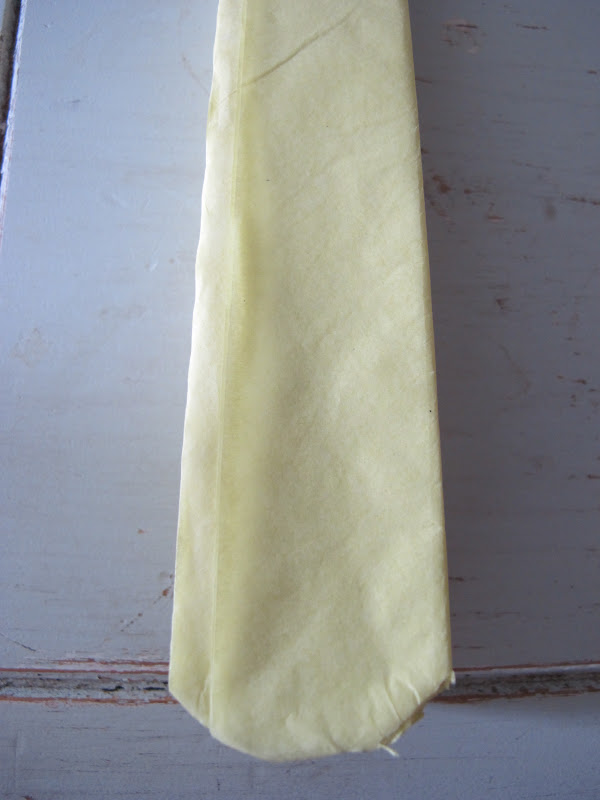
- Ok, really you need to start by folding your tissue paper like an accordion, with each fold being about 1 1/2in. wide:

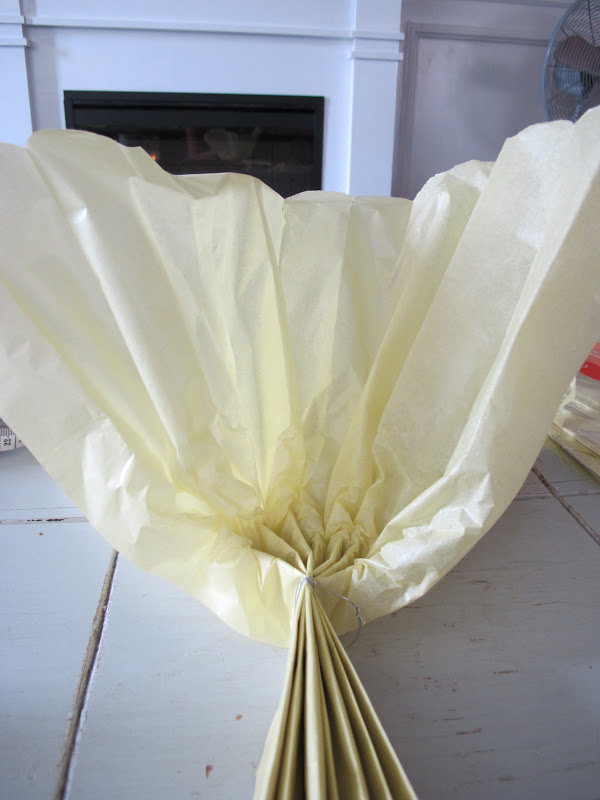
- Once the whole sheet is folded, then you are going to wrap the floral wire around the center of the bunch. I wrapped mine around about three times, and left extra to create a loop. You want the wire to be tight around the center, but not so tight that it tears the paper. You are going to want this loop so that you can easily attach the clear string to hang them from.

- Next, cut the edges to a curve. Once the paper is opened this makes it look like a flower rather than a crazy folded mess.
- Now heres the
funtime consuming part. Start by separating the top paper from the rest. You have to be very slow and patient with this, otherwise you will end up tearing the paper. Try and open it as close to the center as possible {this will help the pom-pom to look more full}. Continue opening all the paper on one side, then do the next:

- Attach clear string {I used thin fishing wire} to the middle loop, and hang. We used push pins to hang the pom-poms up. At first we attempted it with duct tape, but because they were so big, it wouldn’t hold them past 15 minutes!
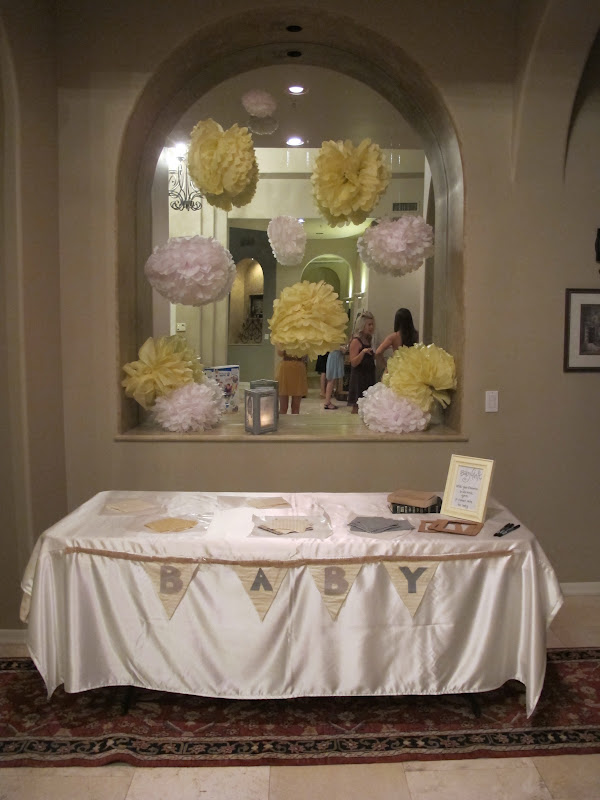

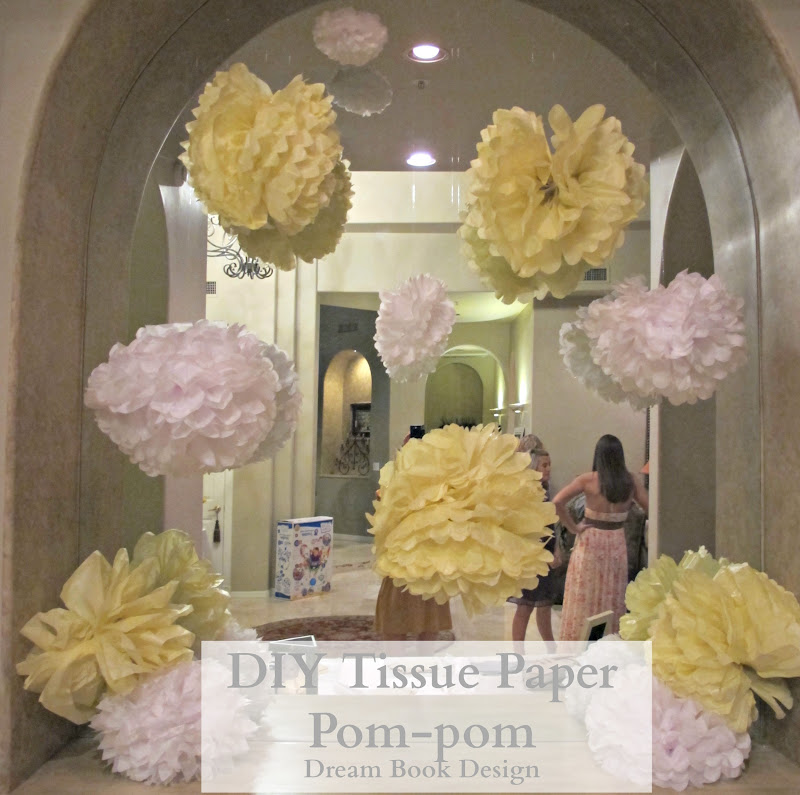
Sidenote- the white ones were borrowed from another friend, I didn’t make those. Another side note, I had opened one of these, then started working on the cakepops from He!! and started freaking out over my time management and being able to get these done. Thankfully I have an incredible best friend who not only brought me over a doughnut to cheer me up, but she also opened up the rest of the pom-poms for me. How incredible is that?! Thanks Kylie!
If you are ever hosting a shower, party, whatever- I highly recommend making these. They are super easy, cheap, and beautiful. Just make sure you have a drink, good movie, or something fun to entertain you while opening them- patience is key:)
So tell me, what other DIY party tips or projects do you guys have? What works best for you?


LOVE tissue poms! I made some for my daughter’s nursery-
http://instagram.com/p/K5BWcowO20/