
We have had quite the fun time with our kitchen cabinets since being in the new house. They started off a picture of perfection. They are a beautiful solid wood, flat white, and stunning in detail. Then we got some water on them and some of the paint chipped. Crap. But the company stands behind their product and replaced the messed up ones. Now, well now its finally time to install the beautiful hardware we have had on hand for a month!
We learned from last time installing our hardware to take our time. Be precise, triple check your markings, and then- and only then, drill! No cabinets are cheap, so when you mess up, its not a cheap fix. Of course you can always patch and paint to fill in any mistake holes, but lets just try and avoid that at all costs!
Supplies needed:
Electric drill
Hand screwdriver
Level
Measuring triangle
Painters tape and pen
Steps:
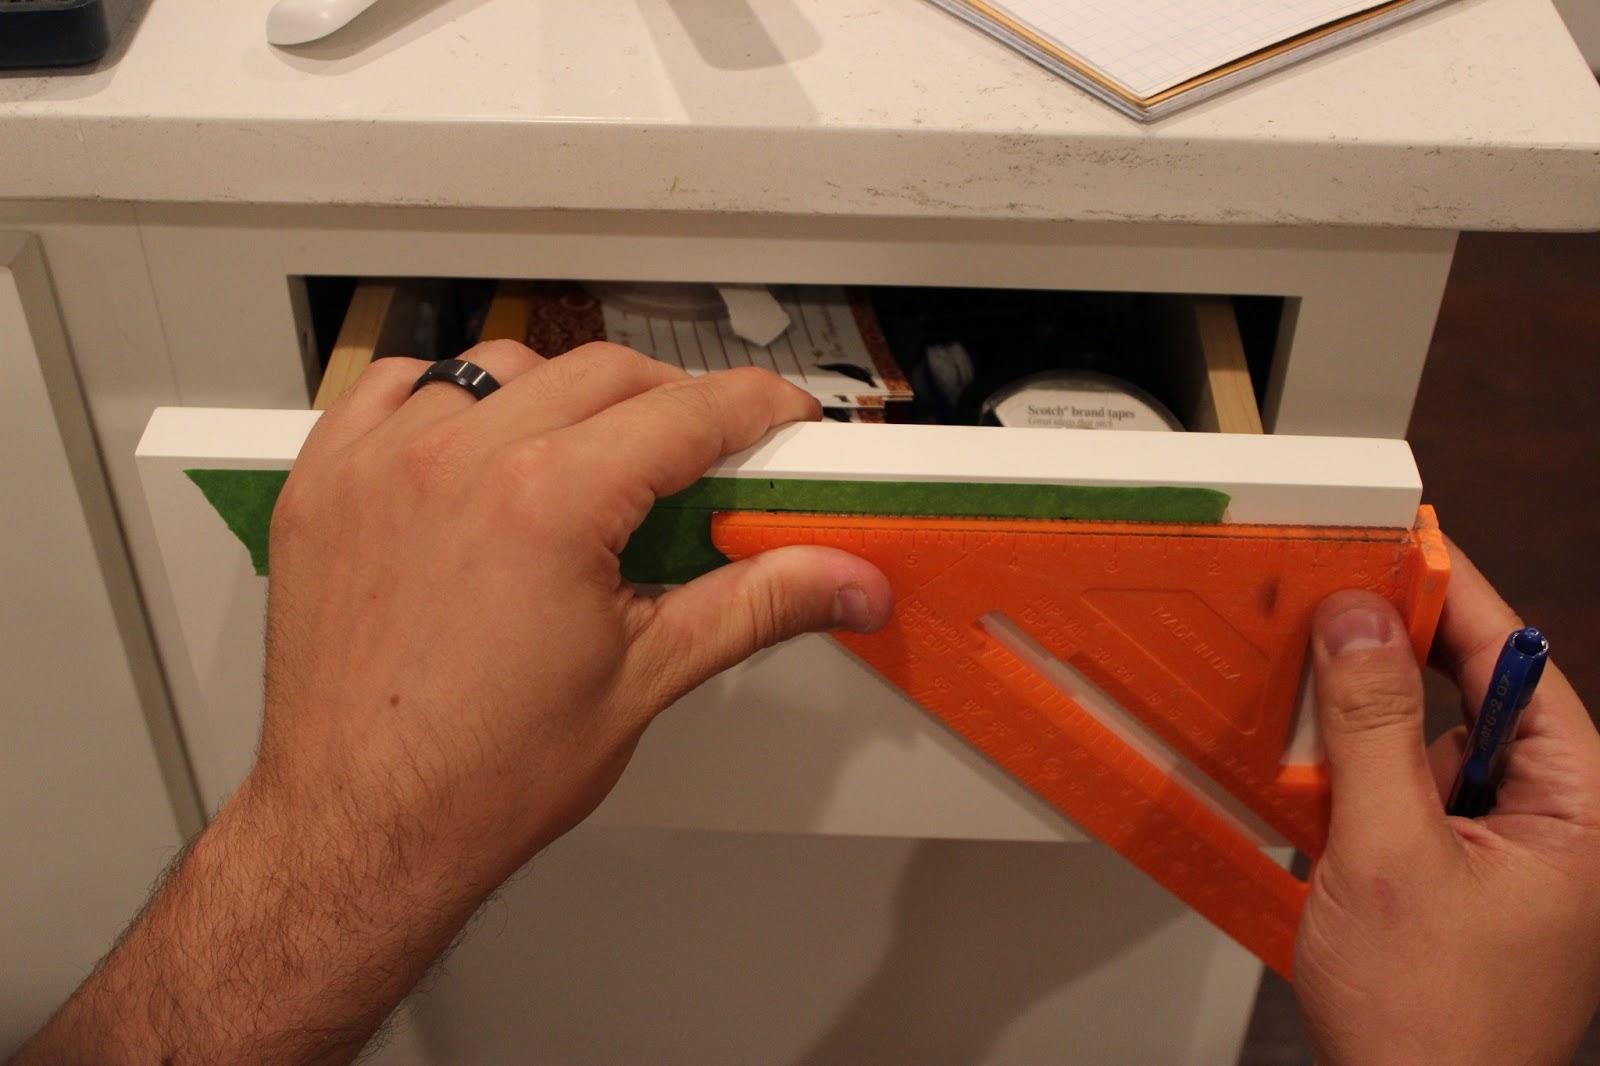
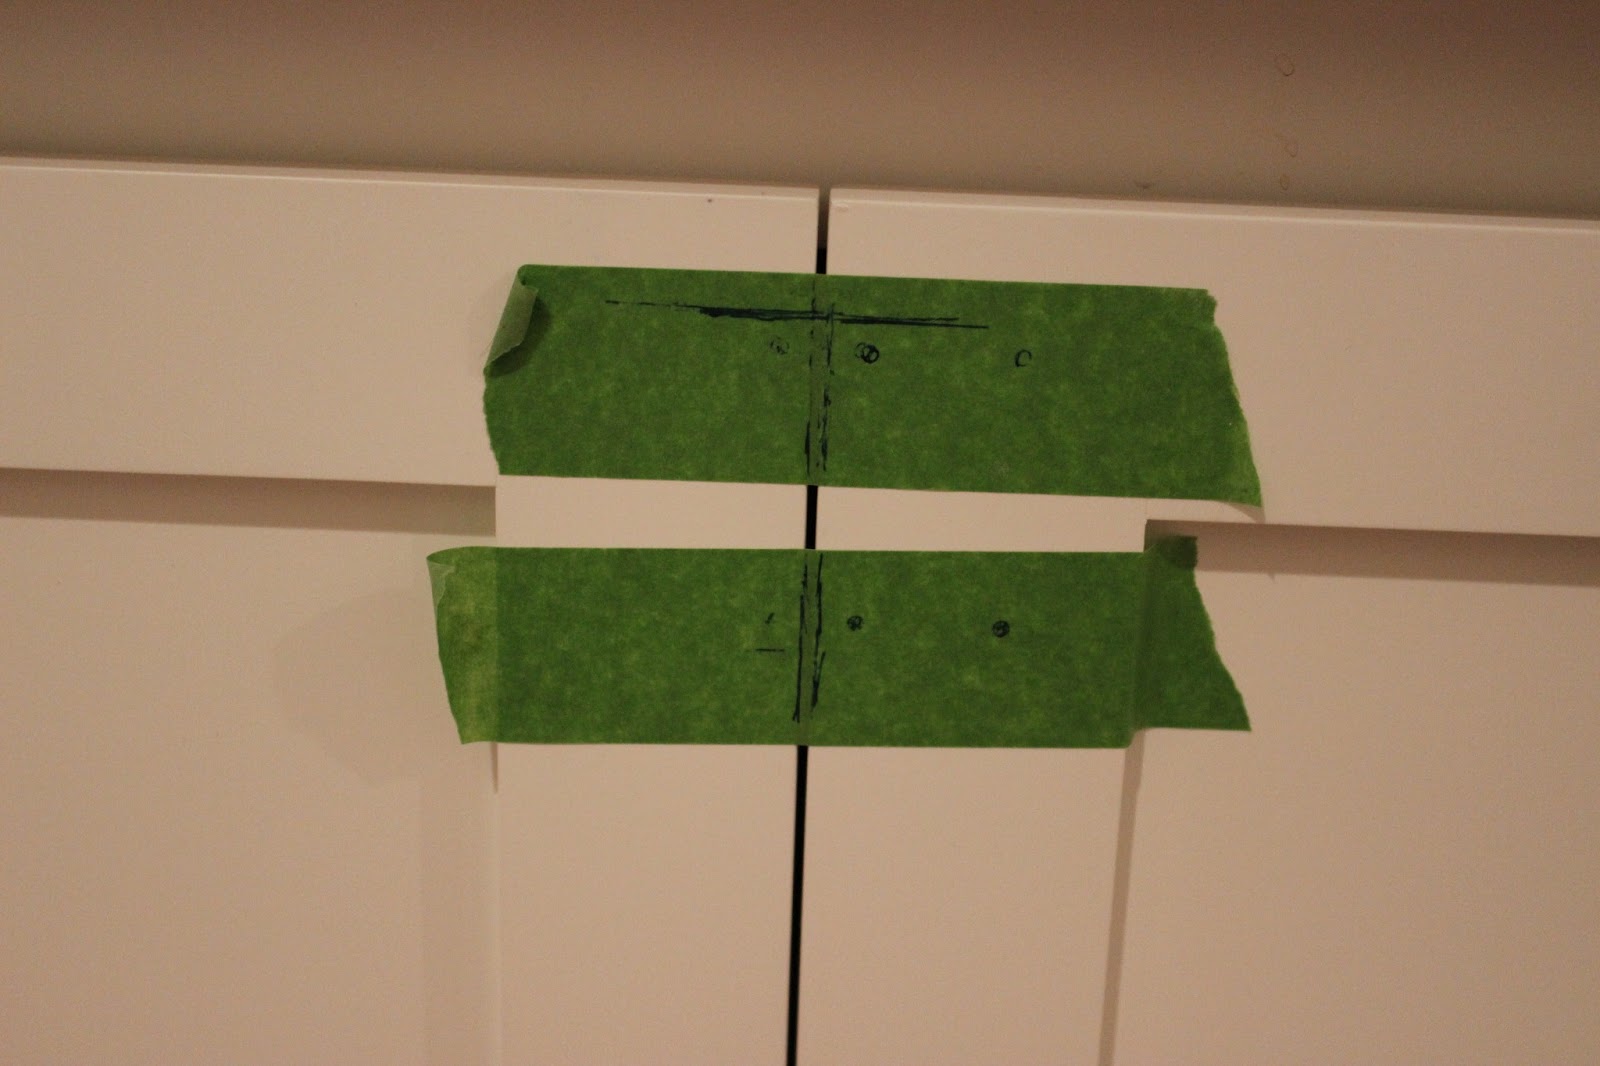
- Start off by taking pictures in terrible lighting. Wait, thats not step one, just is step one for us since we did this at 9pm:) Really though, start with your clean bare cabinet and begin by placing painters tape on the front of the drawer, measure out to find the middle and mark it with a pen.


-
Next figure out the height of where you want the hardware on the cabinet to go, and mark it with your triangle:
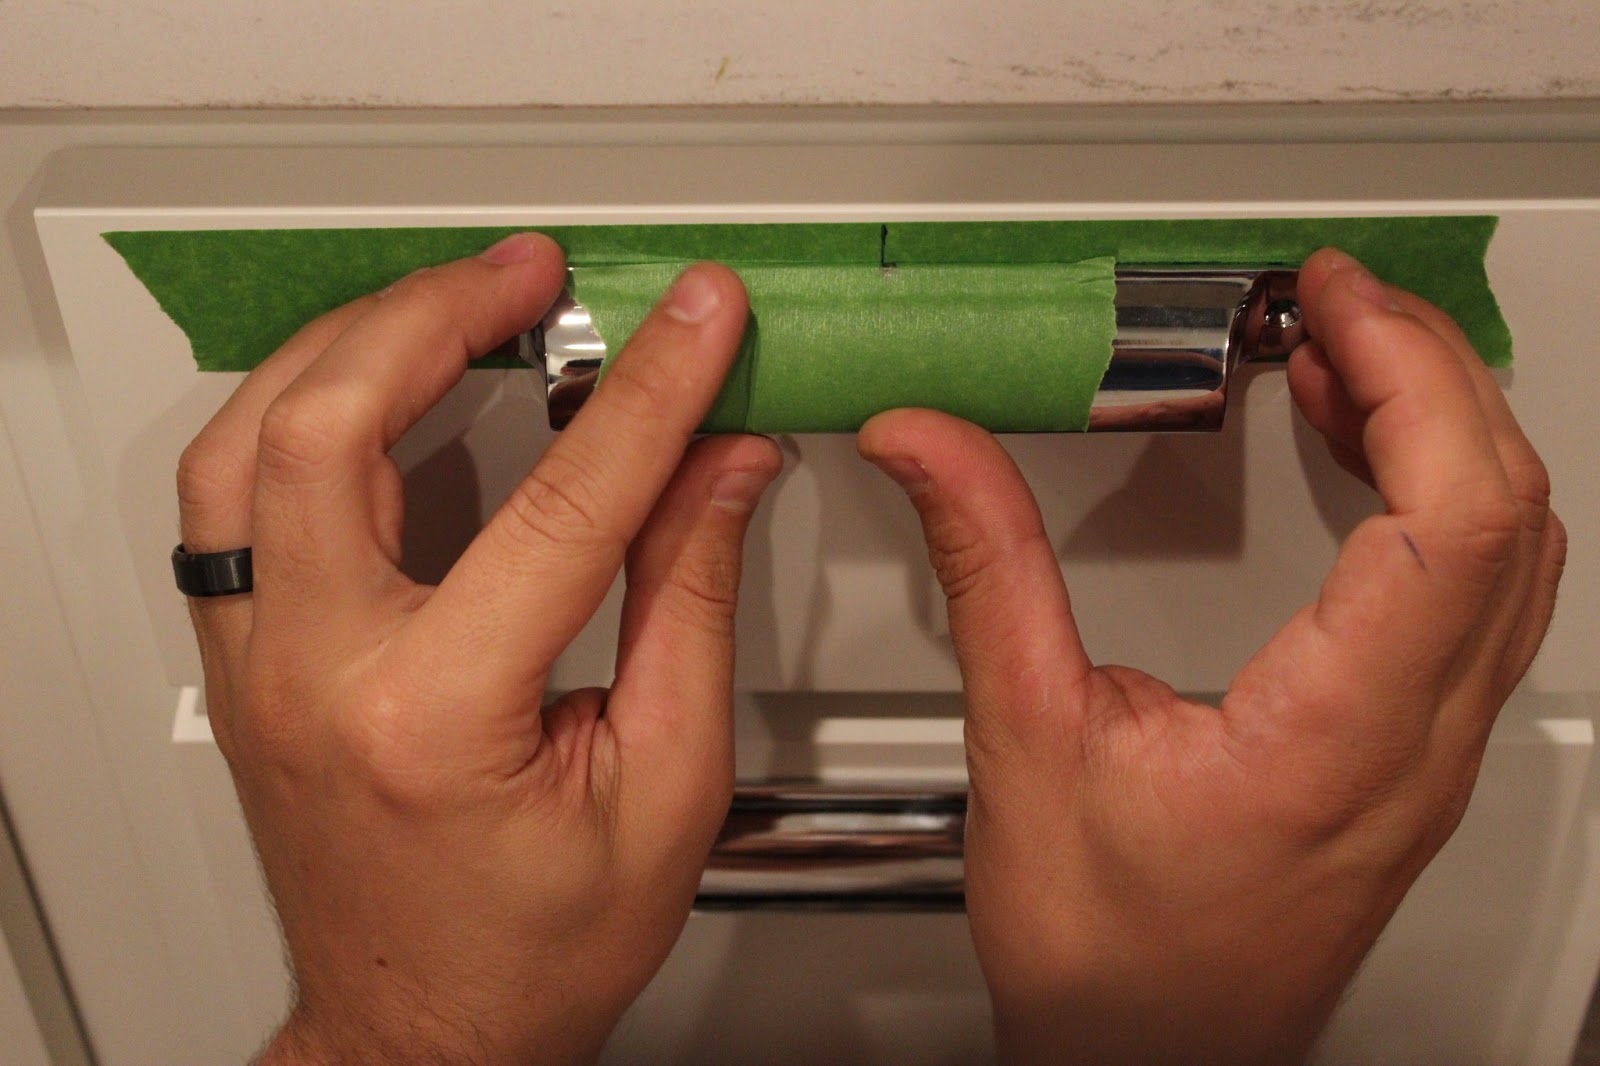
- Make sure you have marked the center of your hardware as well, marked off with tape and pen:

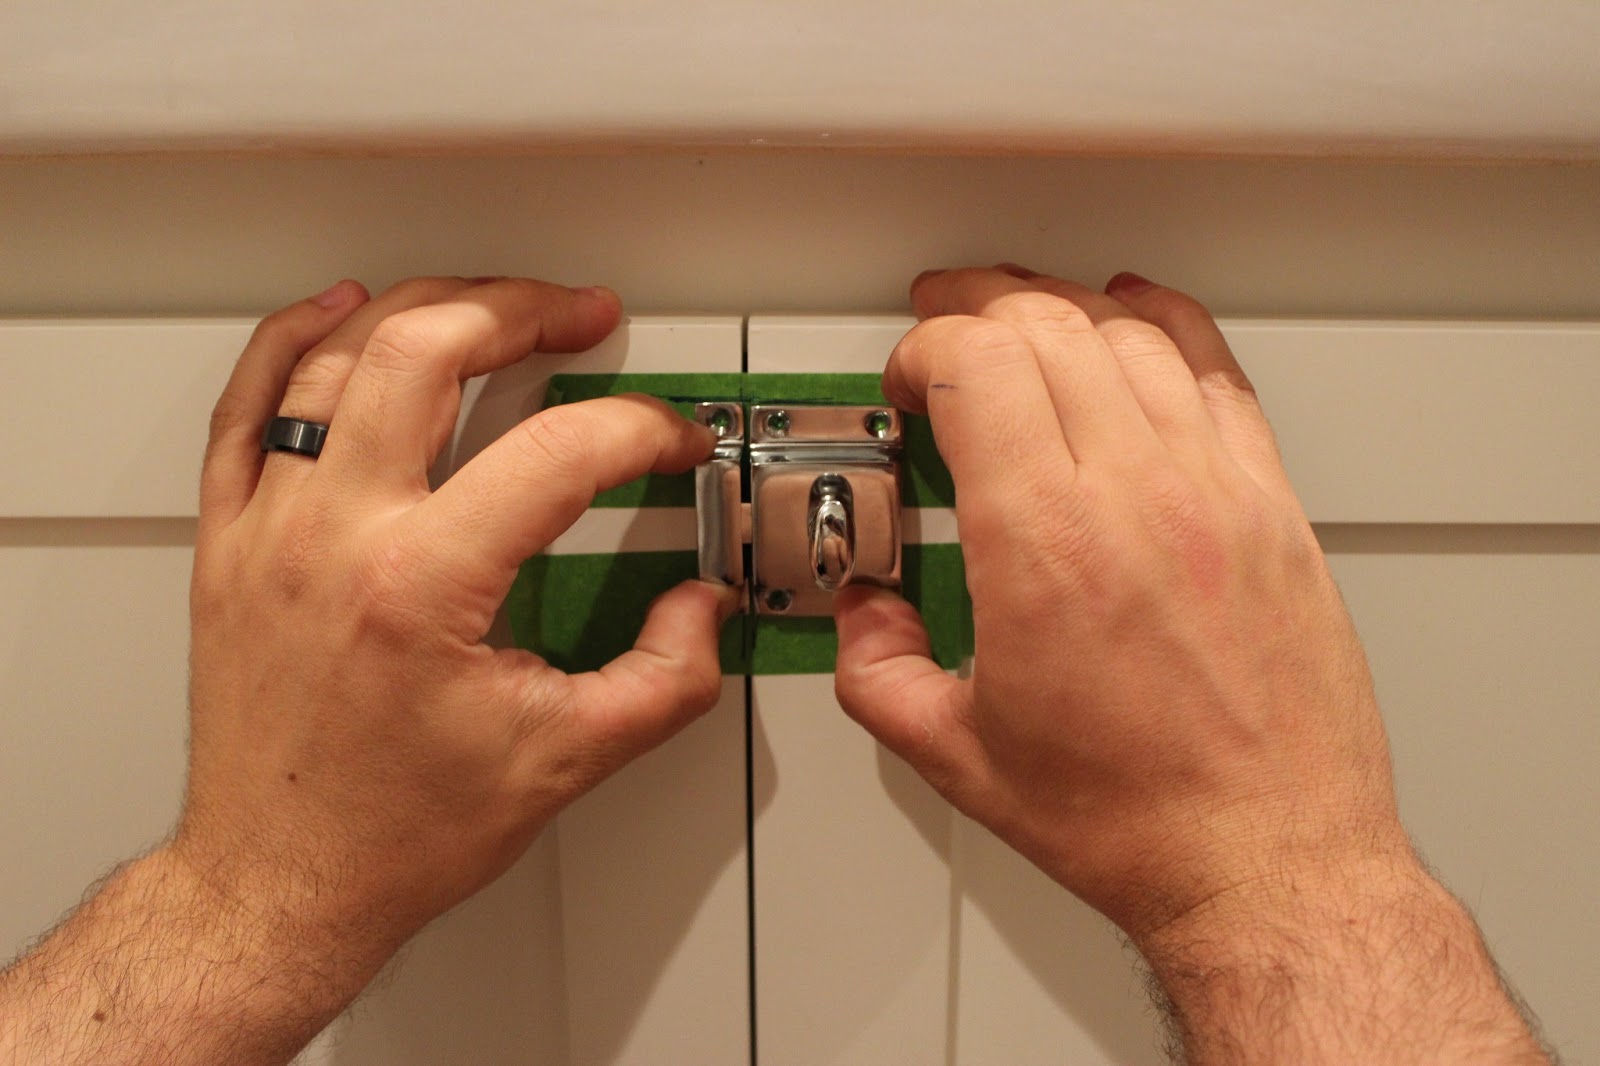
- Then hold the hardware up to the cabinet where you want it, and mark where the screws will go.
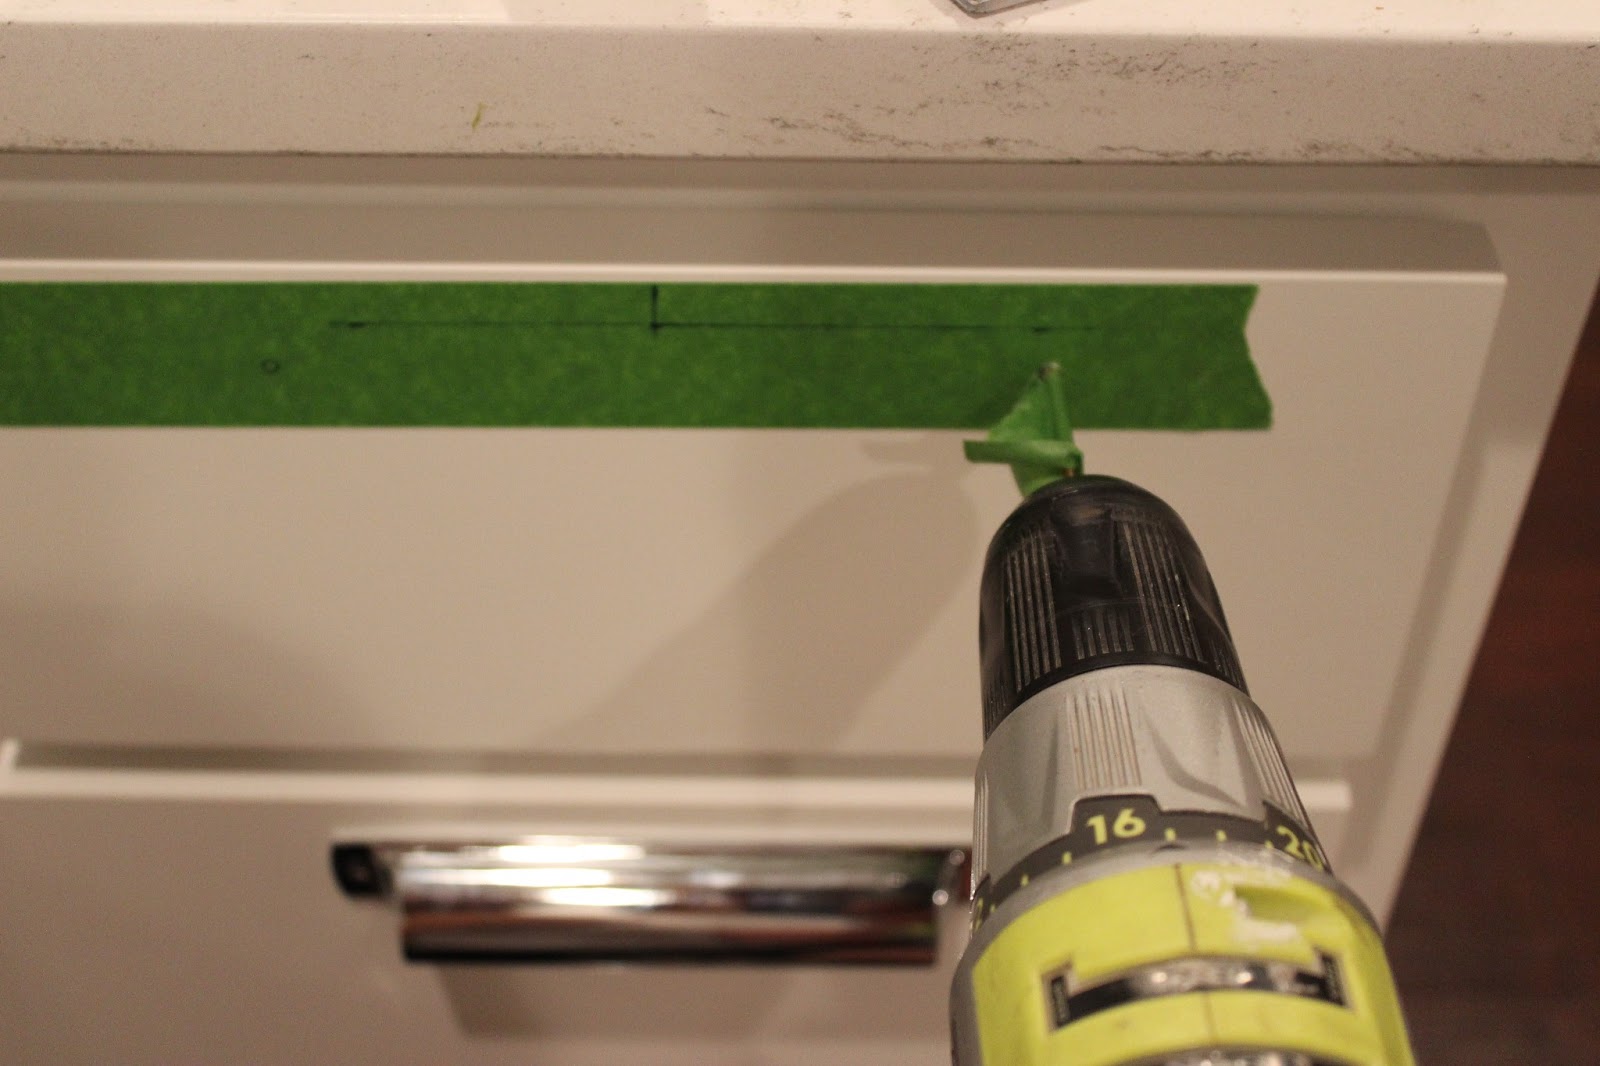
- Finally, double, triple, quadruple check…and then begin drilling your holes for the screws! We always tape off our drill for how deep we are wanting to drill in. To do this, simply hold your provided screw up to the drill and mark with tape where it ends.
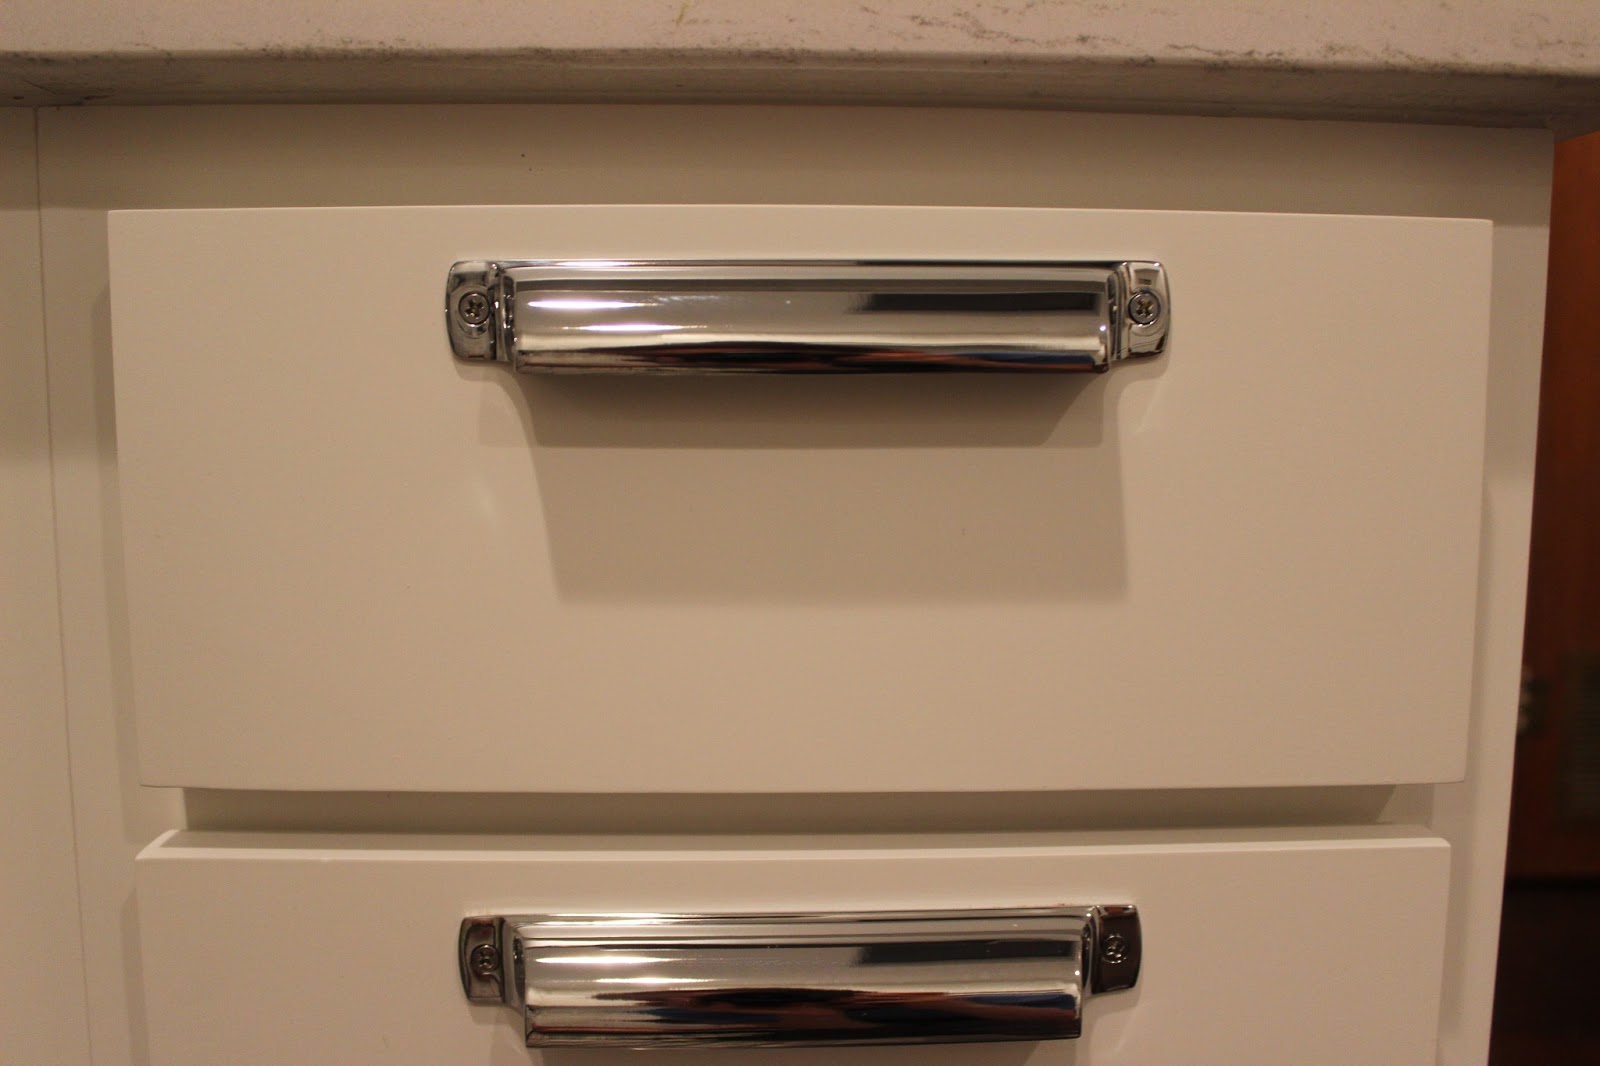
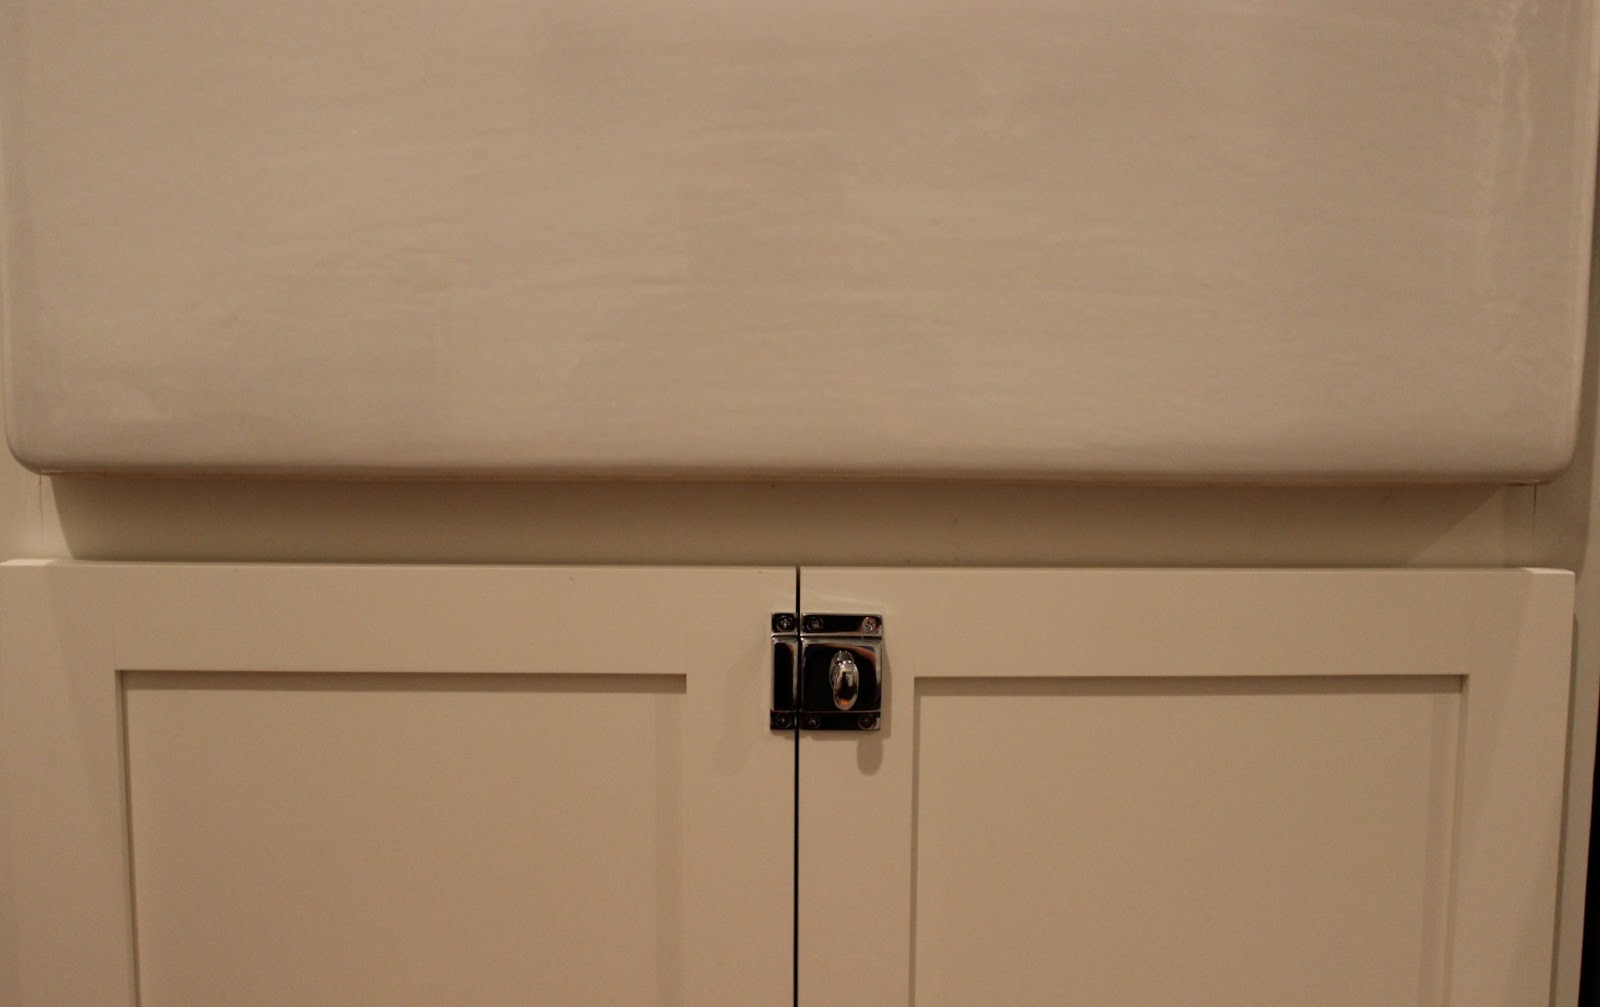
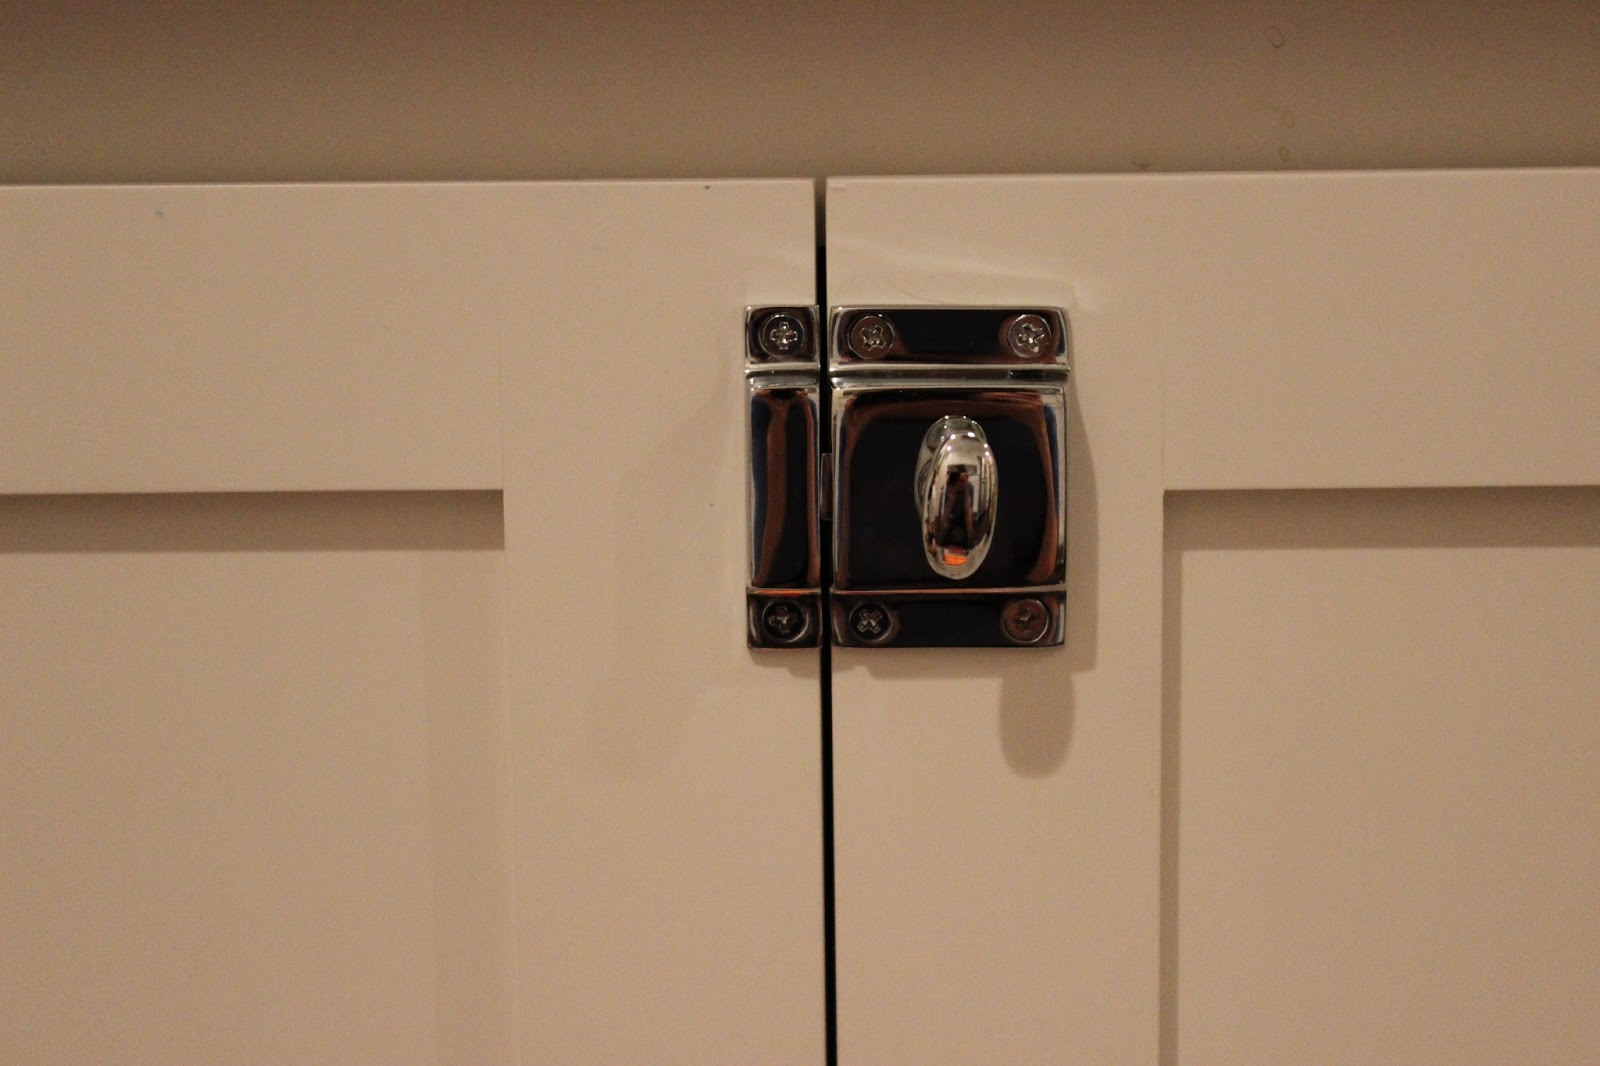
- Install and screw in the screws, and you are all set!!! Now for ours, the first two screws we screwed in with the drill completely broke. The screws seemed weaker than norma, this is not normal. To prevent any more from breaking we increased the size of our pilot hole {the hold that we drilled} and then screwed in the screws by hand.


This post couldn’t have come at a better time! We are about to do the same and it’s been very helpful – as were your pictures for each of the steps!
Much appreciated and keep up the great work with your blog. LOVE it!!
Cortney@organicallyopulent.com
You will be so glad for latches once your bubs is starting to crawl/toddle and get into every cupboard in the house!
I have the kind that you just pull open but I like the look of kitchen knobs and handles. Thanks for the tutorial!
came over from House of Hepworths!
You have used your latches for a while now. How do you like them? Are they practical or just great looking? Do you remember where you purchased them? Thanks
we love them still!!! they were from Restoration Hardware